LR Pro | Advanced

Go beyond Color Correction by utilizing with our Lightroom Pro service. With advance tools to restore details, enhance colors, and add depth to your images.

No Membership

$0.29 | Per Image

Pro Membership

$0.23 | Per Image

Basic Membership

$0.26 | Per Image

What We Do in LR Pro

Brushing

Brushing allow you to selectively lighten or darken specific areas of an image to create depth and emphasis. By applying these adjustments carefully, you can highlight important details or add shadows to enhance the overall composition. This technique helps in guiding the viewer’s attention and adding dimension to the image, ensuring that the desired areas stand out while maintaining balance throughout the photo.

what we do in Lightroom Pro Dodge & Burning

Lens Correction

Lens Correction is designed to address common lens-related issues like distortion, vignetting, and perspective. By correcting these flaws, you can ensure straight lines remain correct, the image maintains even lighting across the frame, and perspective appears naturally. This helps produce a more polished and accurate representation of the scene.
what we do in Lightroom Pro Lens Correction

Vignette

Vignette allows you to reduce brightness and color around the edges of the image, helping to draw attention to the central subject. By darkening or desaturating the periphery of the image, this adjustment points the viewer’s eye toward the focal point, enhancing the overall composition and emphasizing the importance of the main subject.

what we do in Lr Pro Vignetting

Brushing

Brushing is done using different brushes, linear gradients, and radial gradients to achieve uniformity in lighting. This balances the lighting, adds depth and enhances visual appeal. This technique is applied to various parts of the image, including the background and the subject, to ensure no detail is overlooked.

See Some LR Pro Samples​​

Lightroom Basic - Light - Before Lightroom Basic - Light - After

LR Pro |

FAQ

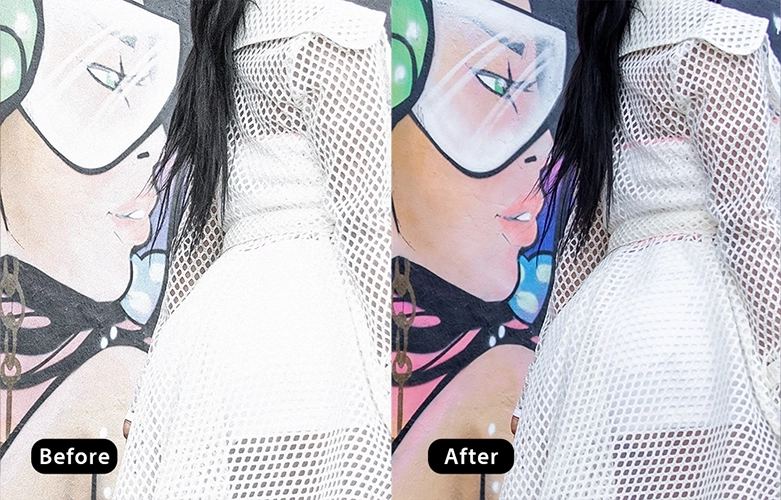
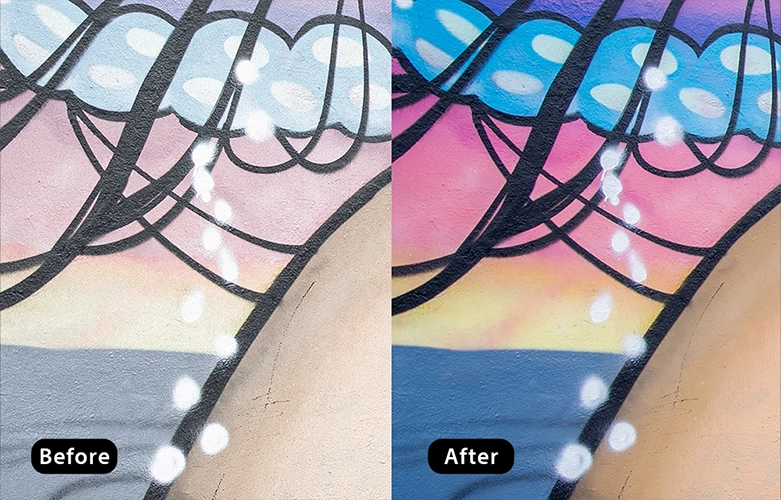
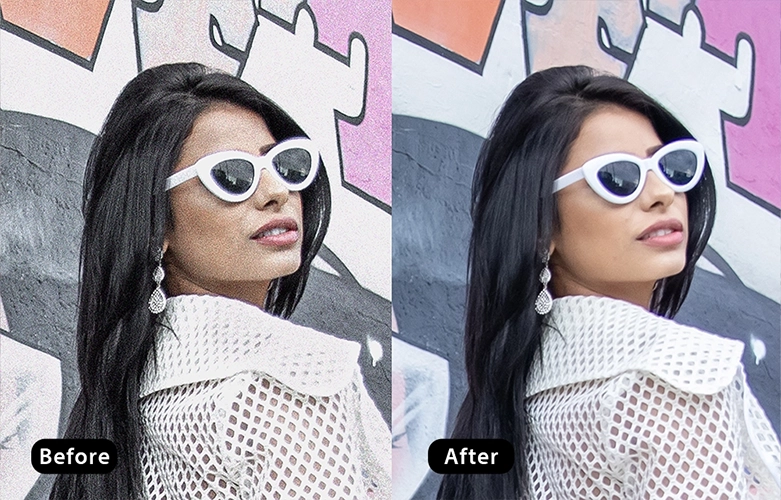
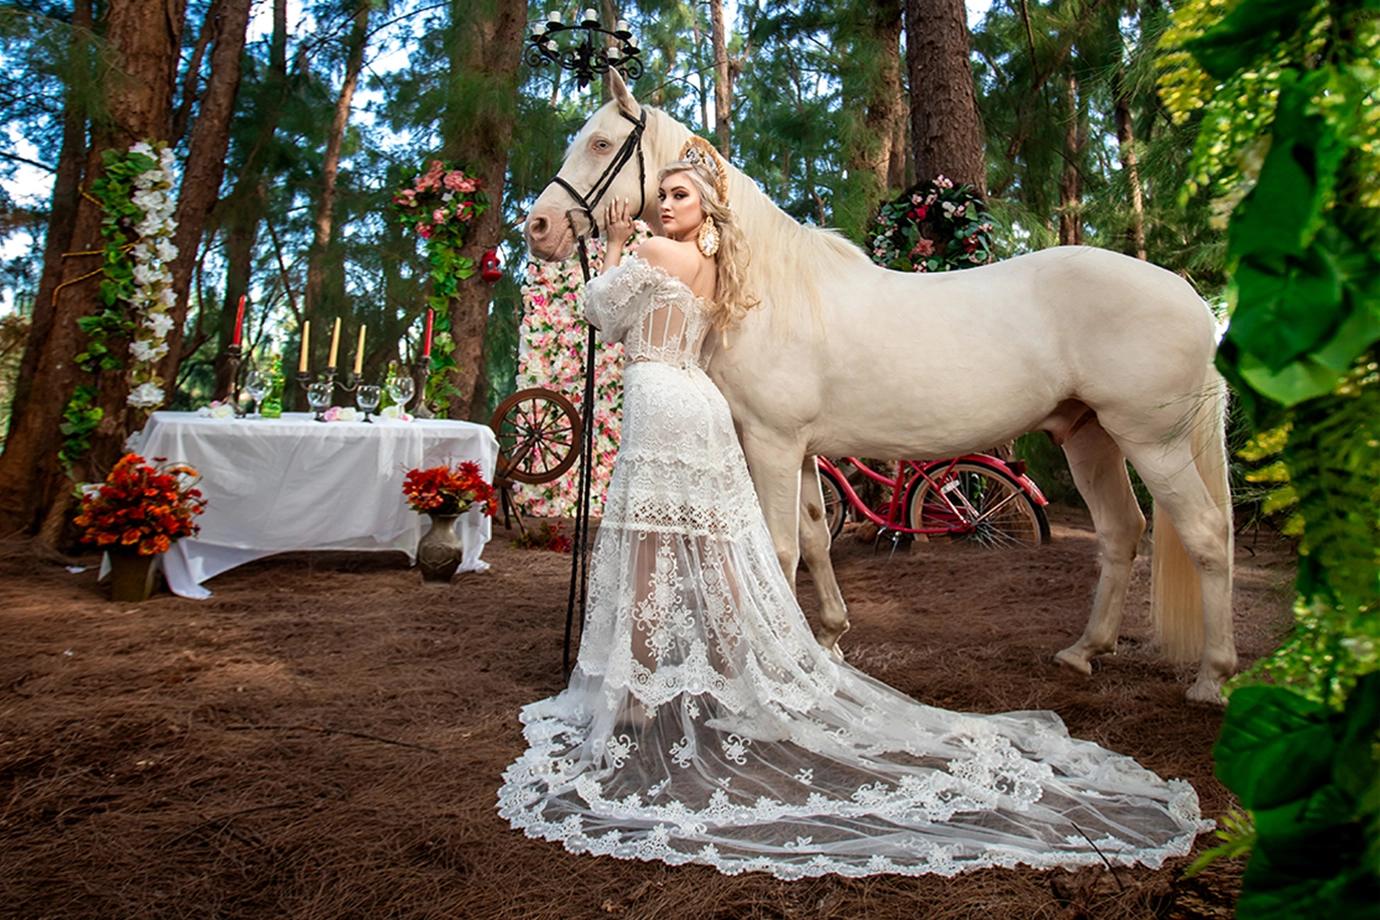
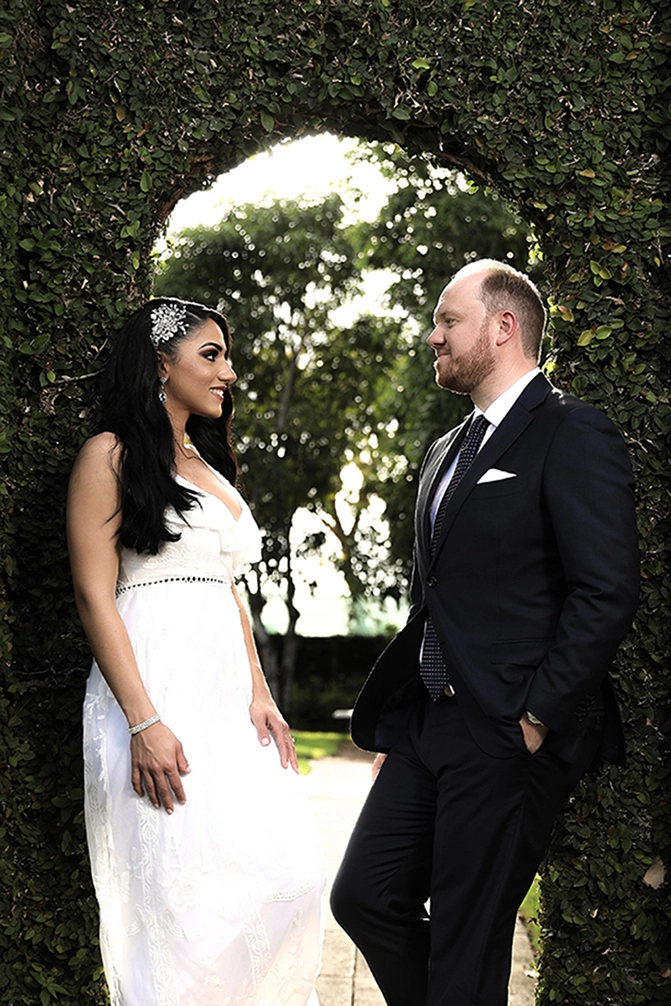
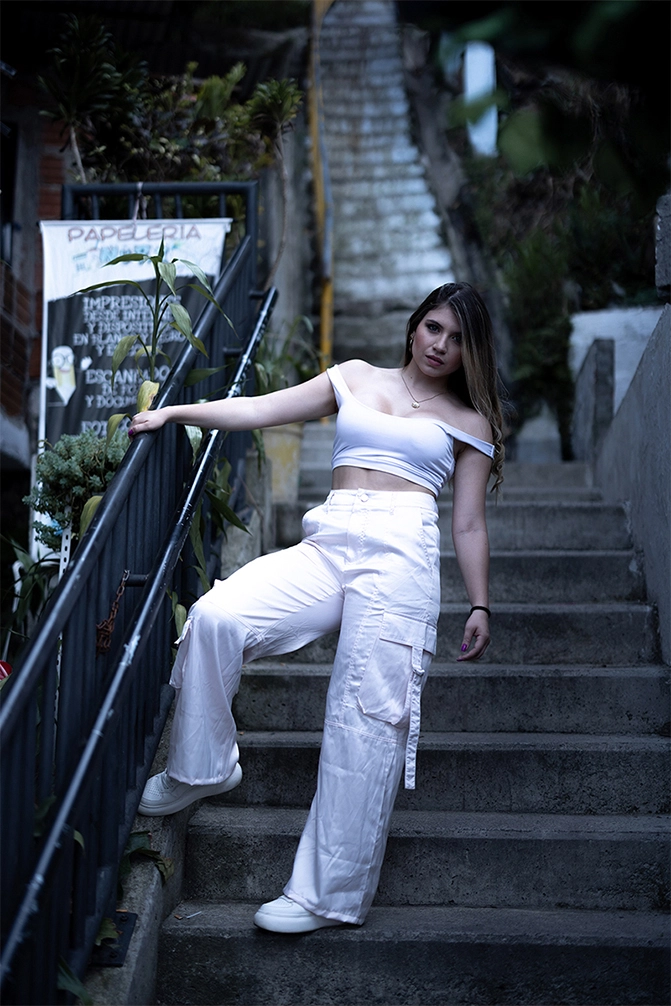
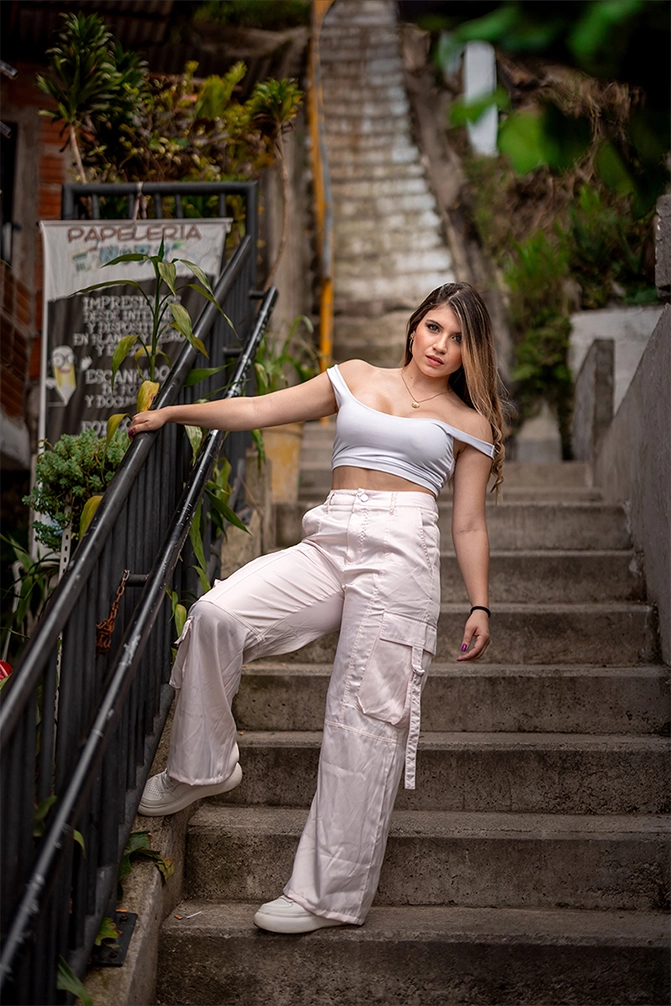
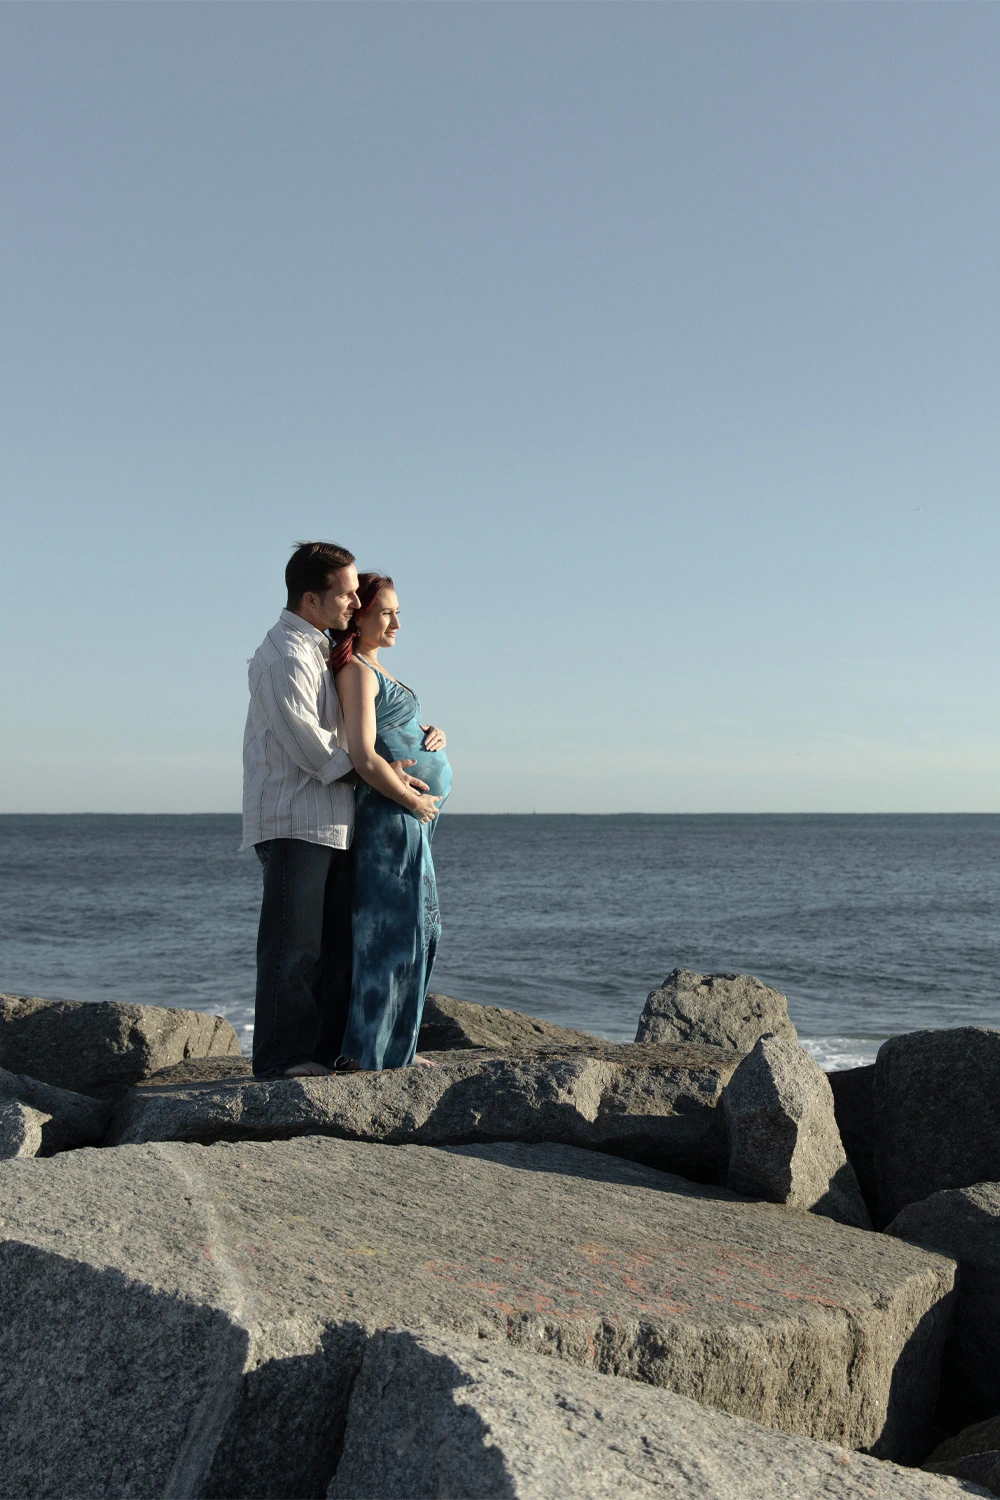
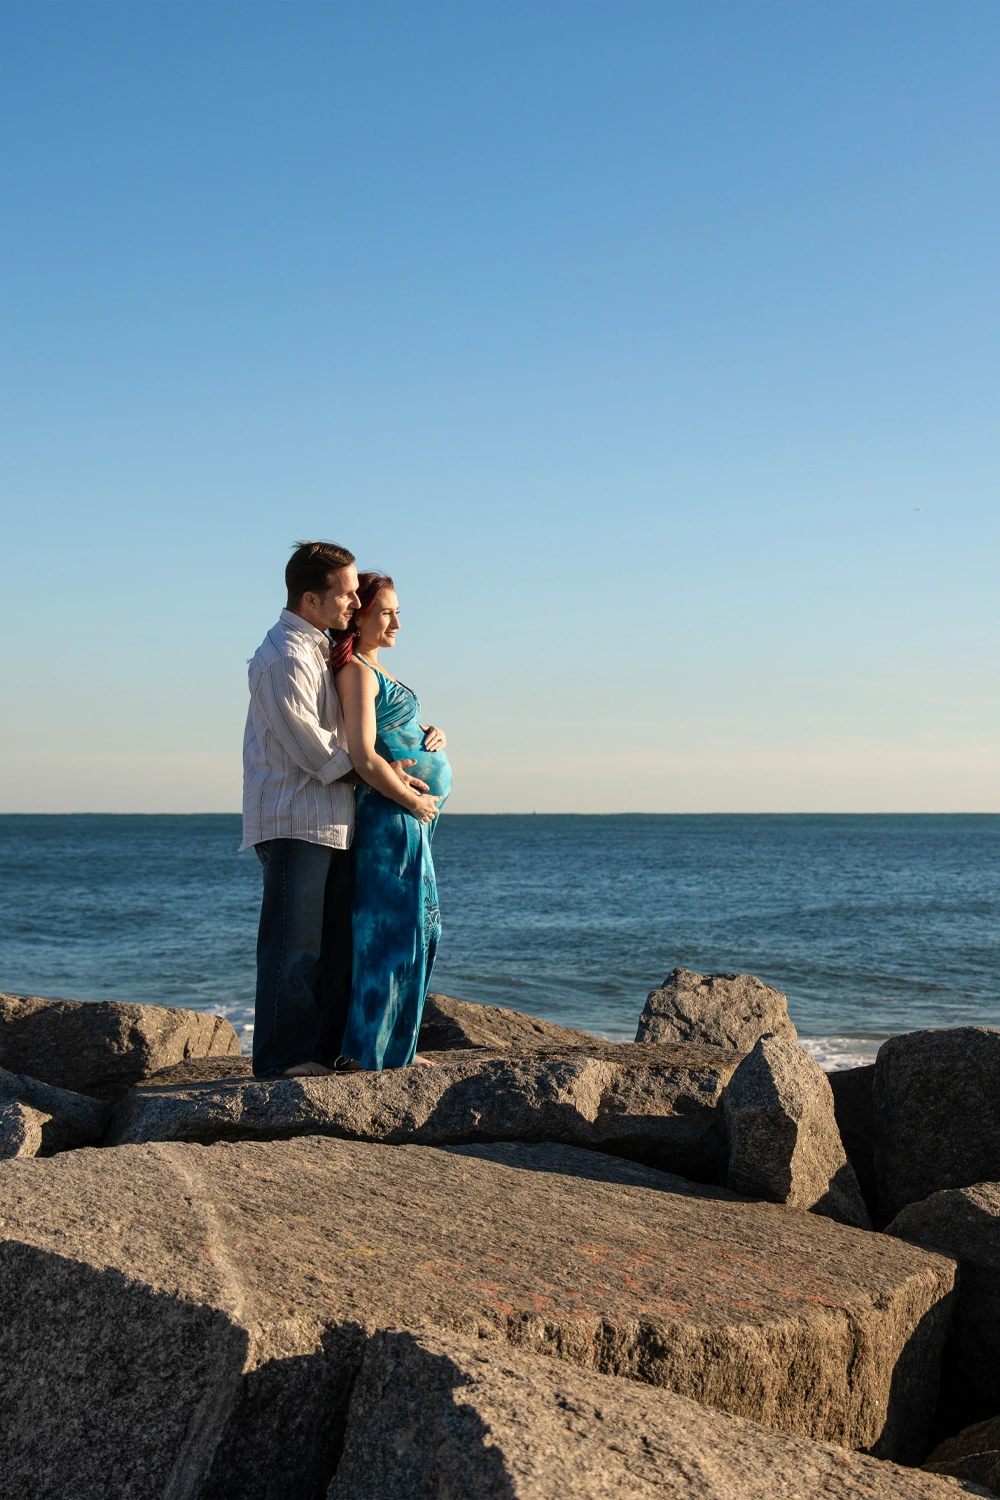
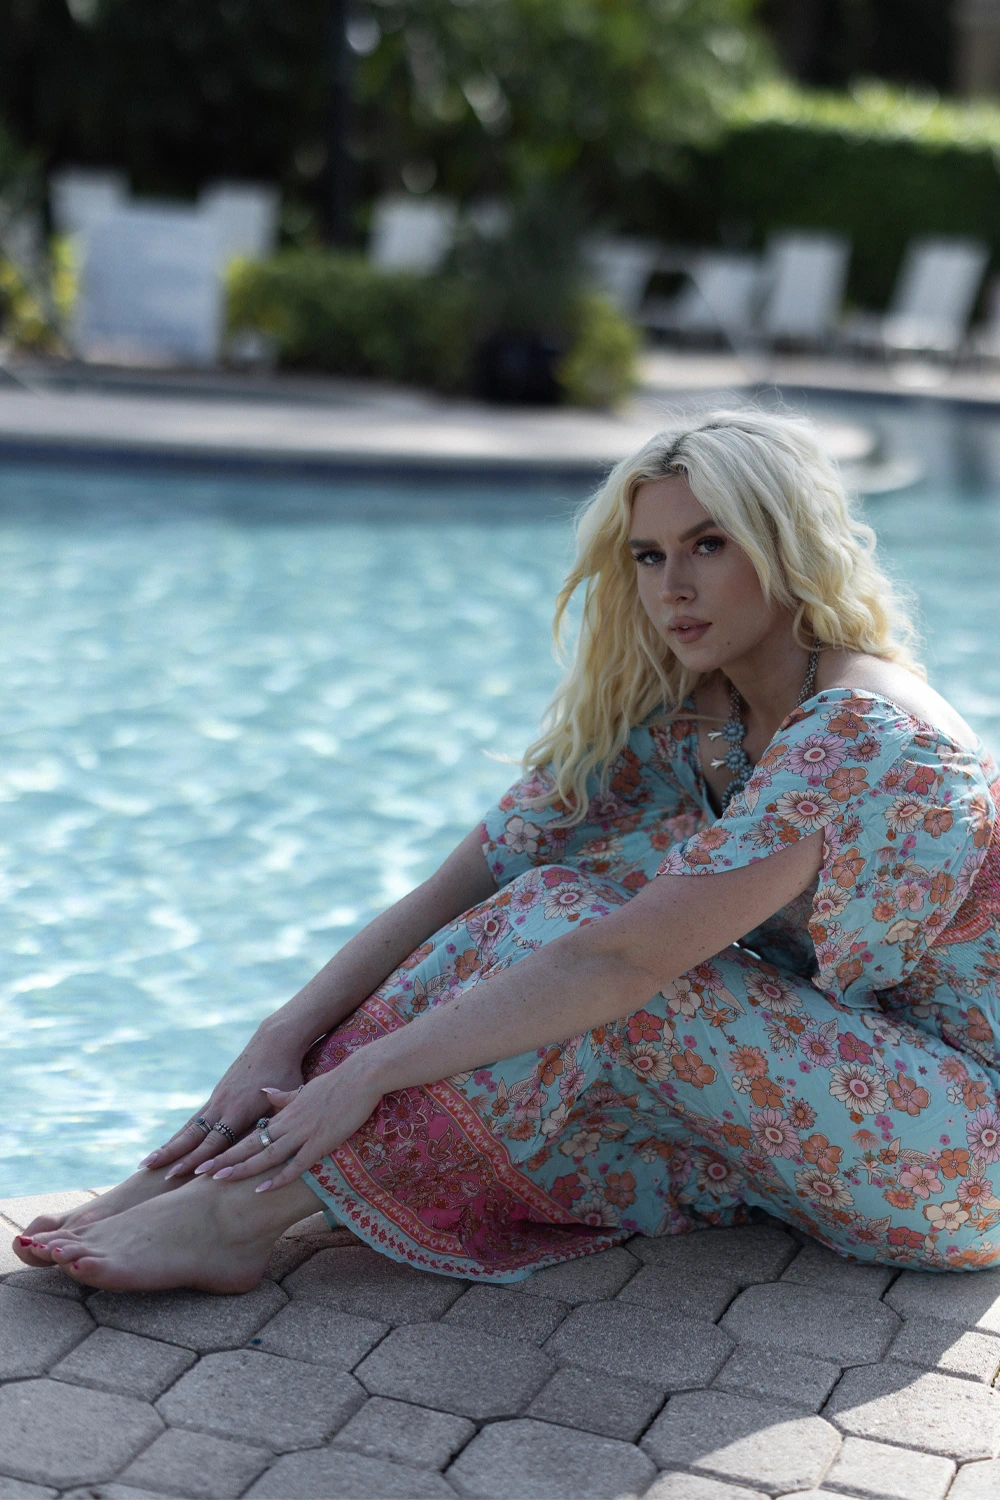
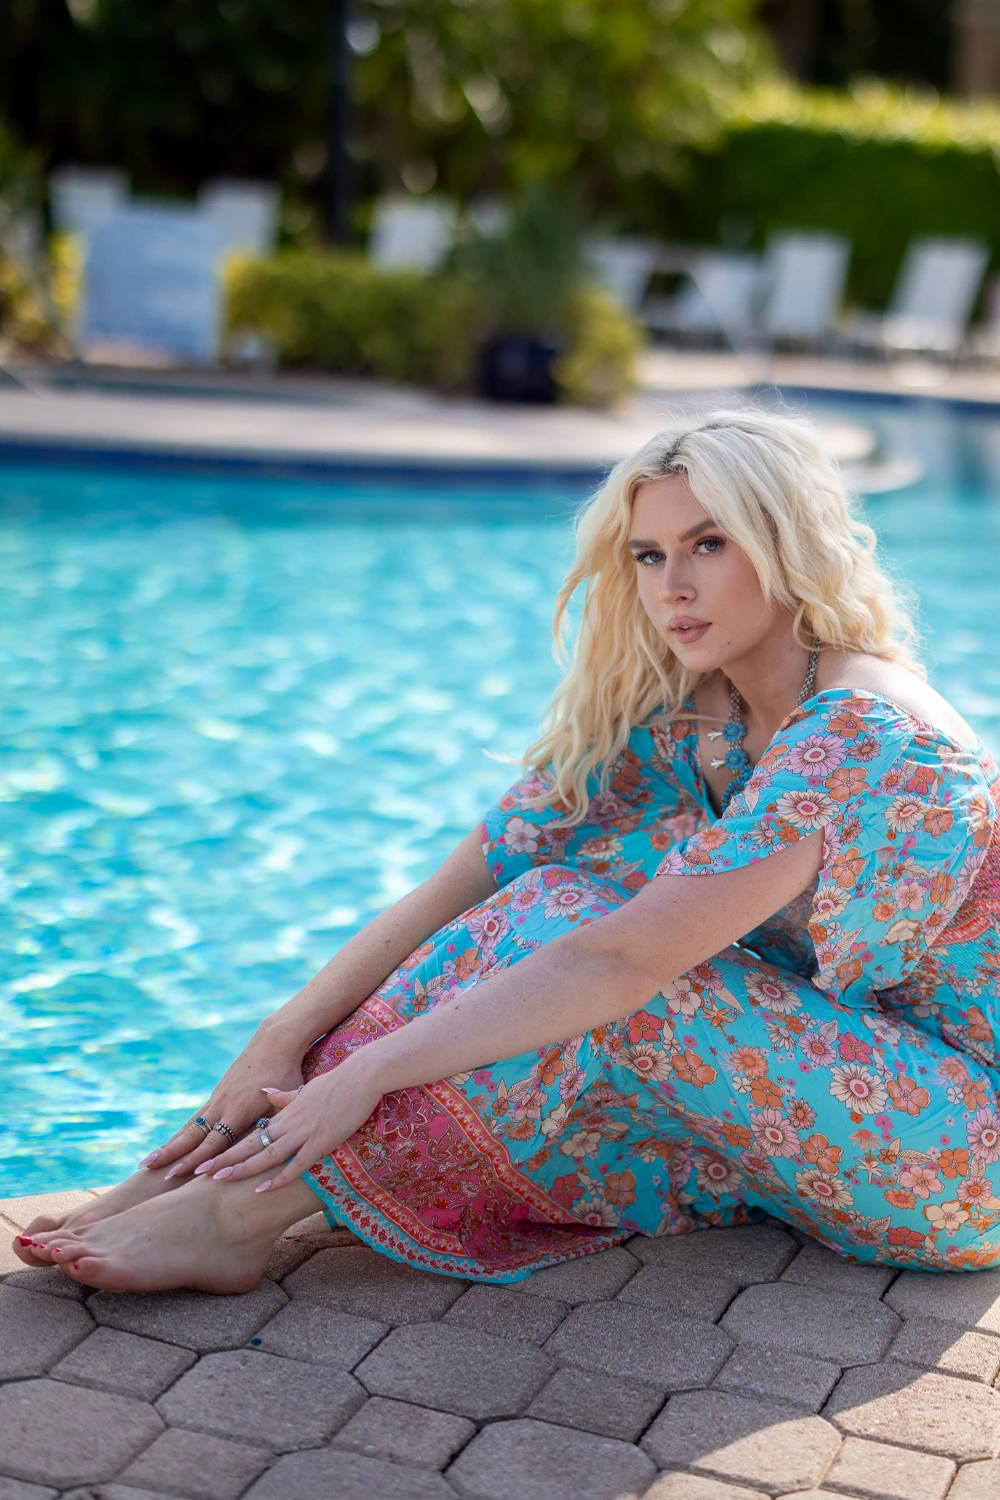
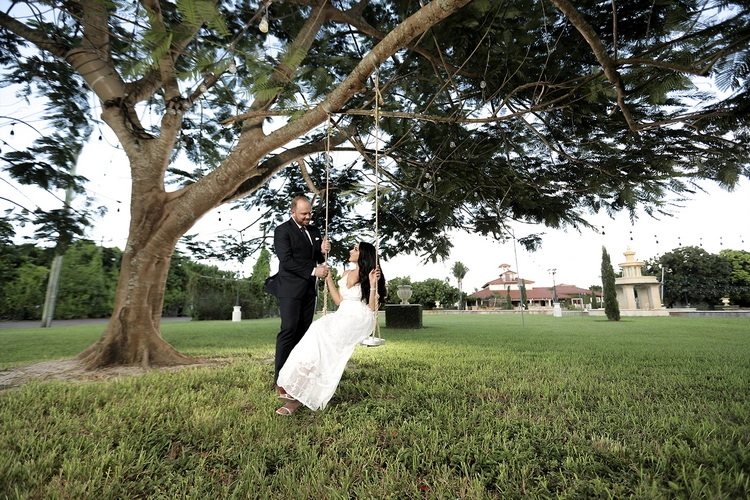
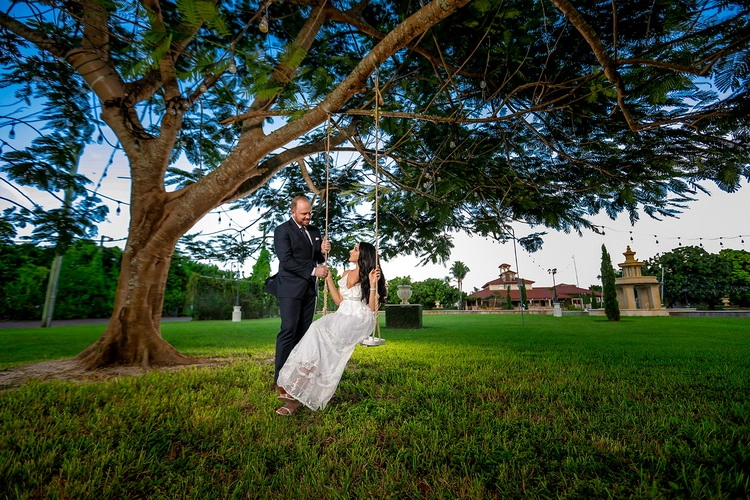
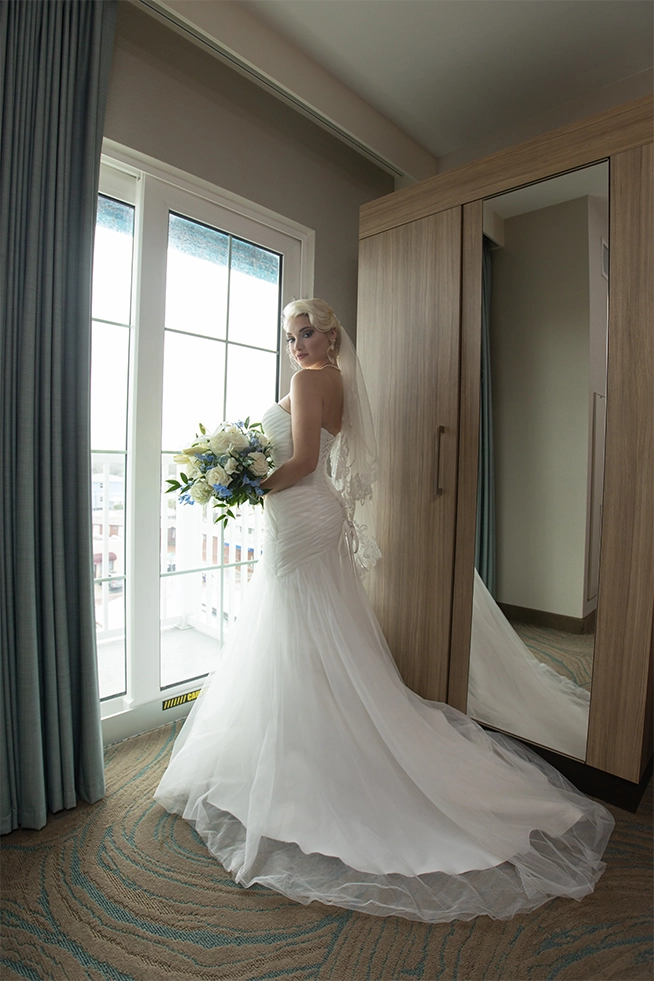
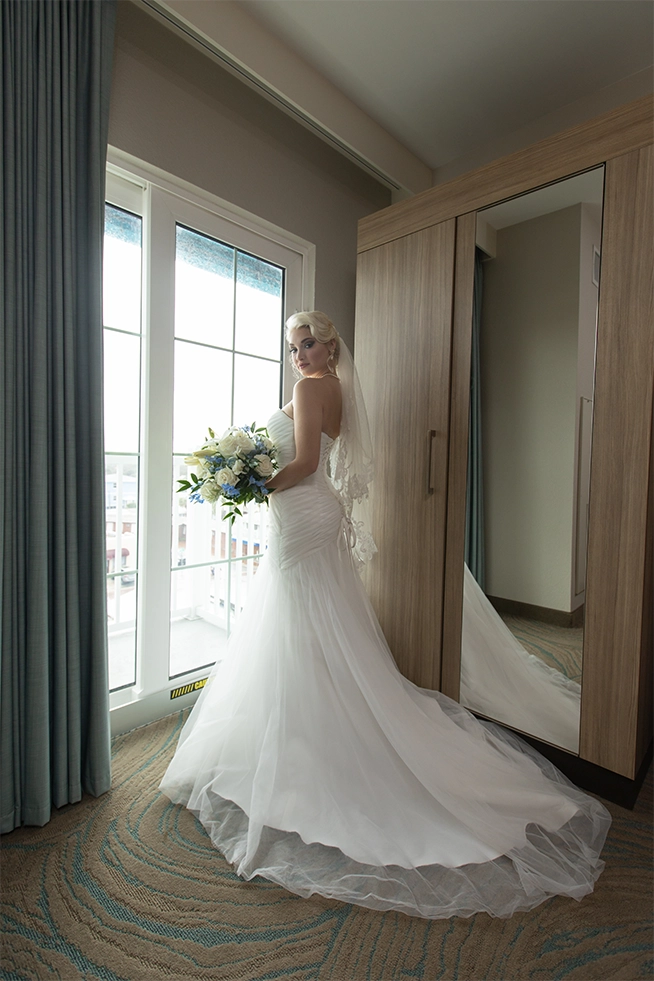
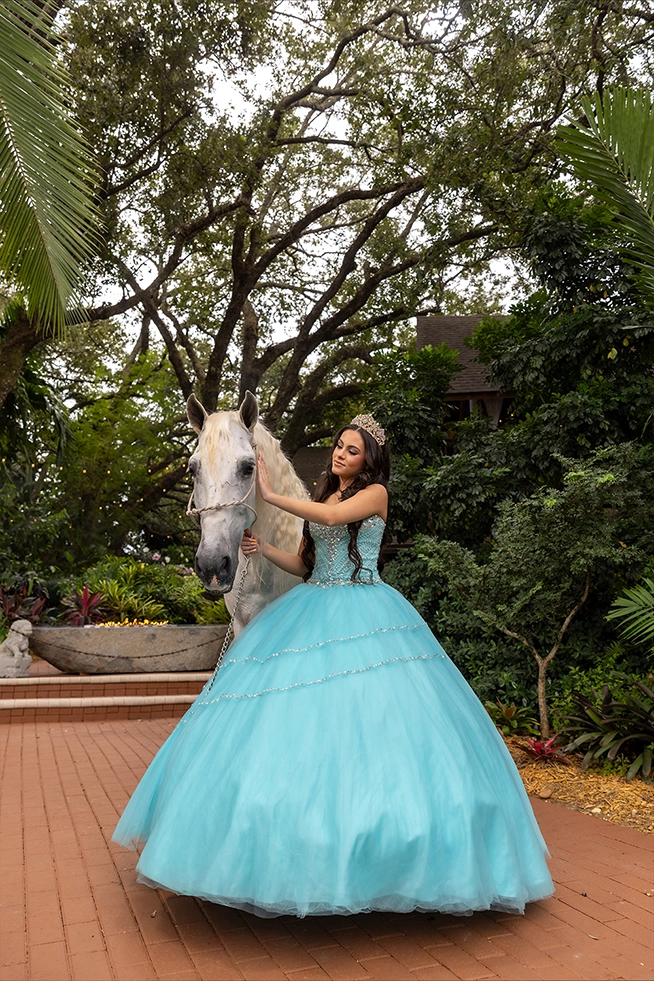
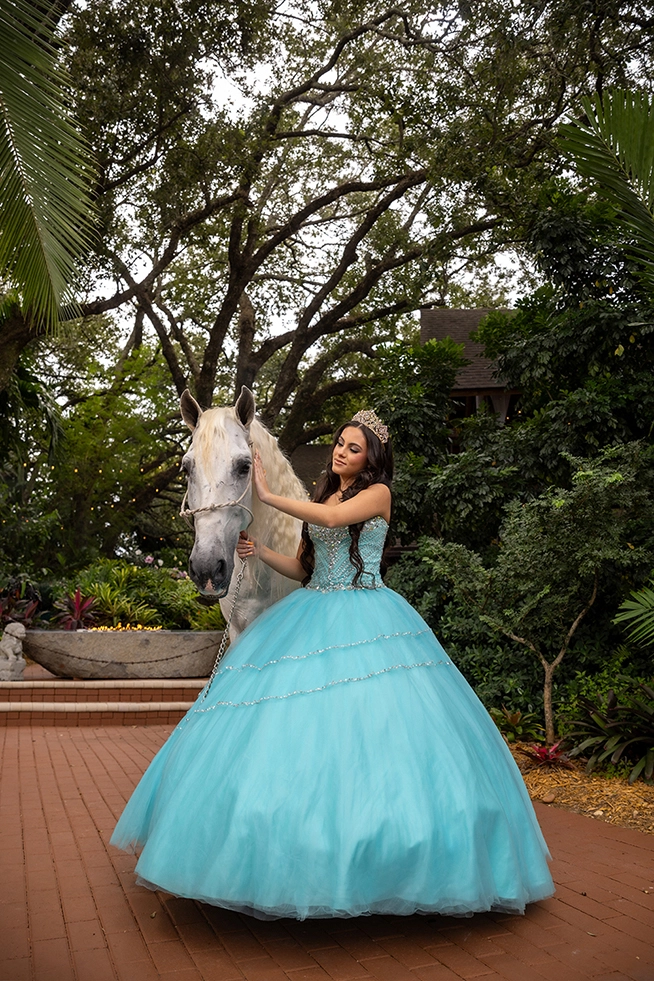
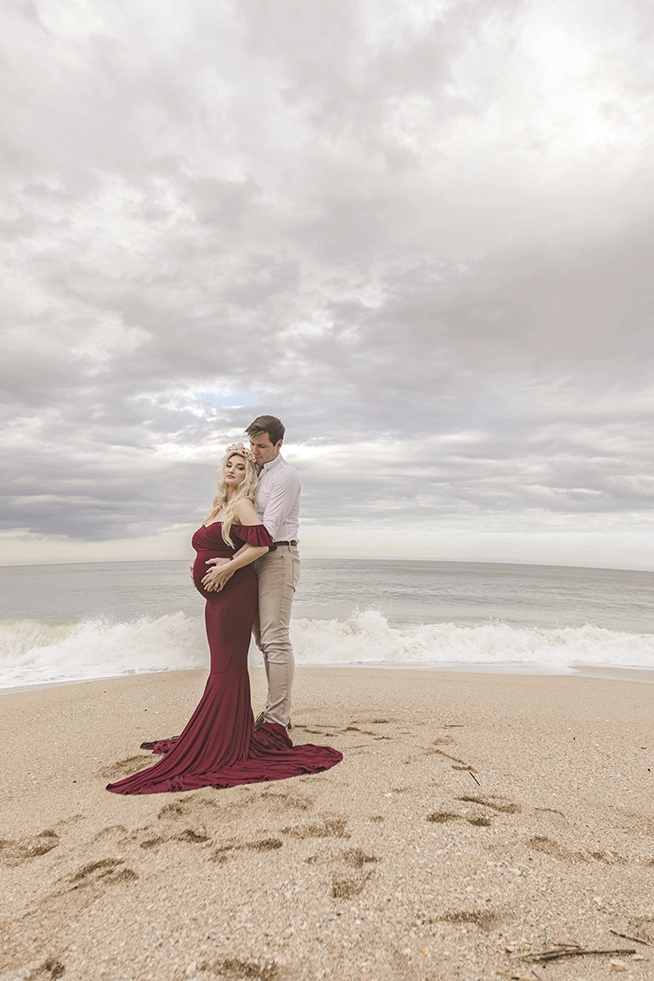
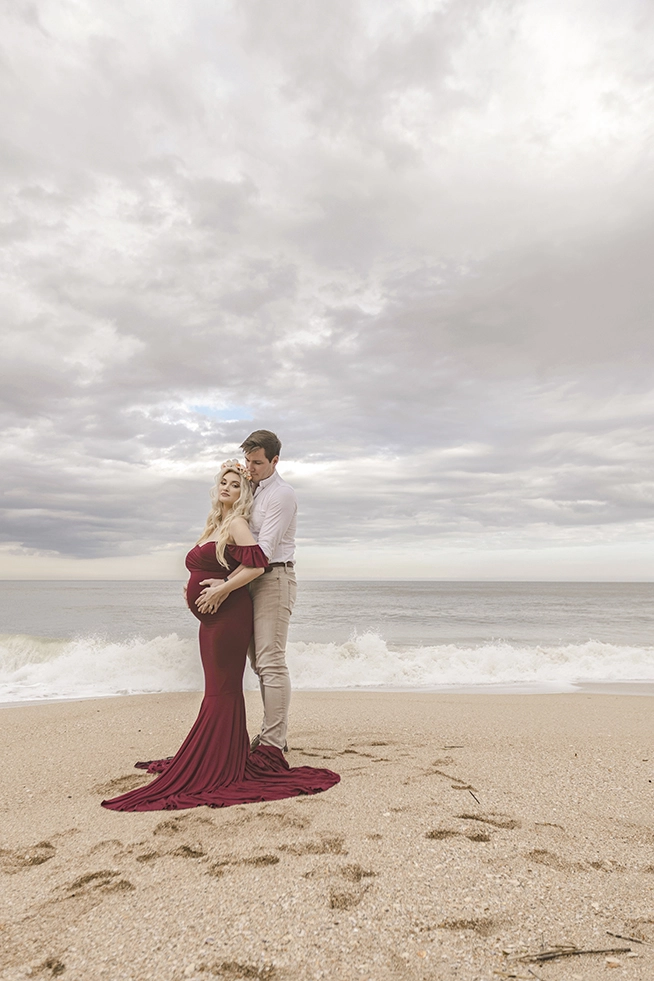
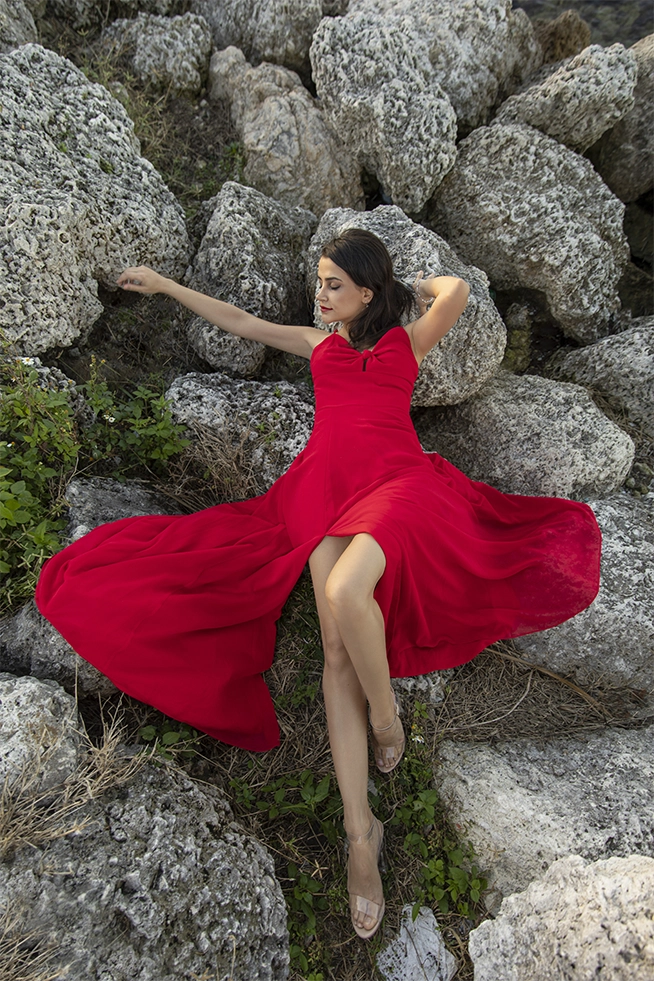
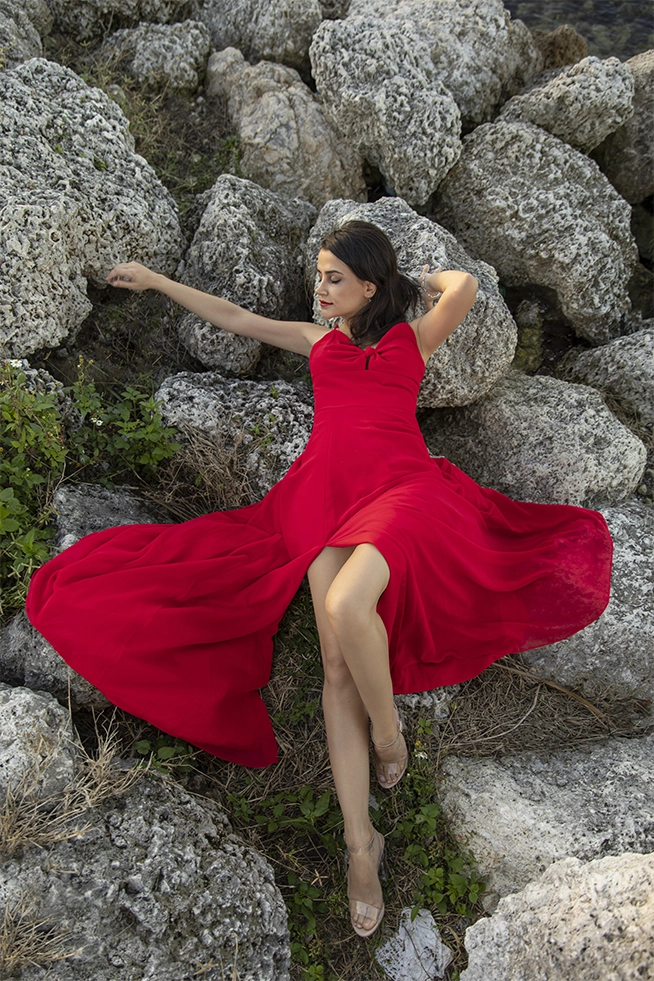
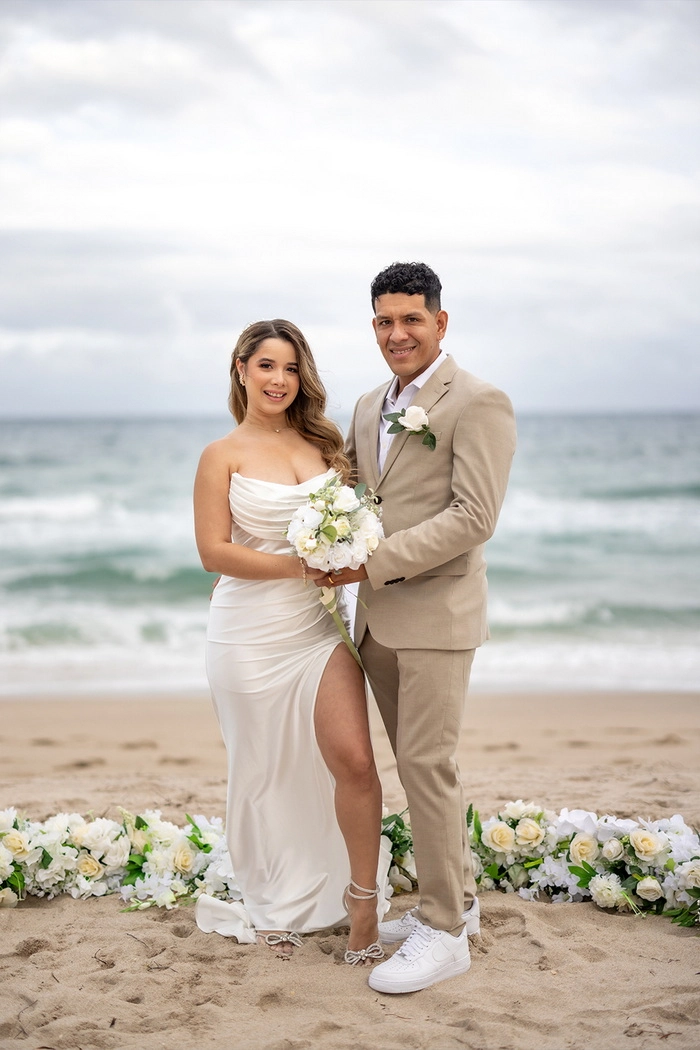
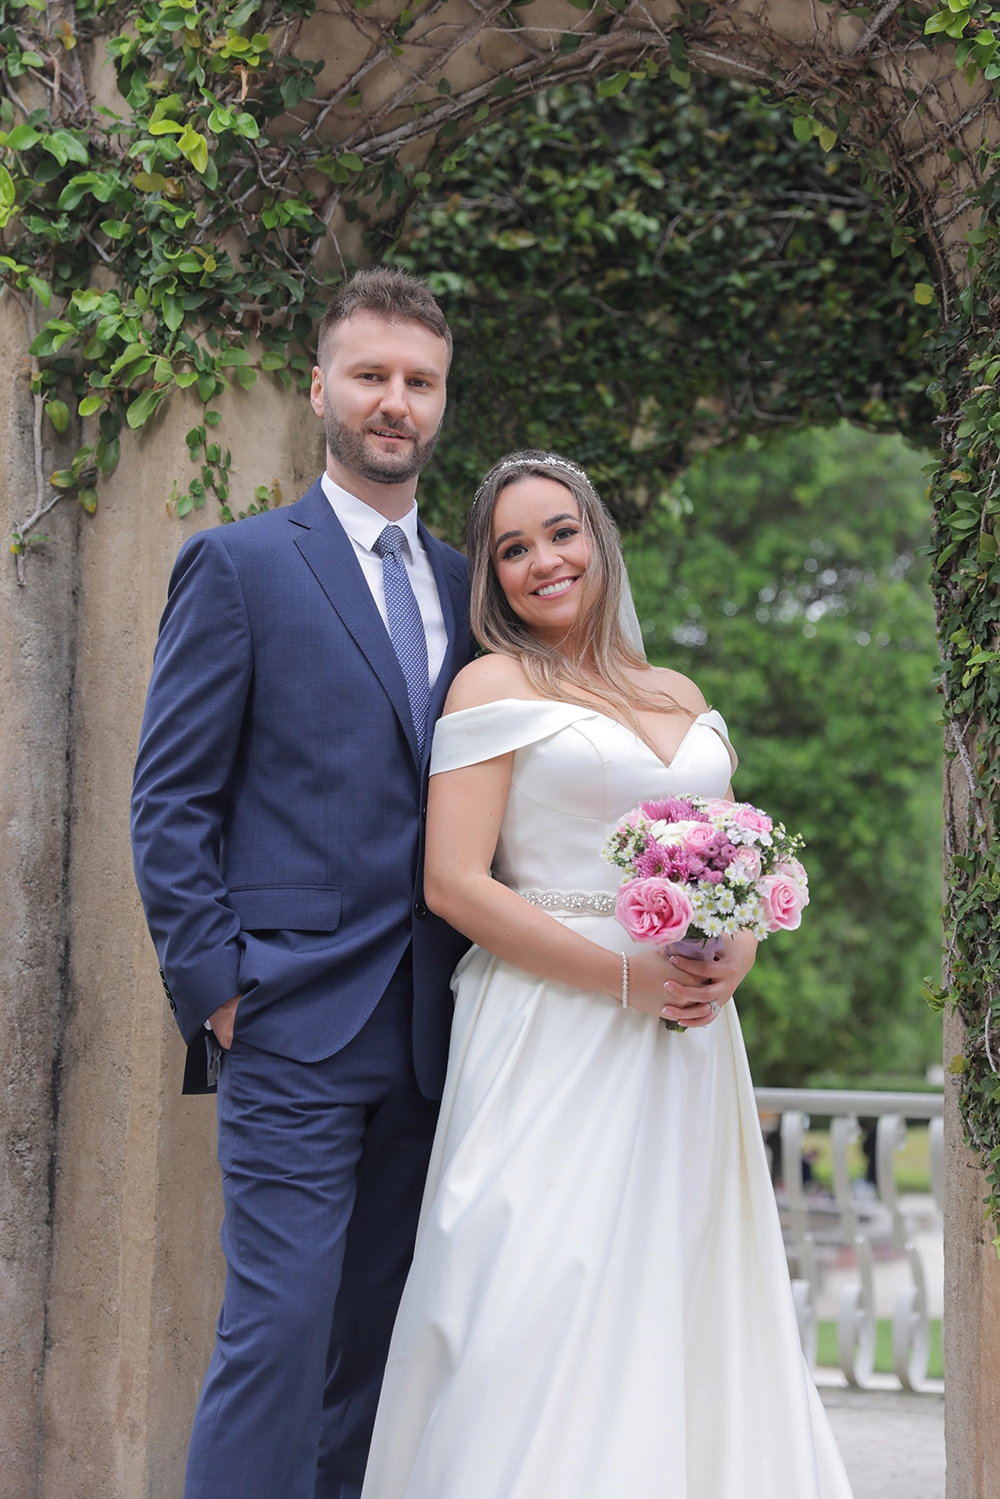
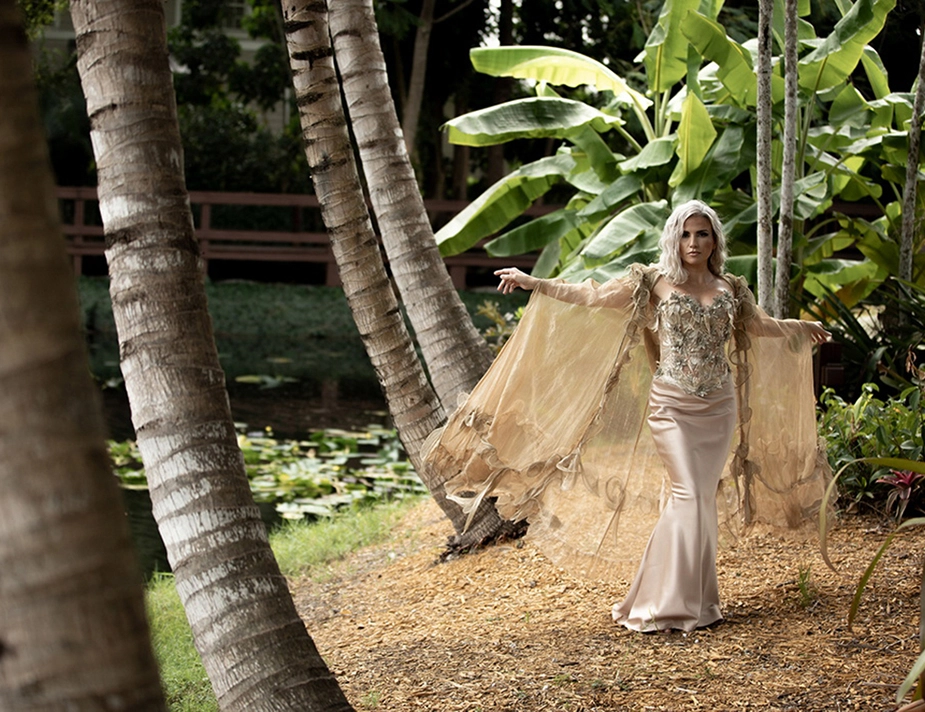
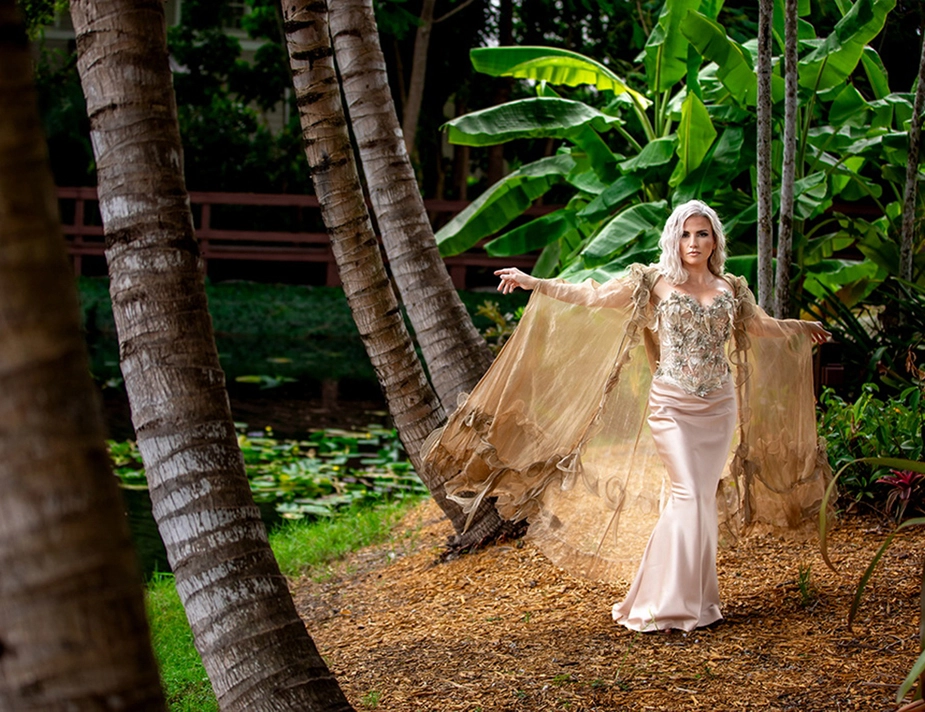
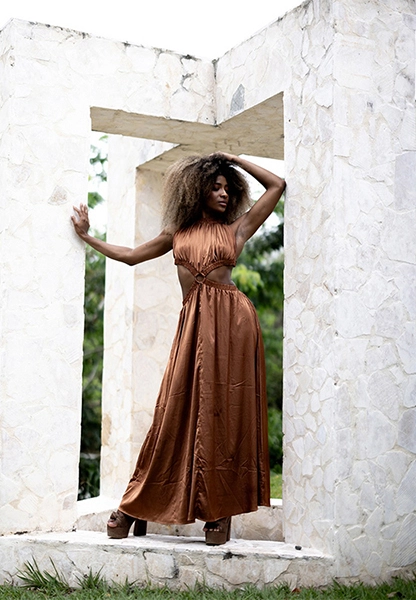
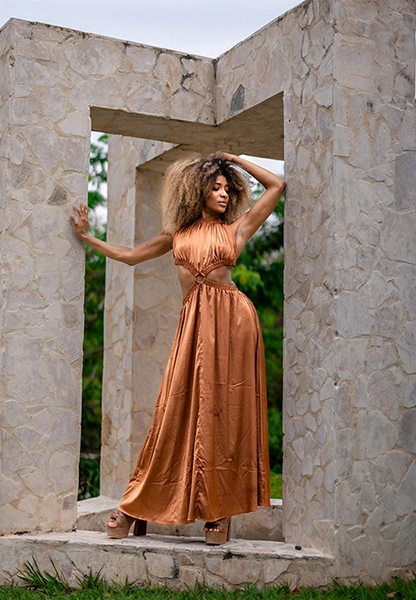
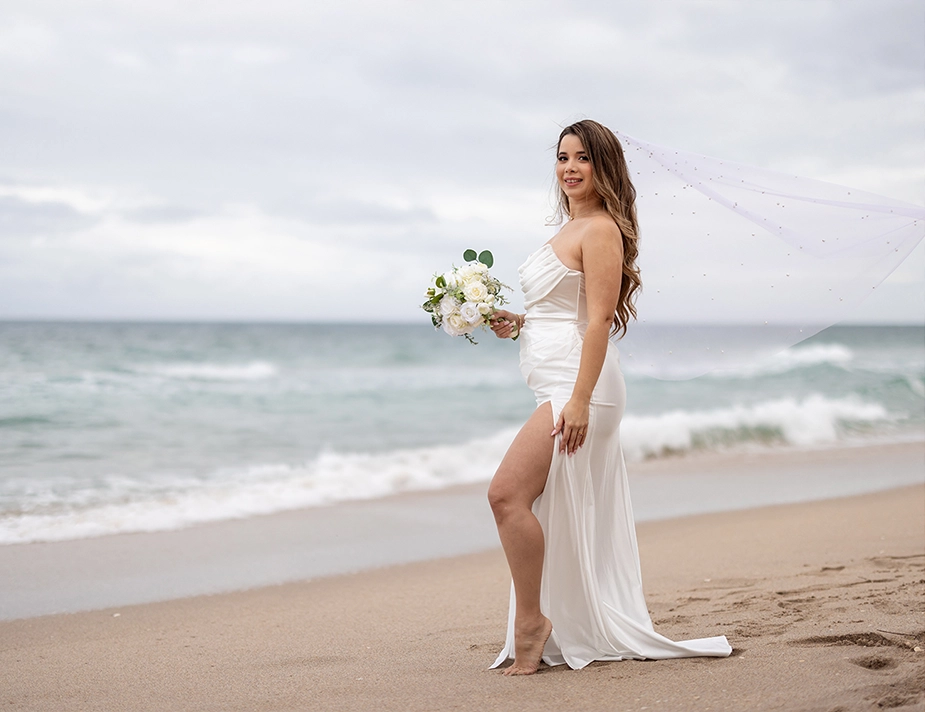
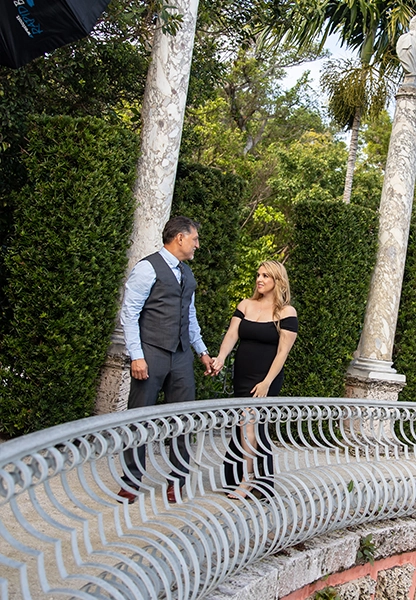
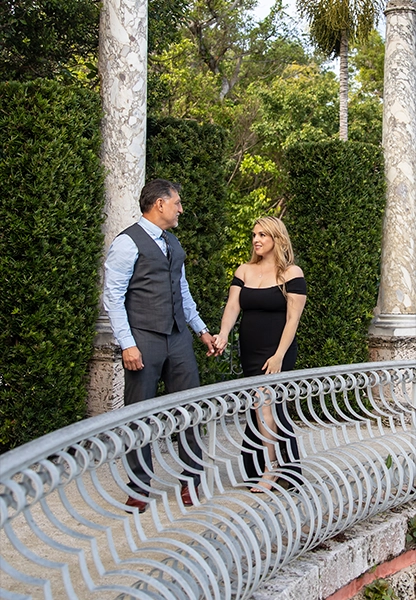
LR focuses primarily on color correction and lighting adjustments. These edits are performed through using the basic menu, HSL, and noise reduction features in Lightroom.
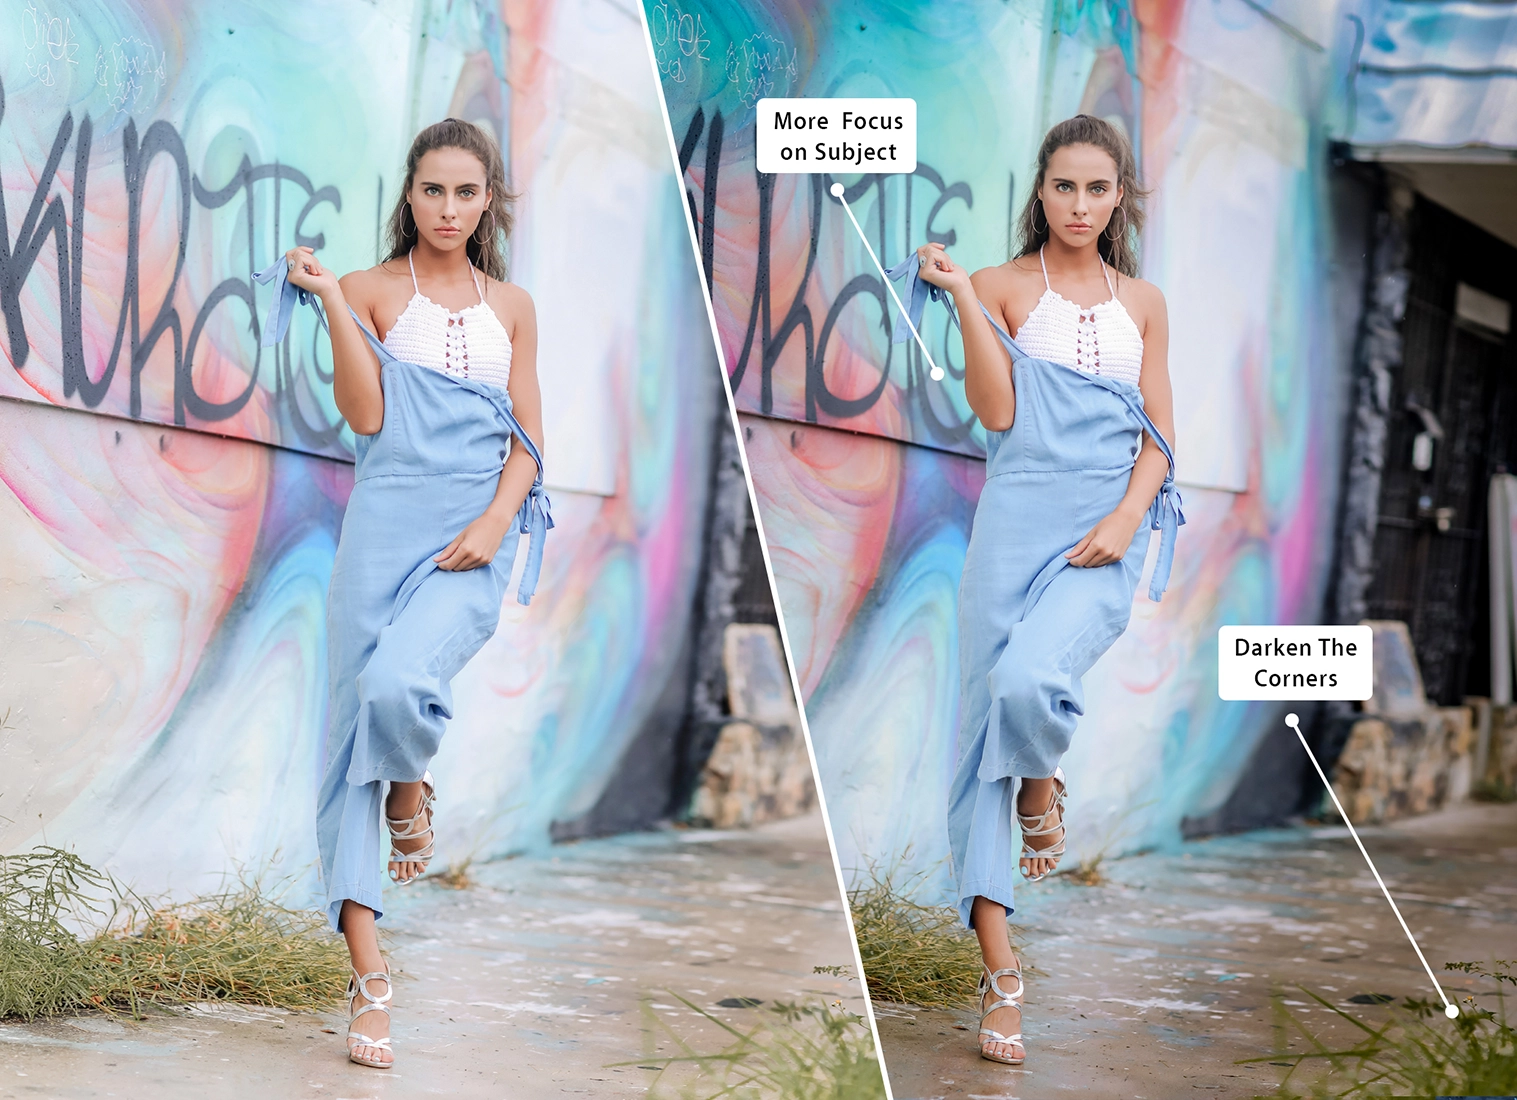
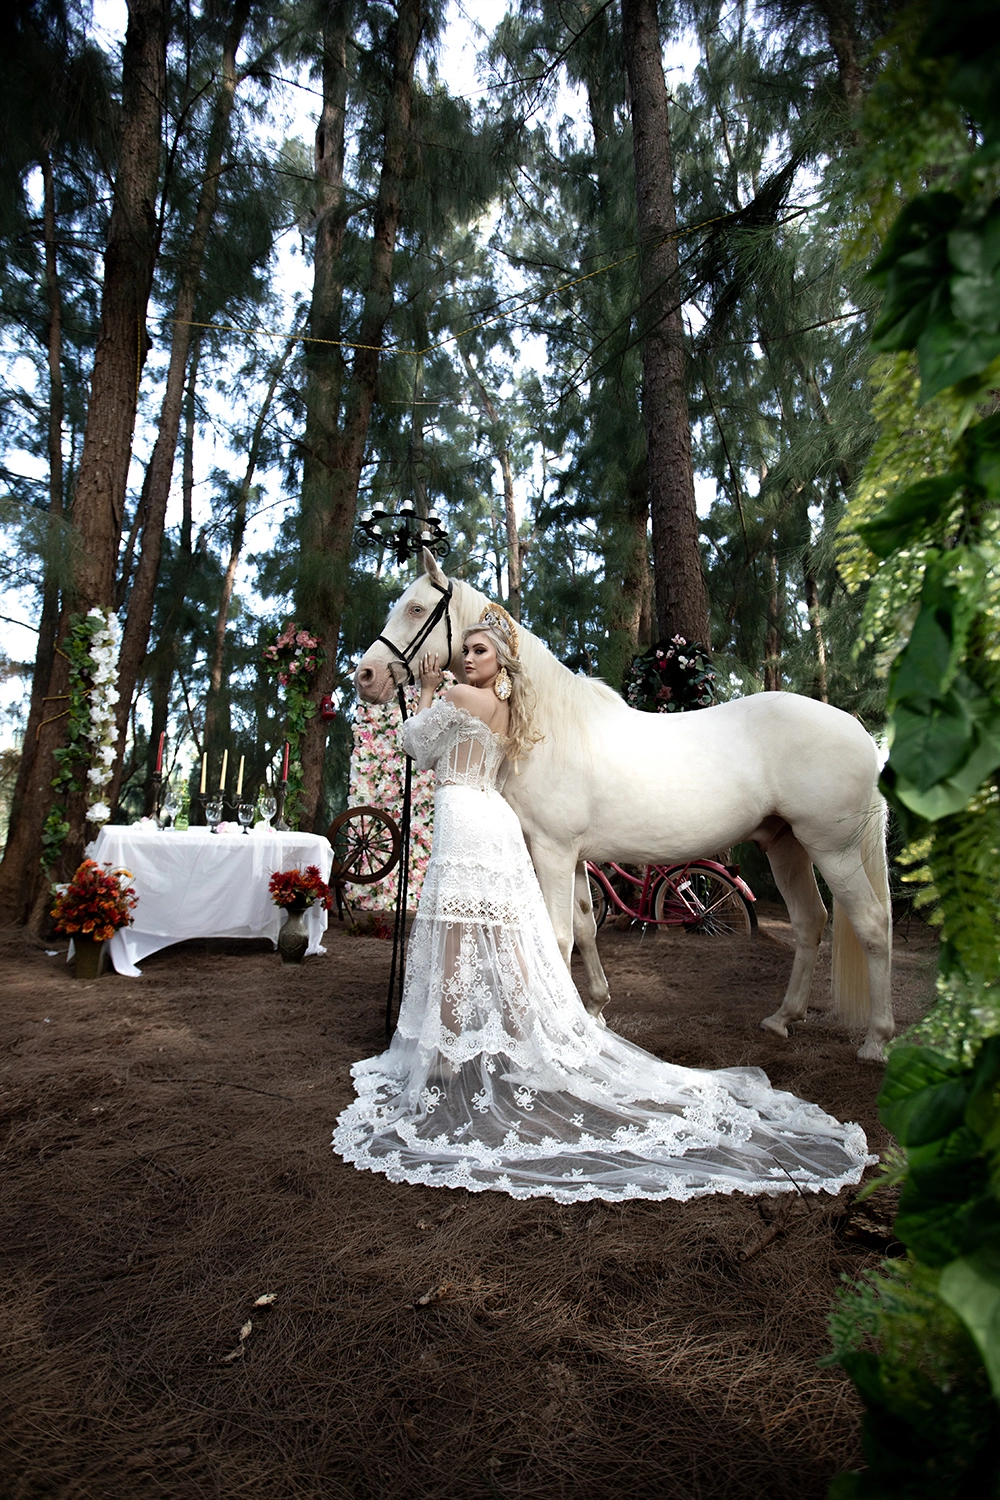
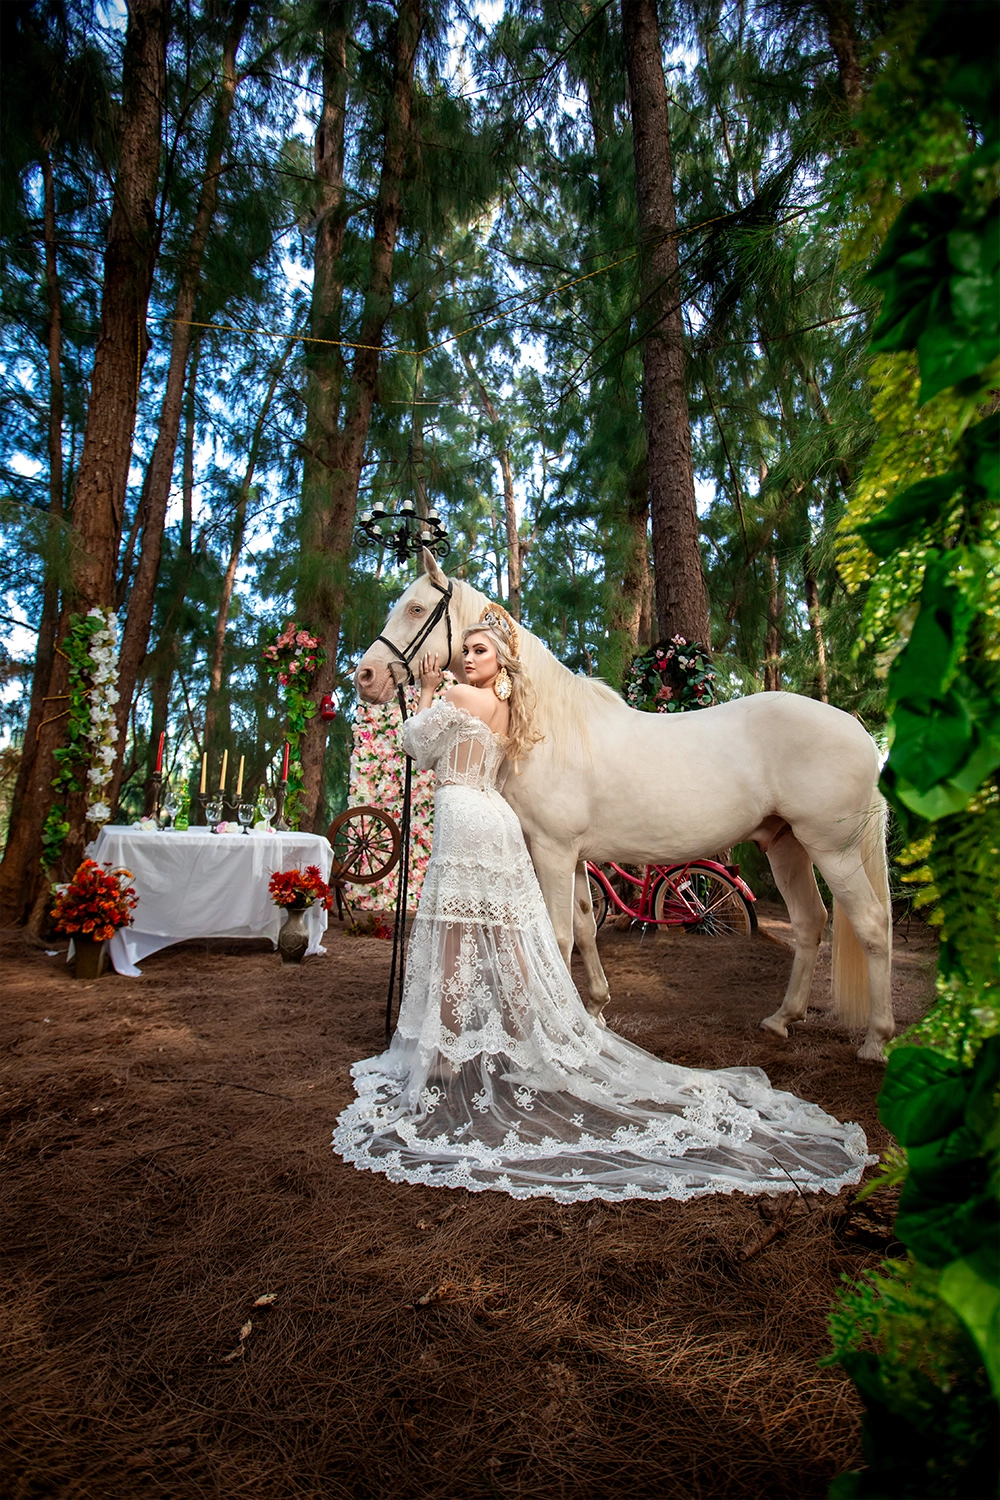
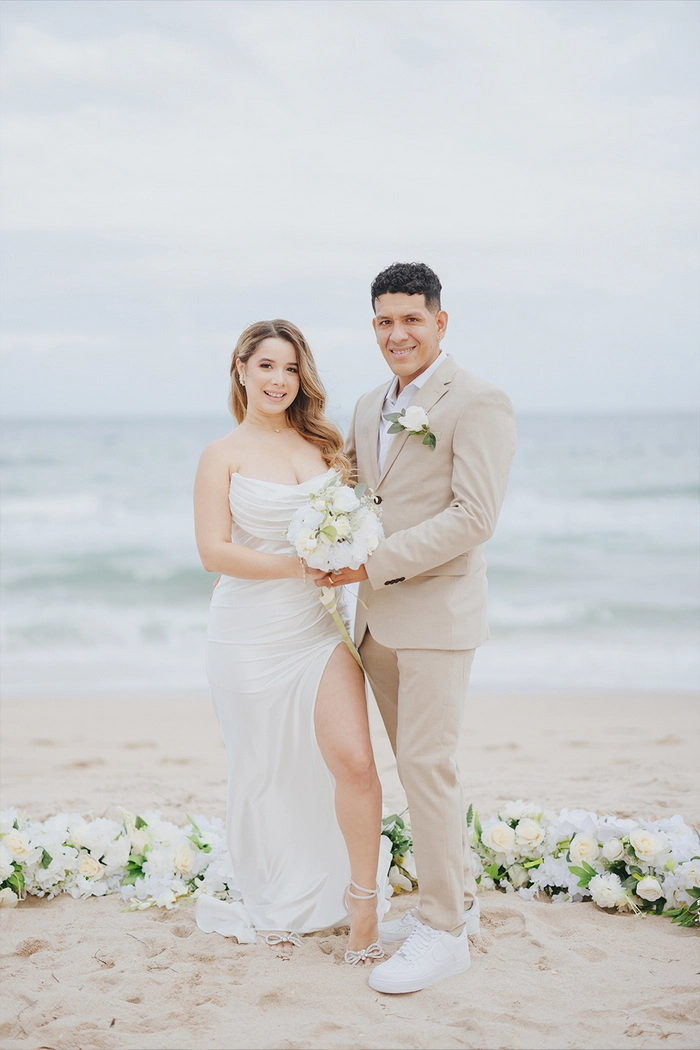
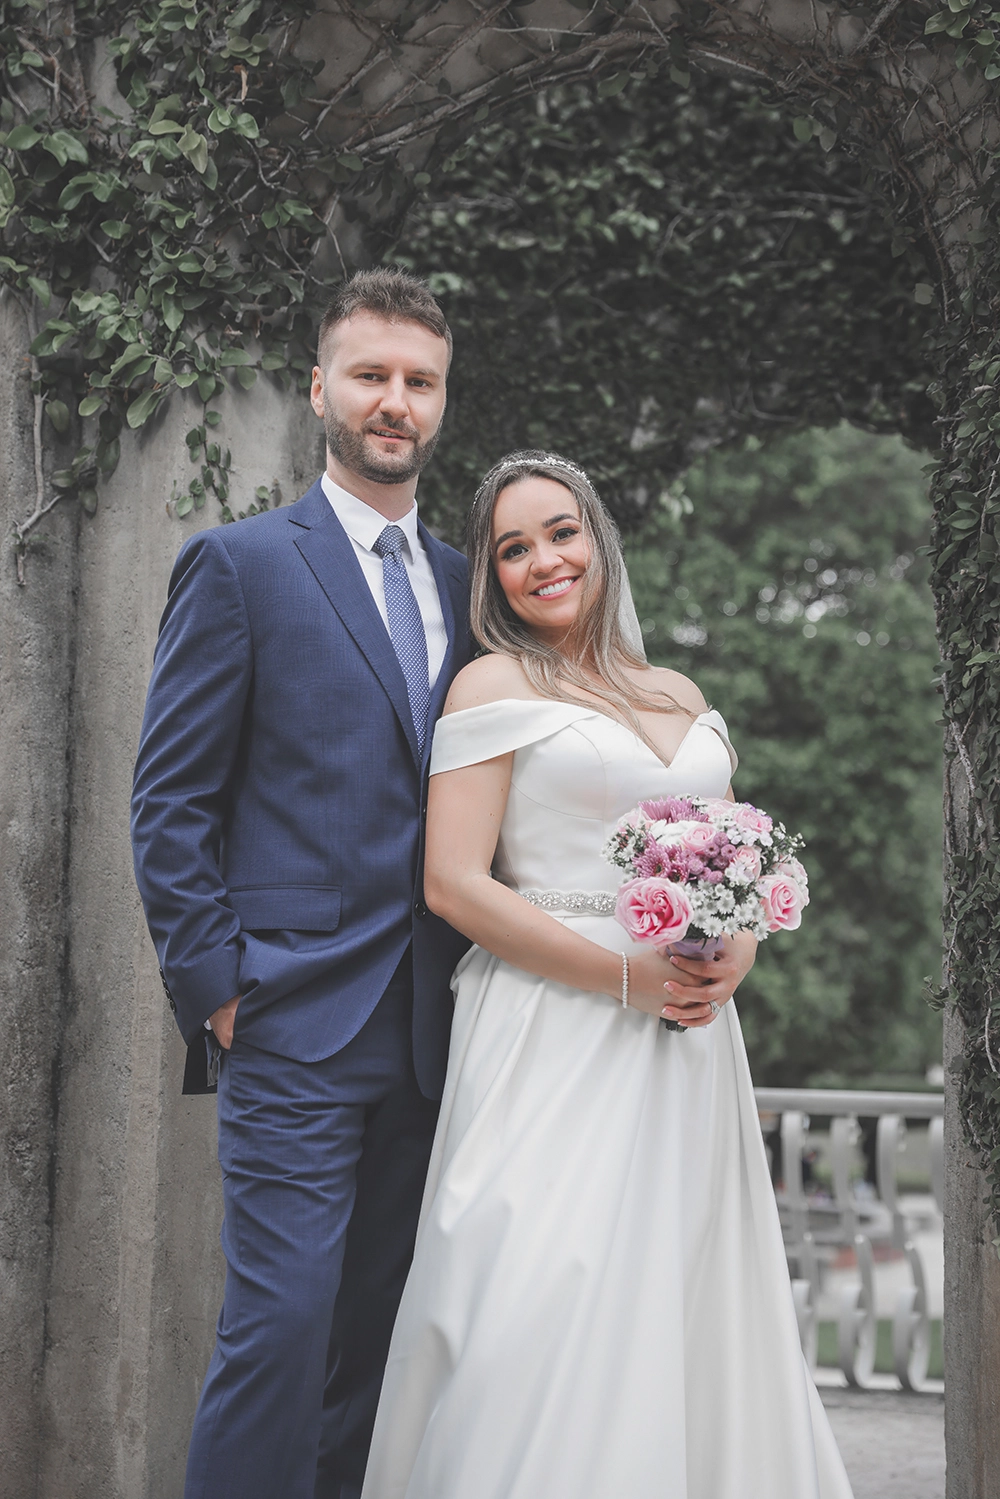
In the LR Pro, in addition to what is offered in LR, additional menus are used, as well as brushes and radials if needed, so that in addition to adjusting the normal color and lighting of each photo, lighting defects can be eliminated as much as possible.

We have provided a set of color profiles on our website. Our team can also create a color profile of your liking and apply it to your catalog.

When we begin the editing process, we will apply your selected color profile on the entire catalog and edit the photos based on that, ensuring the color profile matches the entire catalog in a cohesive way.

You may provide your preferred settings and we will turn it into your color profile at your own request.

Dodge and Burning

Darken excessively bright areas and lighten excessively dark areas to reach normal.Since sometimes the Lightroom settings alone are not able to fix the optical color defects of the image, in the Lightroom Pro service we try to solve this problem with other features of the Lightroom software.

Dodge and burning in Lightroom is done using various tools such as brush, linear gradient or radial to make the lights of the image more uniform. Also, this action creates more depth and a more beautiful effect in the image. This is done for different parts of the image, including the background or the subject, so that every part that has the ability to return more detail is not missed.
Lightroom Pro Dodge and burning Before 01 Lightroom Pro Dodge and burning After 01
Similarities and difference between Dodge and Burning in Lightroom and Photoshop services The goal of Dodge and Burning is the same both in Lightroom and in Photoshop, and in both, the dark and light points of the photo are worked on to achieve the desired result. But it should be noted that the nature of the software is different and this causes differences. In Dodge and Burning in Photoshop services, which are two different types and are explained in detail in the Photoshop section, due to the existence of separate layers, you can focus more and more precisely on different parts of the image. But in terms of the result, Dodge and Burning in Lightroom is very similar to Dodge and Burning Al Carte in Photoshop Basic service with the difference that due to the limitation of tools and the inability to edit in multiple stages, changes can be made to a lesser extent than in Photoshop
Lightroom Pro Dodge and burning Before 02 Lightroom Pro Dodge and burning After 02
Lightroom Pro Dodge and burning Before 03 Lightroom Pro Dodge and burning After 03

Lens Correction

Eliminating lens distortion based on the type of lens used.

Lightroom Pro Lens Correction Before 1 Lightroom Pro Lens Correction After 1

Capturing lens deformation in Lightroom may seem simple at first, but Lightroom catalogs often contain numerous photos taken with various lenses, each having a different degree of distortion. In some cases, the software does not automatically recognize the lens, necessitating manual selection. Additionally, the amount of distortion is not always consistent and may vary depending on the surrounding stretch.

Lightroom Pro lenses correction 04 Lightroom Pro lenses correction 03
Lightroom Pro lense correction 09 Lightroom Pro lense correction 08
Lightroom Pro Lens Correction After 2 Lightroom Pro Lens Correction Before 2

Vignette

Vignetting in Lightroom Pro is applied to enhance the beauty of the photo and draw more attention to the main subject.

Vignetting in Lightroom Pro is done for beauty and to draw more attention to the main subject of the photo.

Based on the type of color, light, and framing of each photo, the amount of vignetting will vary. Vignetting is usually avoided in completely white areas as it does not enhance the image’s beauty.

If you prefer a significant amount of vignetting, you can share this preference with us, and we will accommodate it.

Vignetting is applied to both indoor and outdoor photos. For studio photos with a white background, it is done carefully to avoid negatively affecting the white color.

Lightroom Pro vignetting 03 Lightroom Pro vignetting 04
Lightroom Pro vignetting 07 Lightroom Pro vignetting 08
Lightroom Pro vignetting 05 Lightroom Pro vignetting 06
Lightroom Pro vignetting 02 Lightroom Pro vignetting 01

Spot Removal

The Spot Removal add-on removes the small and distracting elements of the image. If Spot Removal leaves noticeable marks or interferes with other elements in the image, it is avoided.
Lightroom Pro Spot Removal Before 1 Lightroom Pro Spot Removal After 1
Lightroom Pro Spot Removal Before 2 Lightroom Pro Spot Removal After 2
Lightroom Pro Spot Removal Before 3 Lightroom Pro Spot Removal After 3
Lightroom Pro Spot Removal Before 4 Lightroom Pro Spot Removal After 4

Color Profile(Presets)

The Preset add-on allows you to choose from a set of available presets to apply to your photos. Simply select a preset that suits your style and it will be applied to your catalog. These filters are designed to not alter other edits, but help unify your photos aesthetically.

Coastal Breeze

Lightroom Pro Preset Coastal Breeze Before Lightroom Pro Preset Coastal Breeze After

Mystic Meadows

Lightroom Pro Preset Mystic Meadows Before Lightroom Pro Preset Mystic Meadows After

Pastel Paradise

Lightroom Pro Preset Pastel Paradise Before Lightroom Pro Preset Pastel Paradise After
Enchanted Forest before Enchanted Forest after

Enchanted Forest

Black & White

Photoshop Basic Advanced Filter Black & White High Contrast Before 02 Photoshop Basic Advanced Filter Black & White High Contrast After 02

Autumn Whisper

Autumn Whisper before Autumn Whisper after

Masking

The Masking add-on allows for the usage of the masking tool. It enhances depth and beauty in any photo that is suitable for it, as long as the results are natural.
Lightroom Pro masking Before 01 Lightroom Pro masking After 01
Lightroom Pro masking Before 02 Lightroom Pro masking After 02

Cropping & Straightening

With the Crop & Straightening add-on, you can easily adjust any photo as needed. There’s no need to specify which photos beforehand, but if you have specific cropping guidelines, feel free to share them.
Lightroom Pro Crop & Straightening2 Before Crop & Straightening2 After
Lightroom Pro crop & straightening before 02 Lightroom Pro crop & straightening After 02
Lightroom Pro Crop & Straightening Before 1 Lightroom Pro Crop & Straightening After 1
Lightroom Pro Crop & Straightening Before 2 Lightroom Pro Crop & Straightening After 2