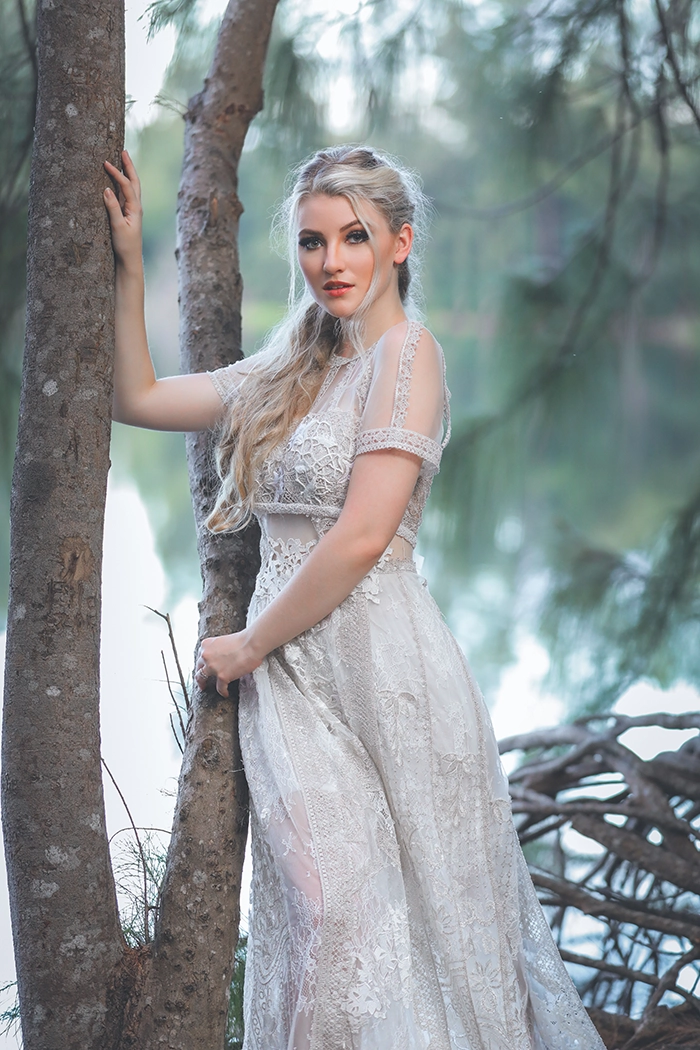
Add Element |
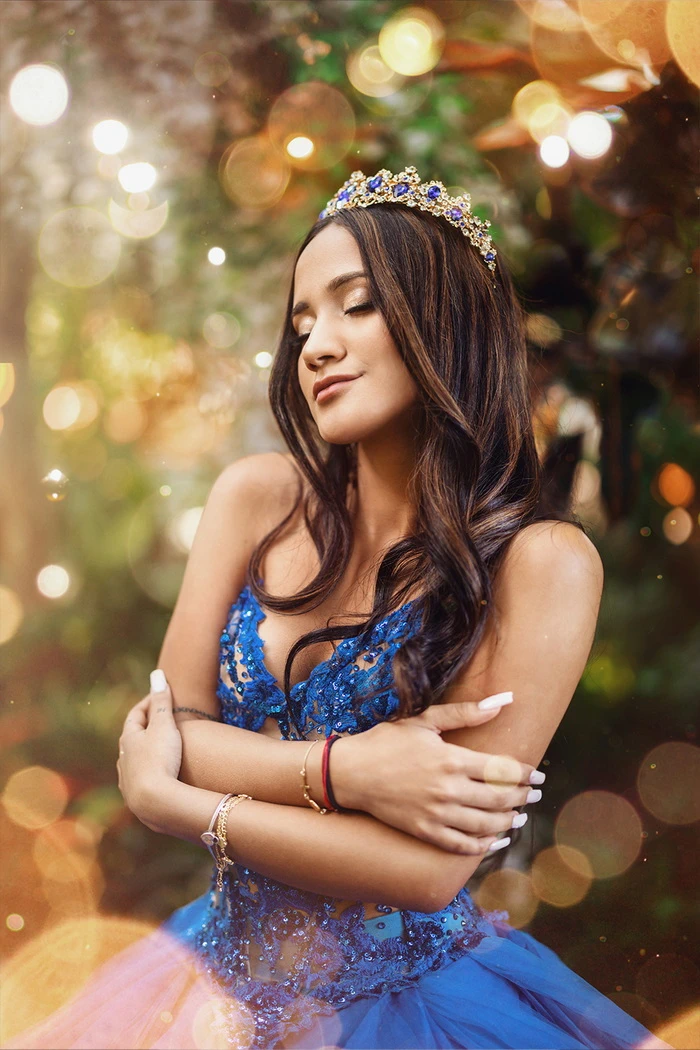
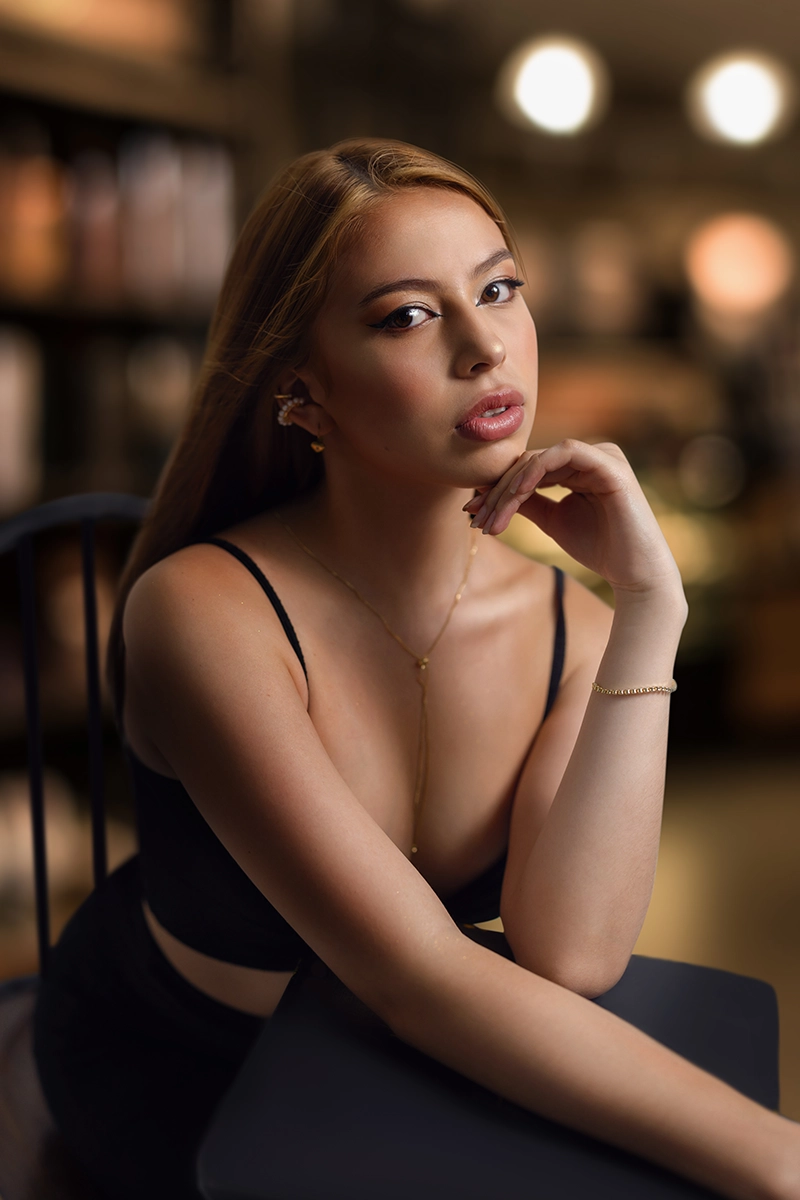
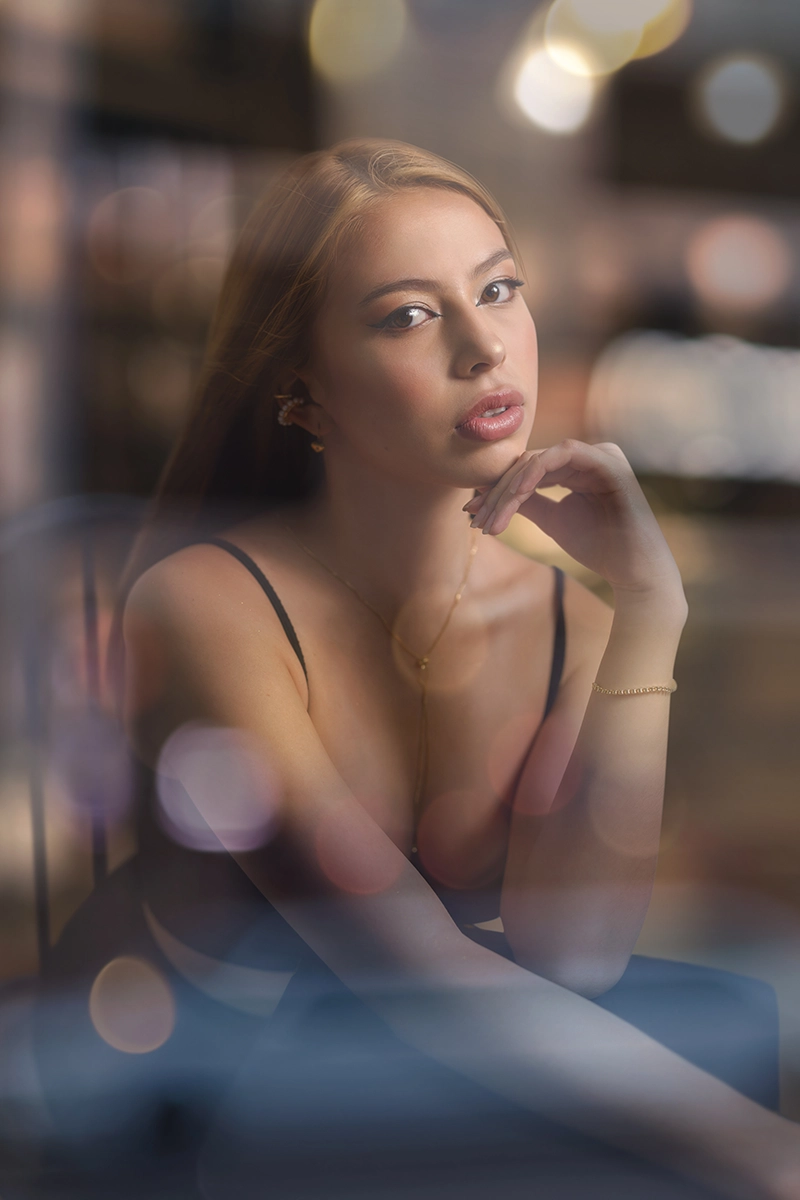
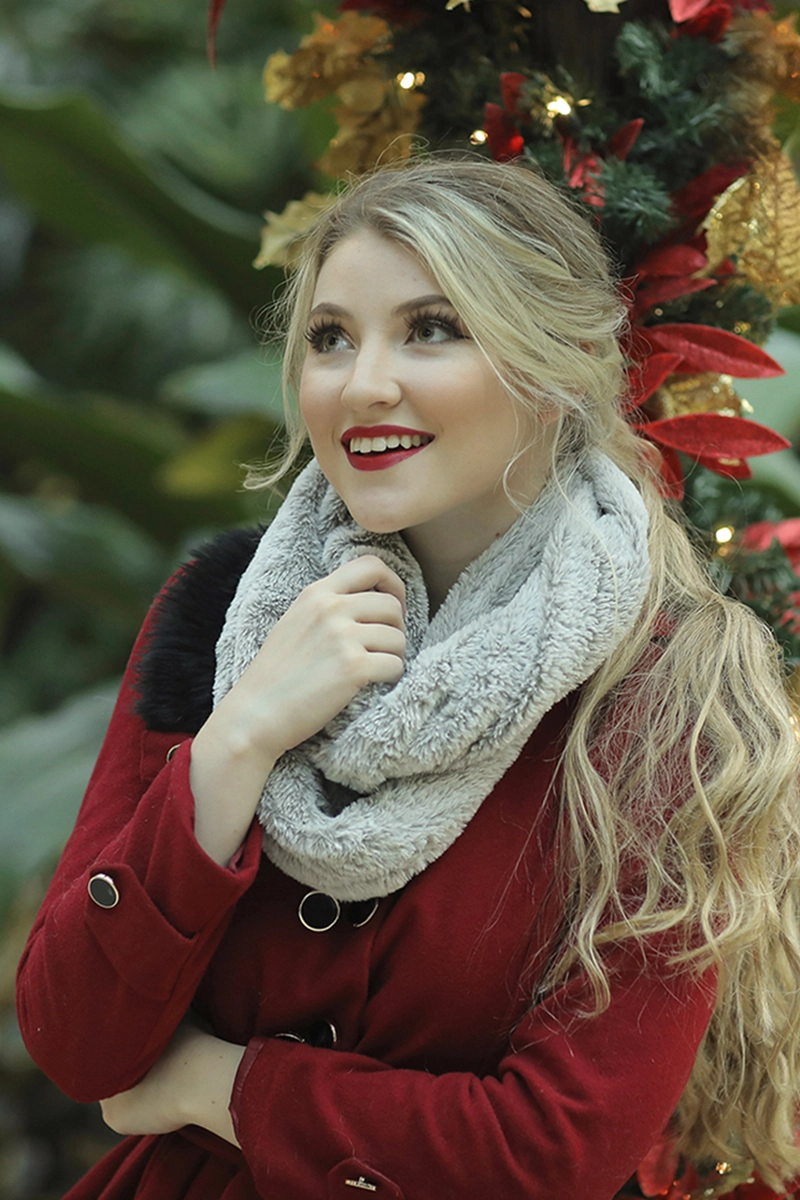
Bokeh
Add Element |
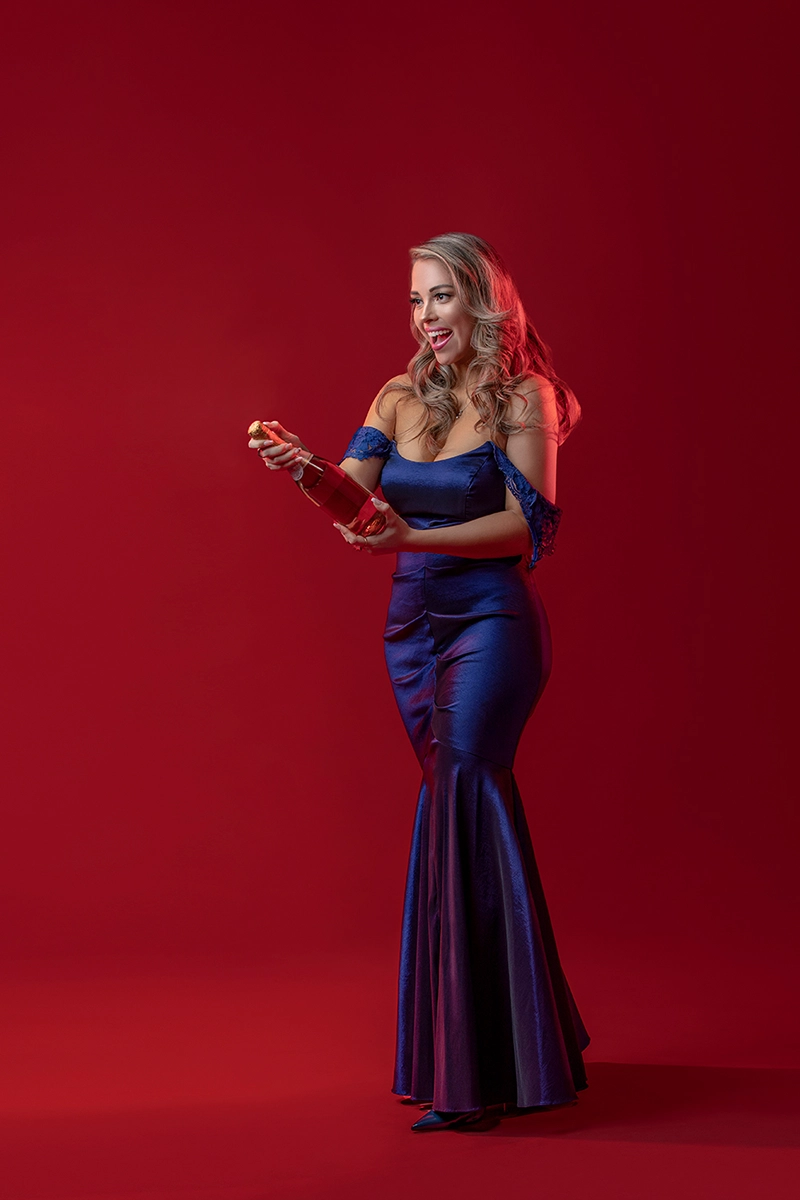
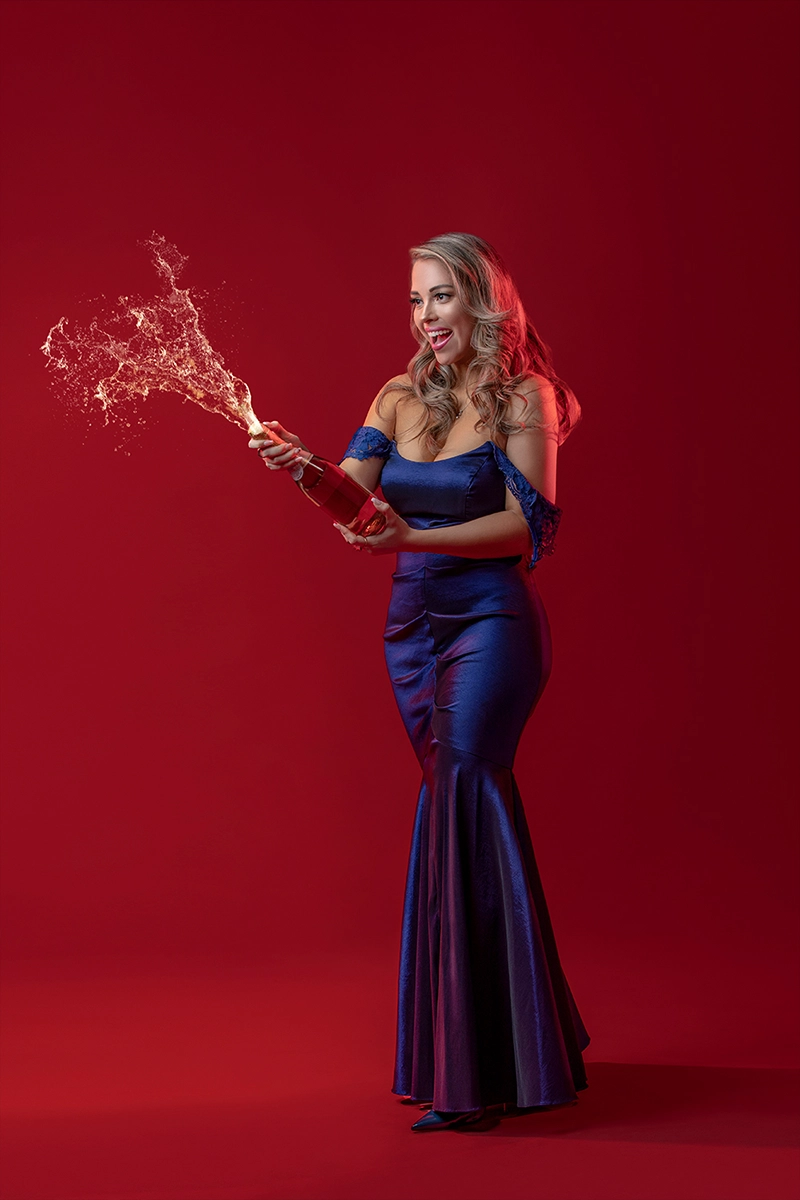
Champagne
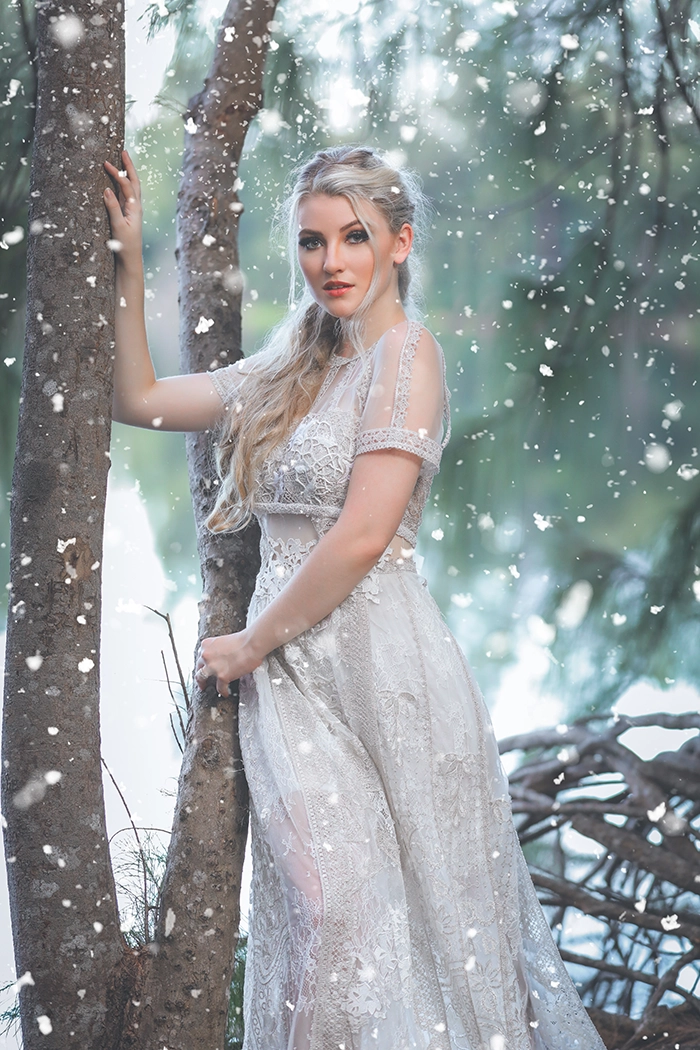
Add Element |
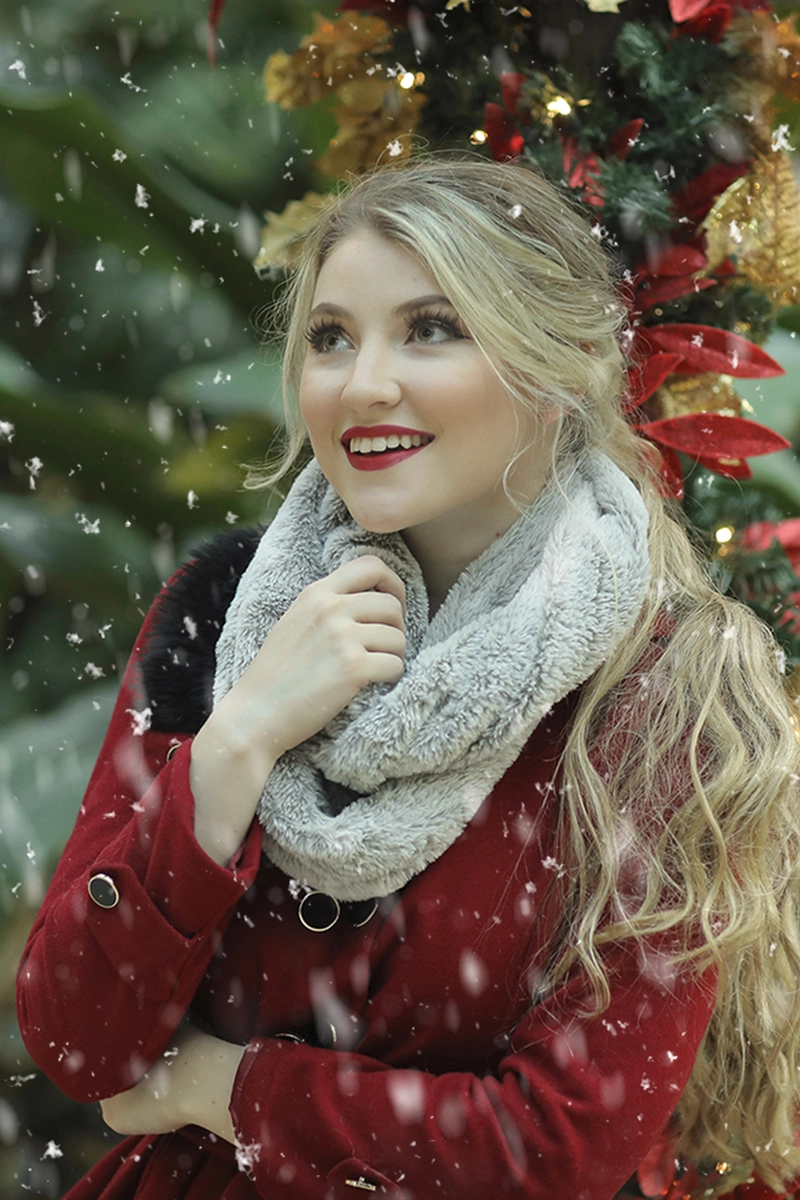
Snow

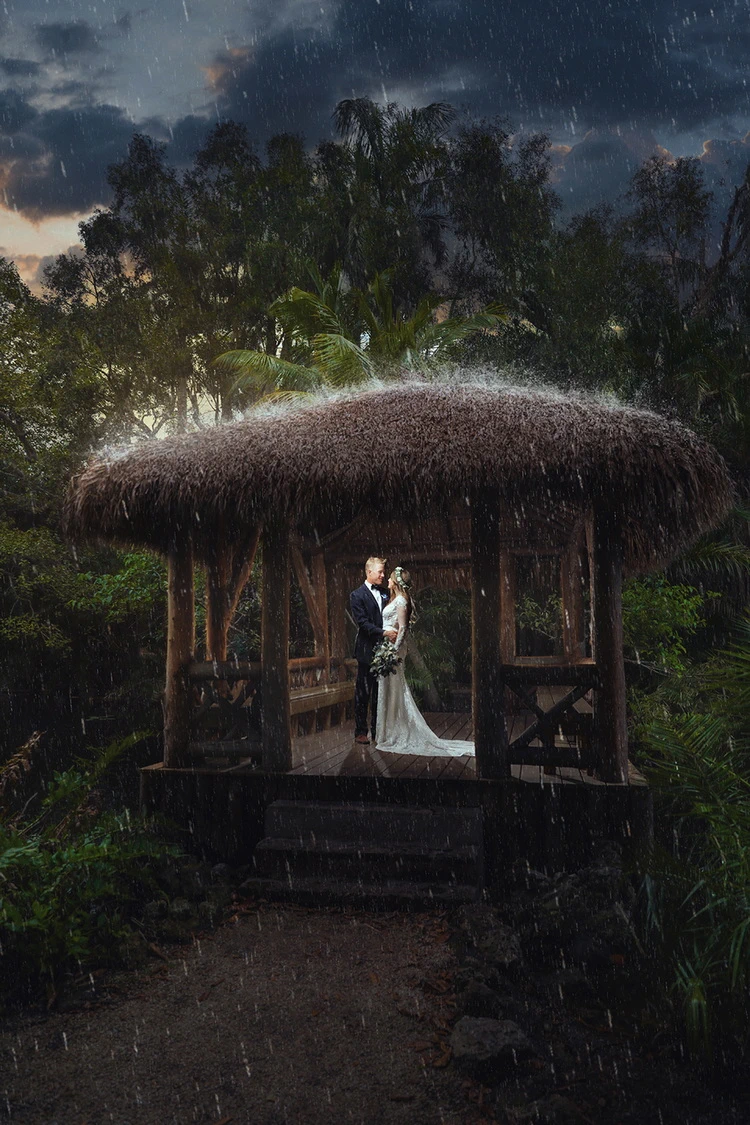
Add Element |
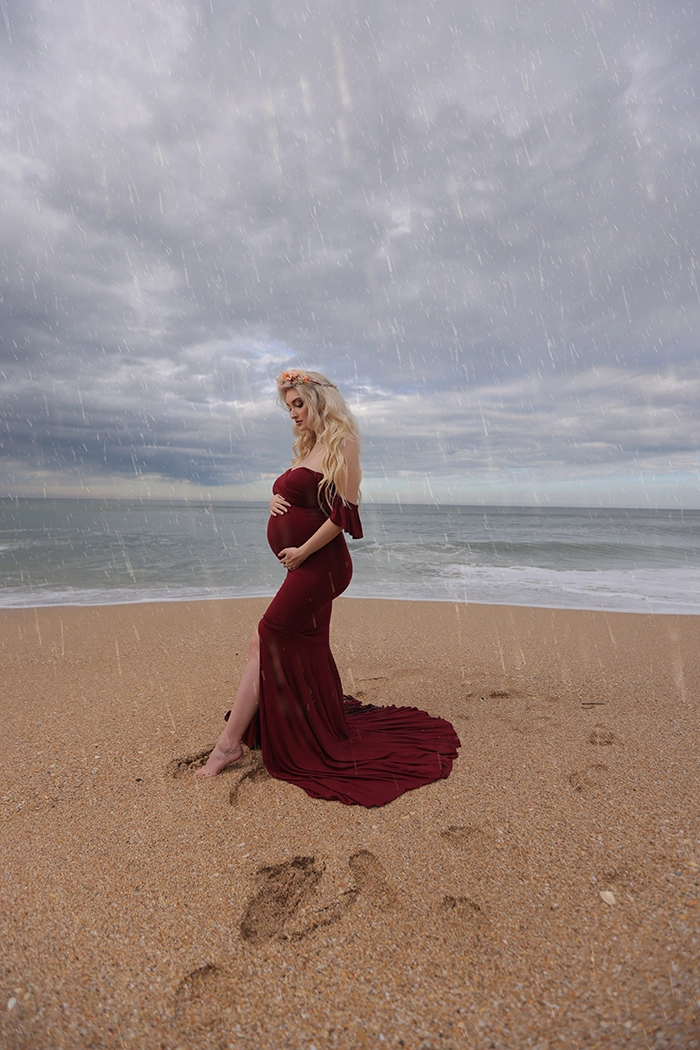
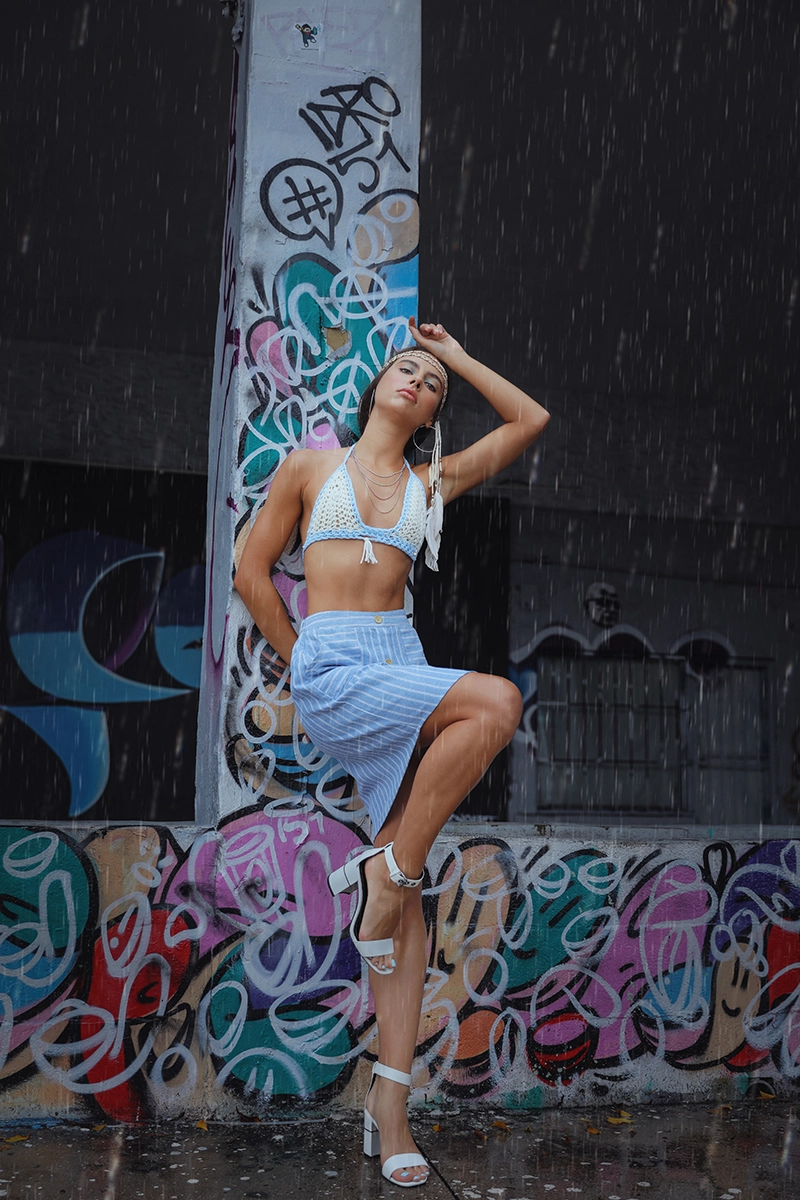
Rain
Add Element |
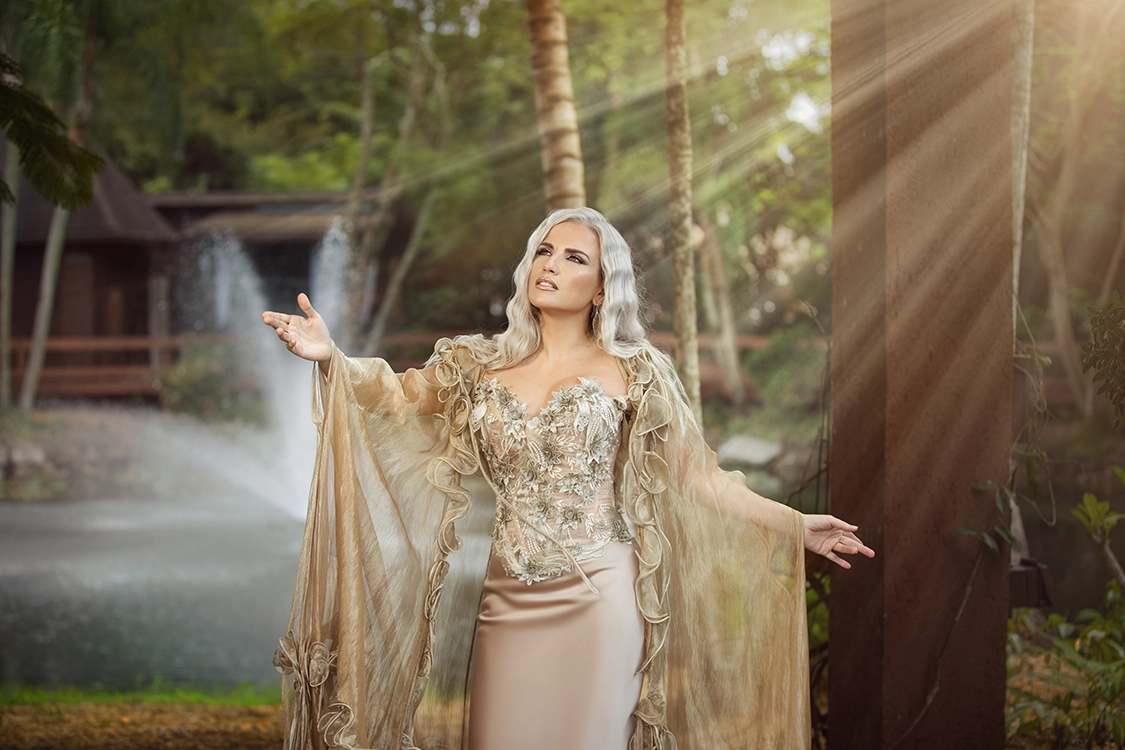
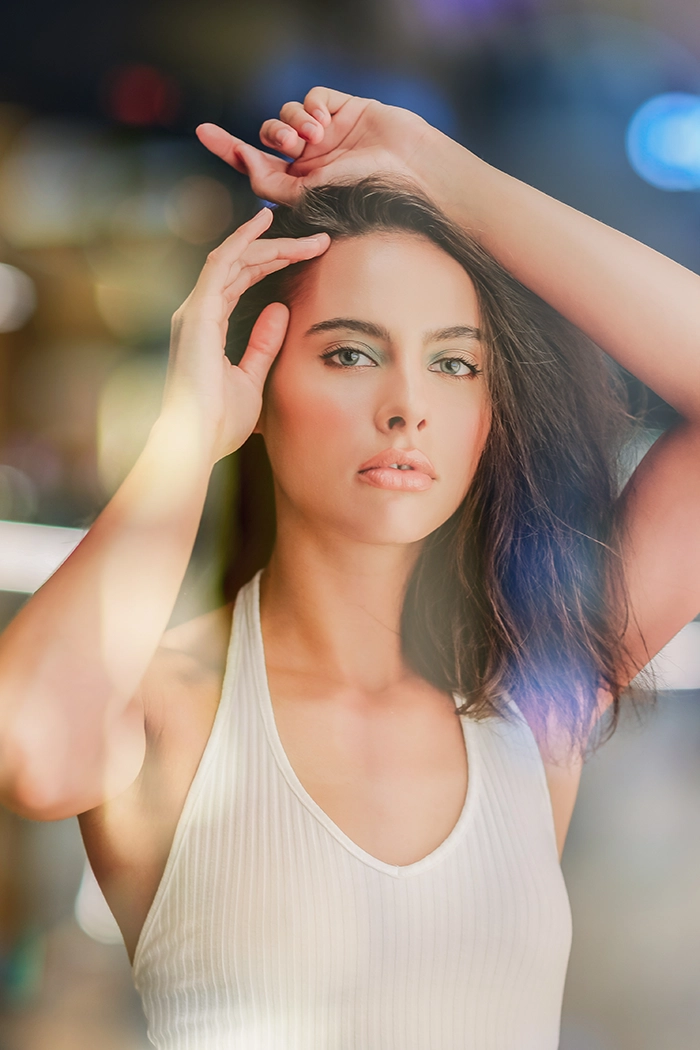
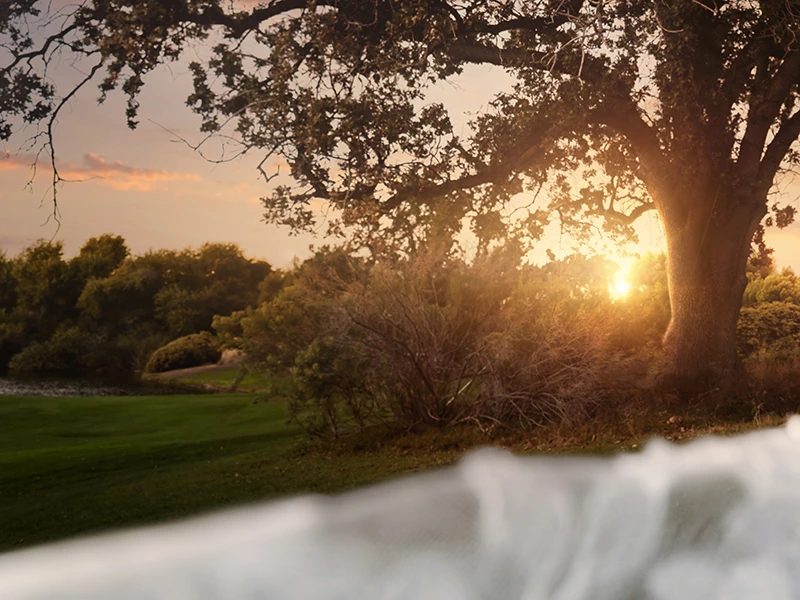
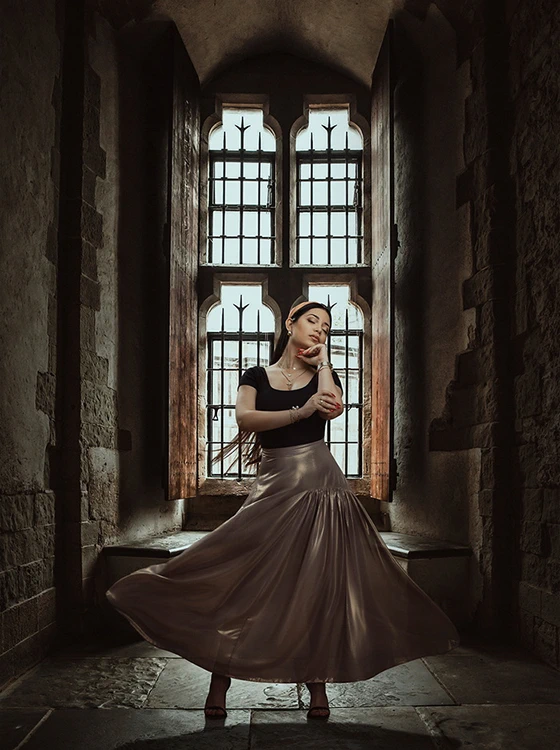
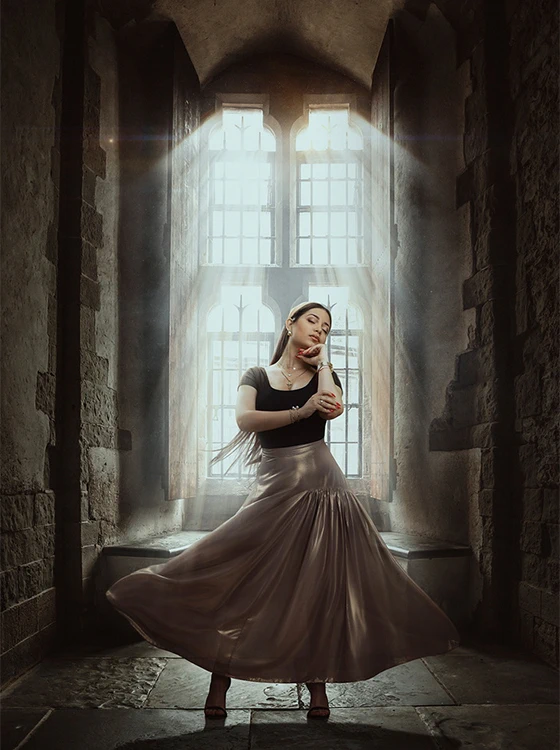
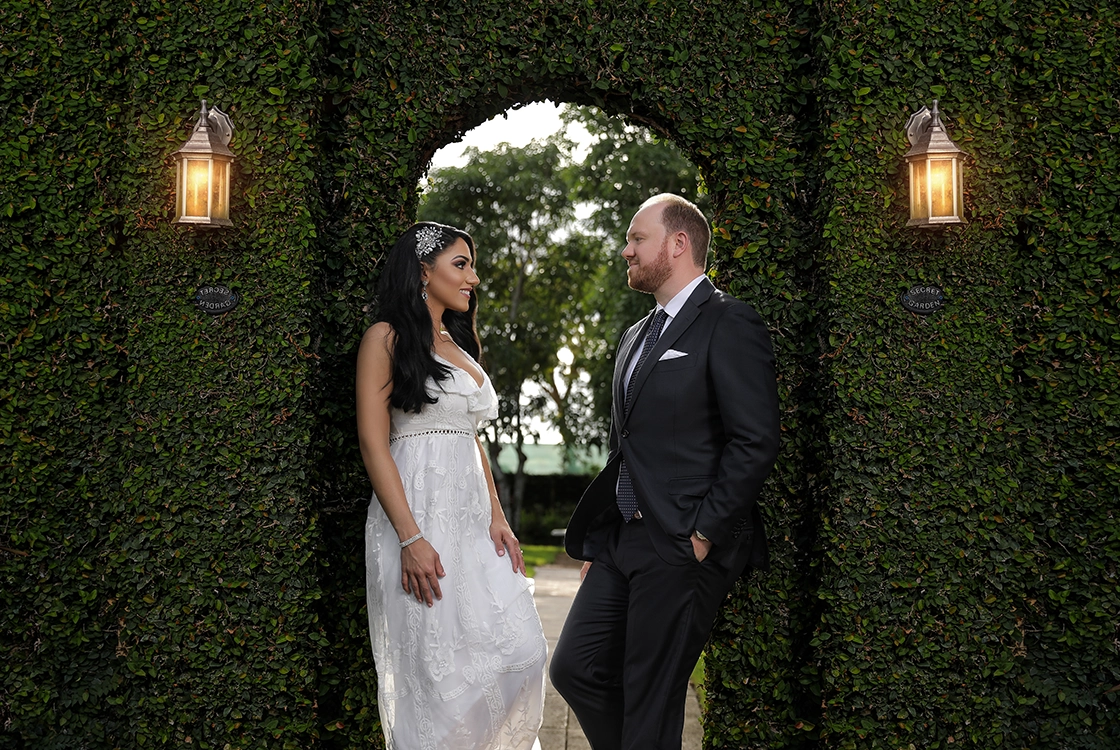
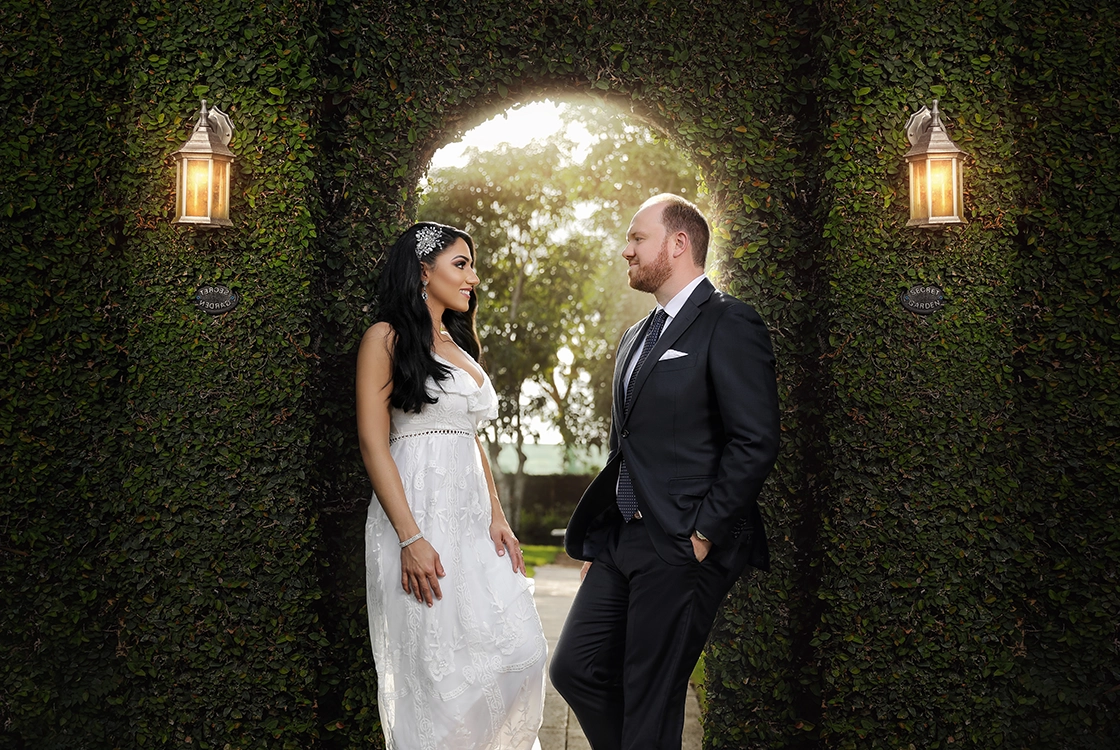
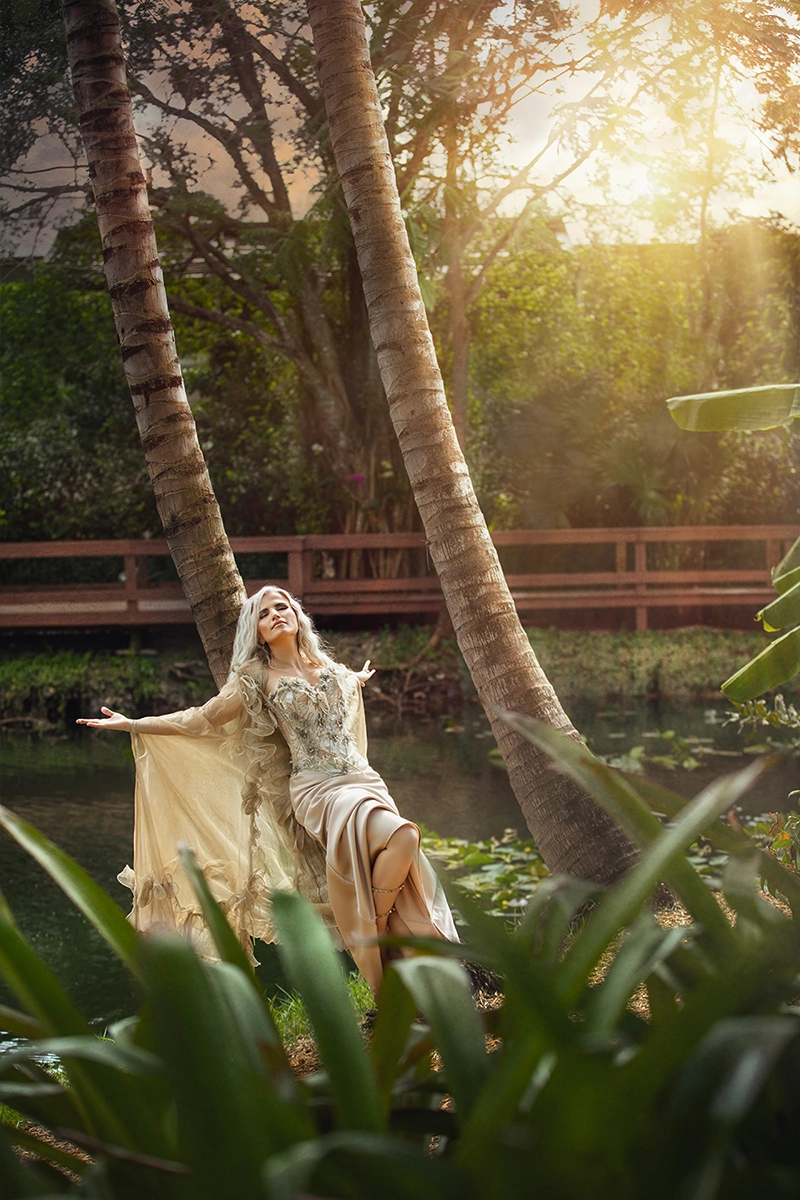
Sun Flare
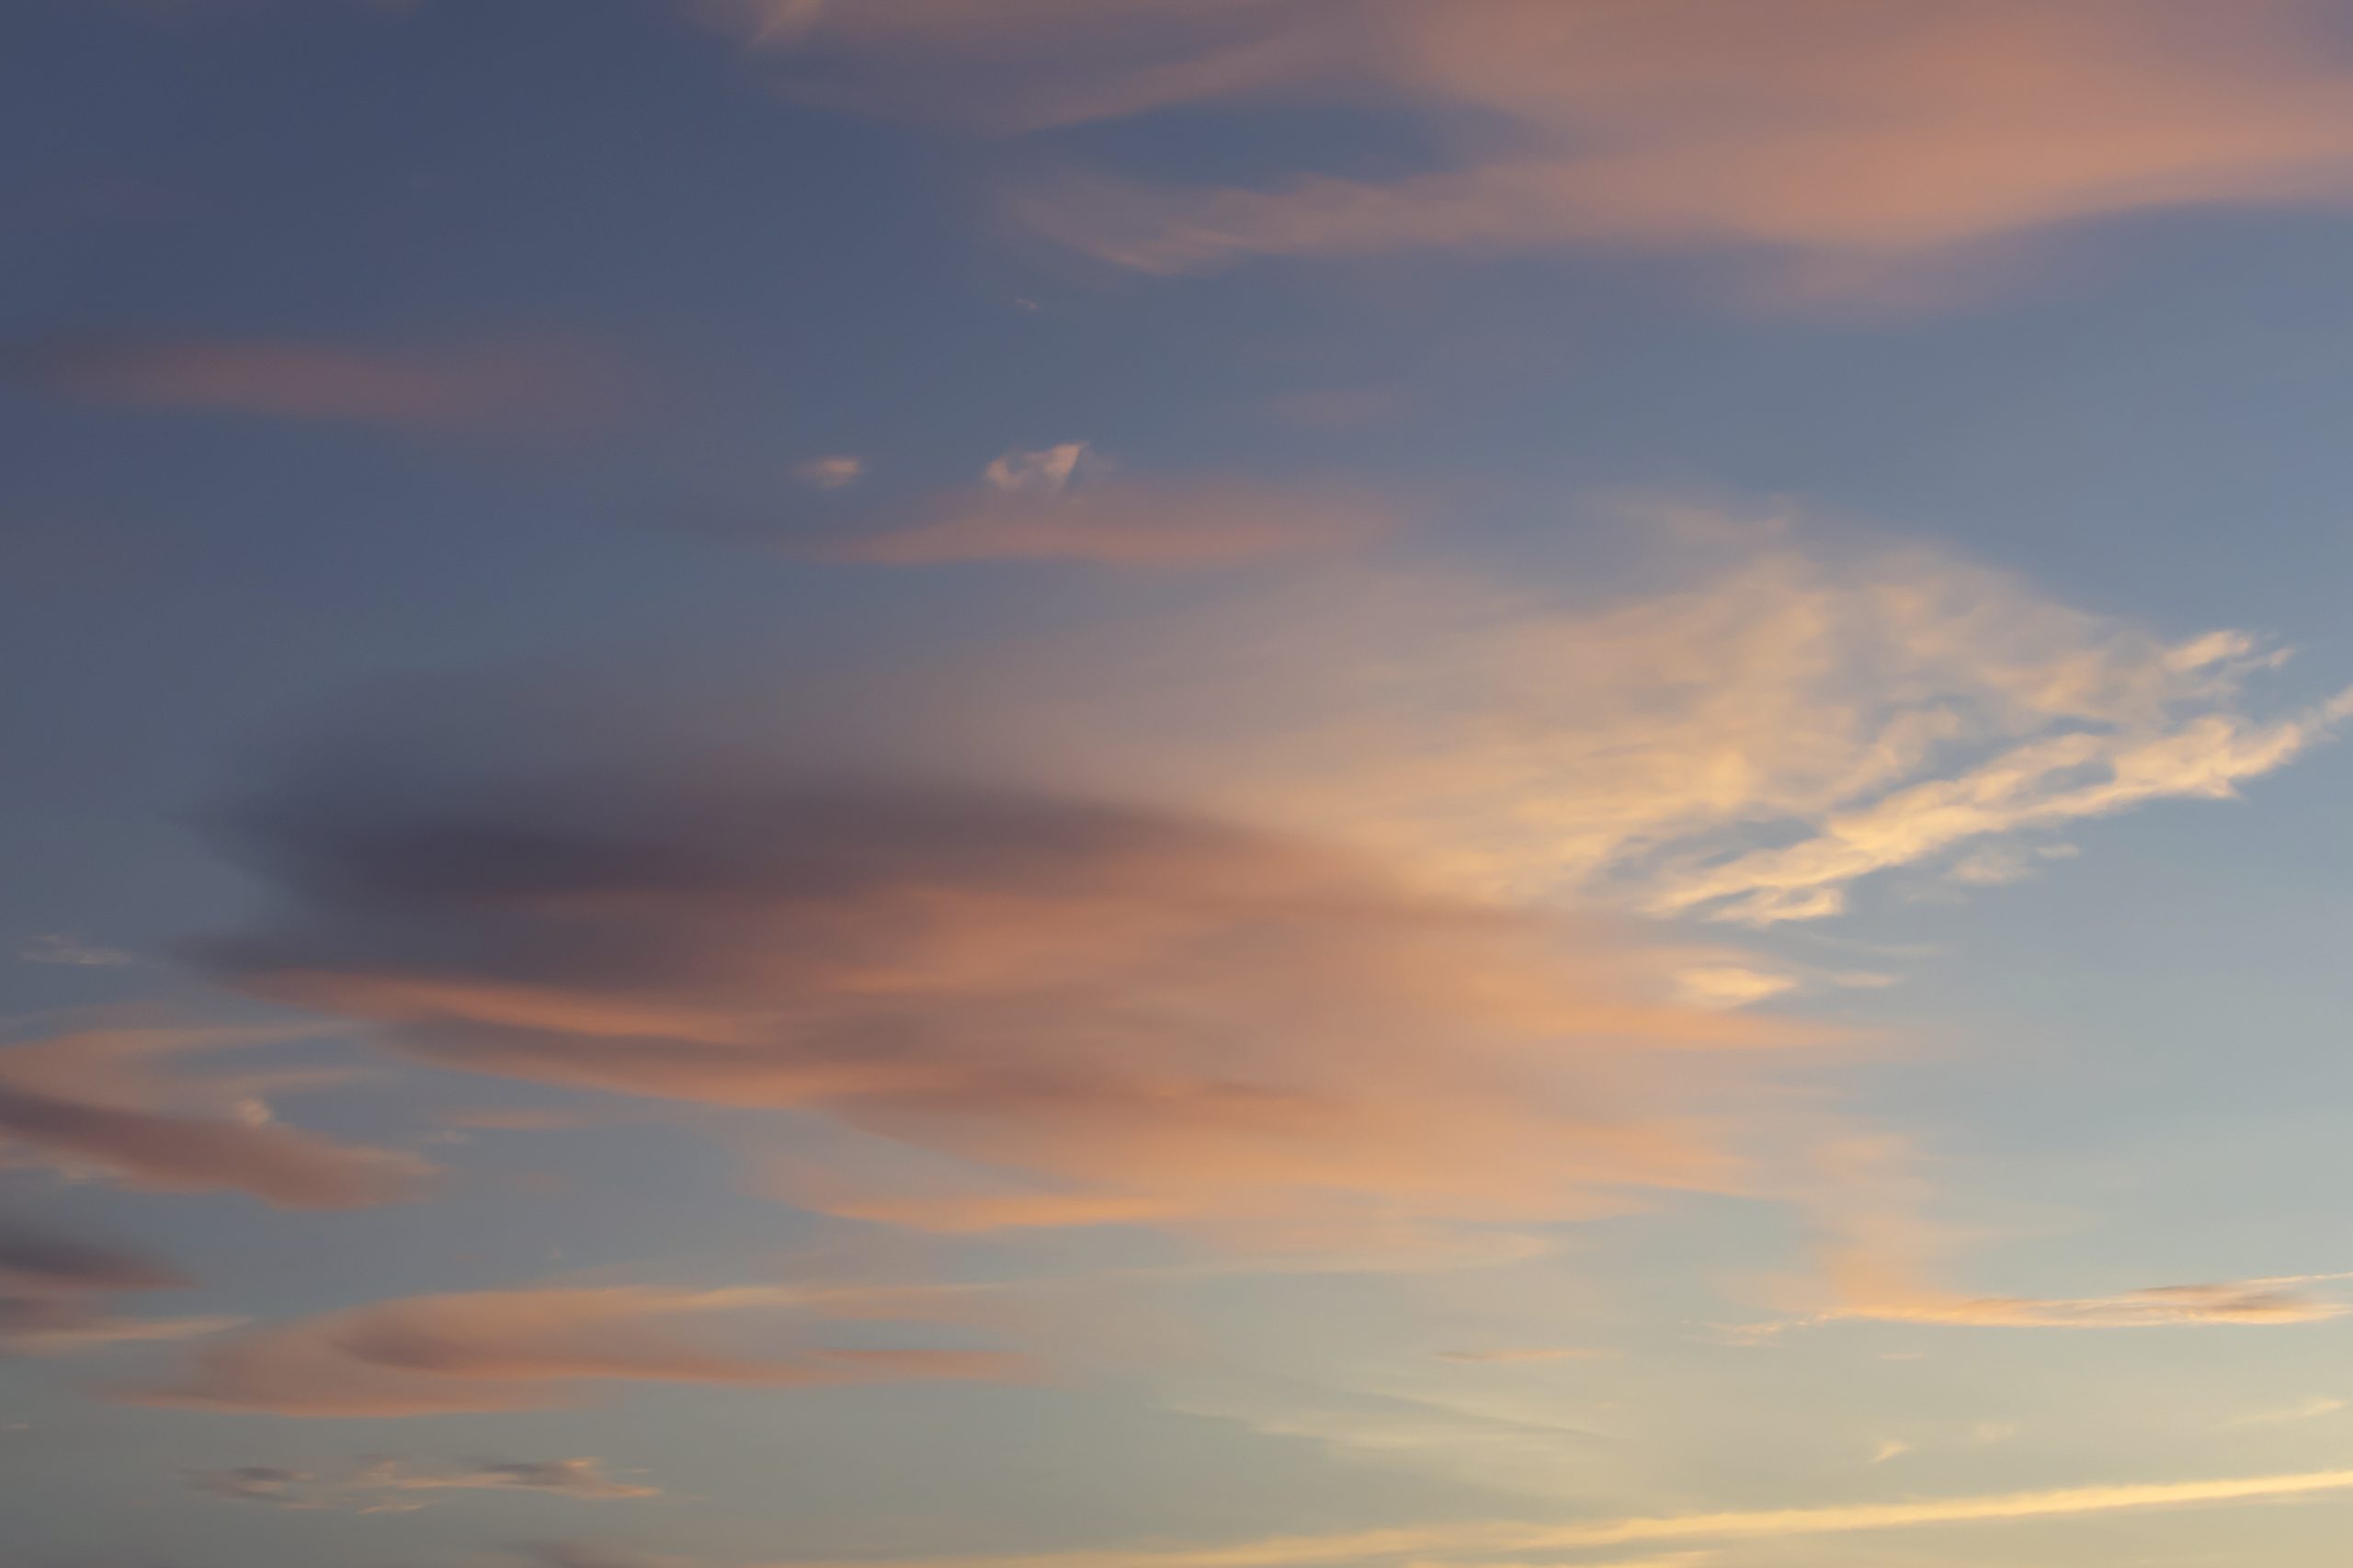
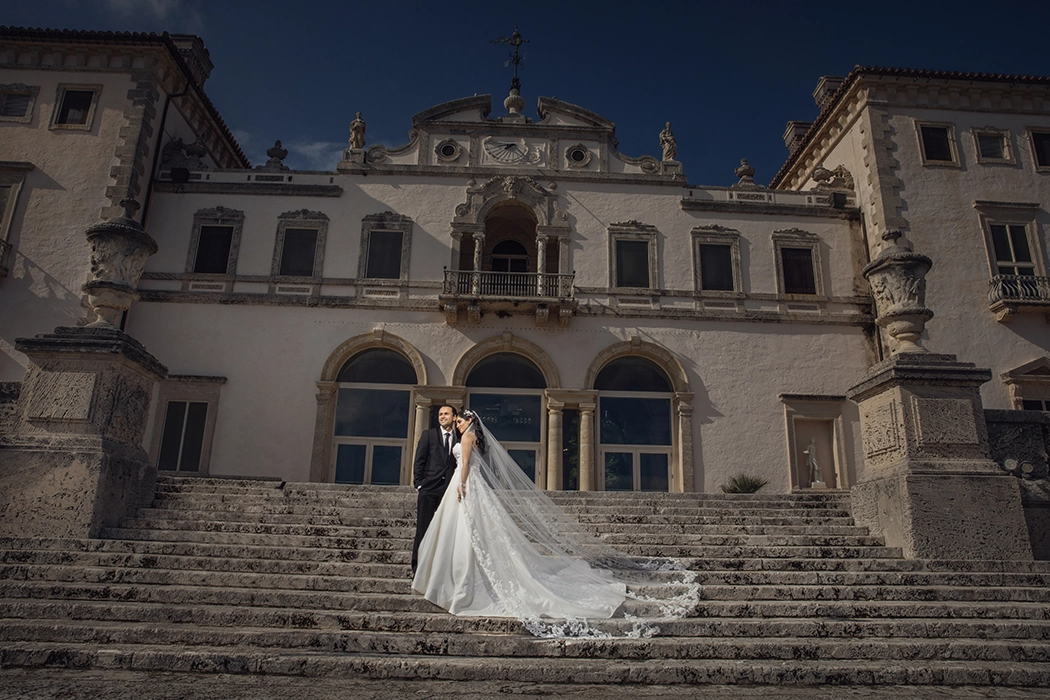
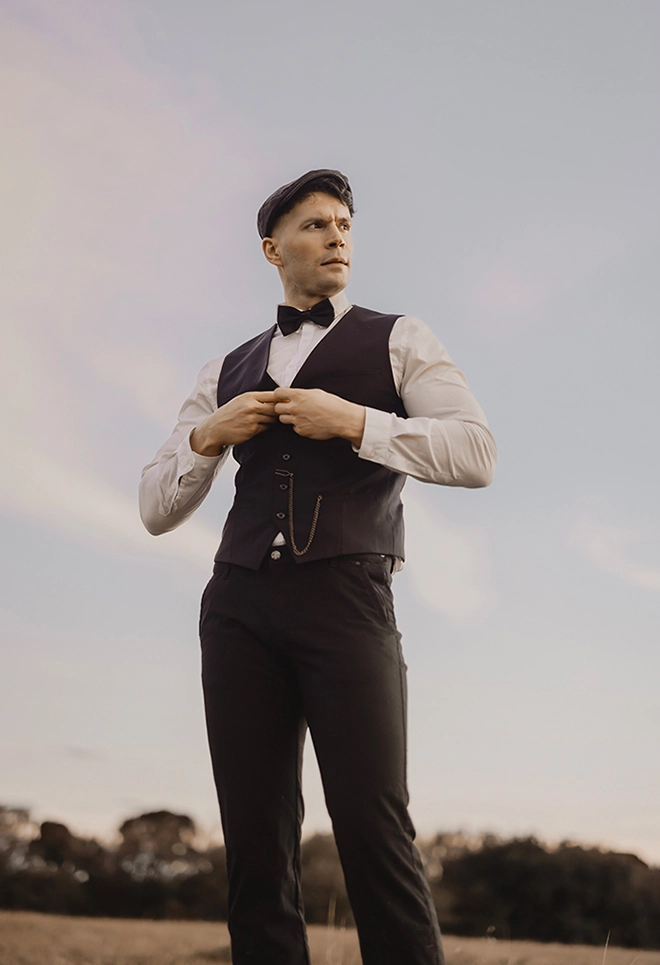
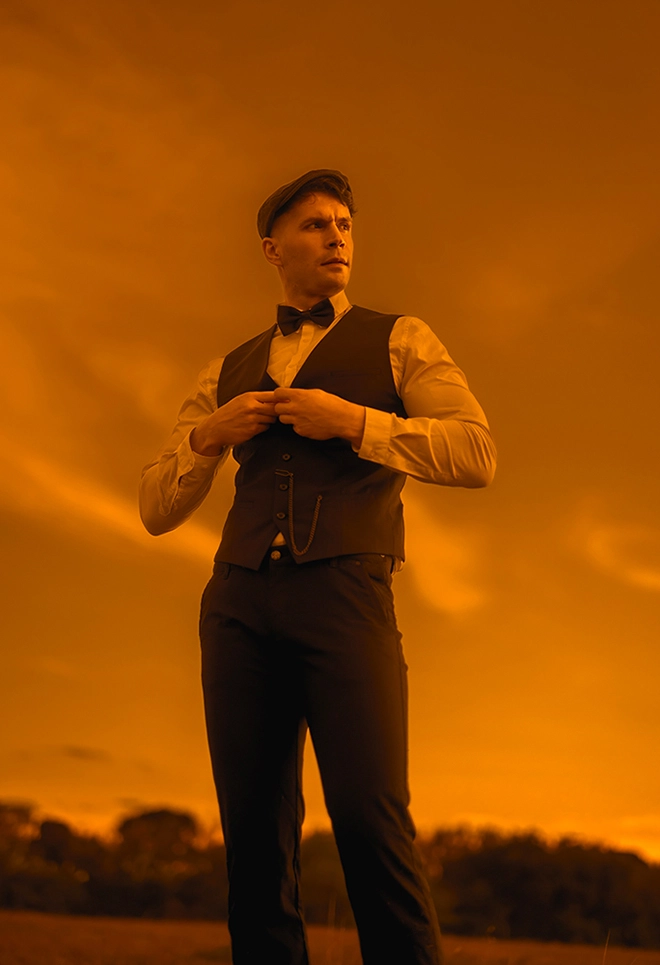
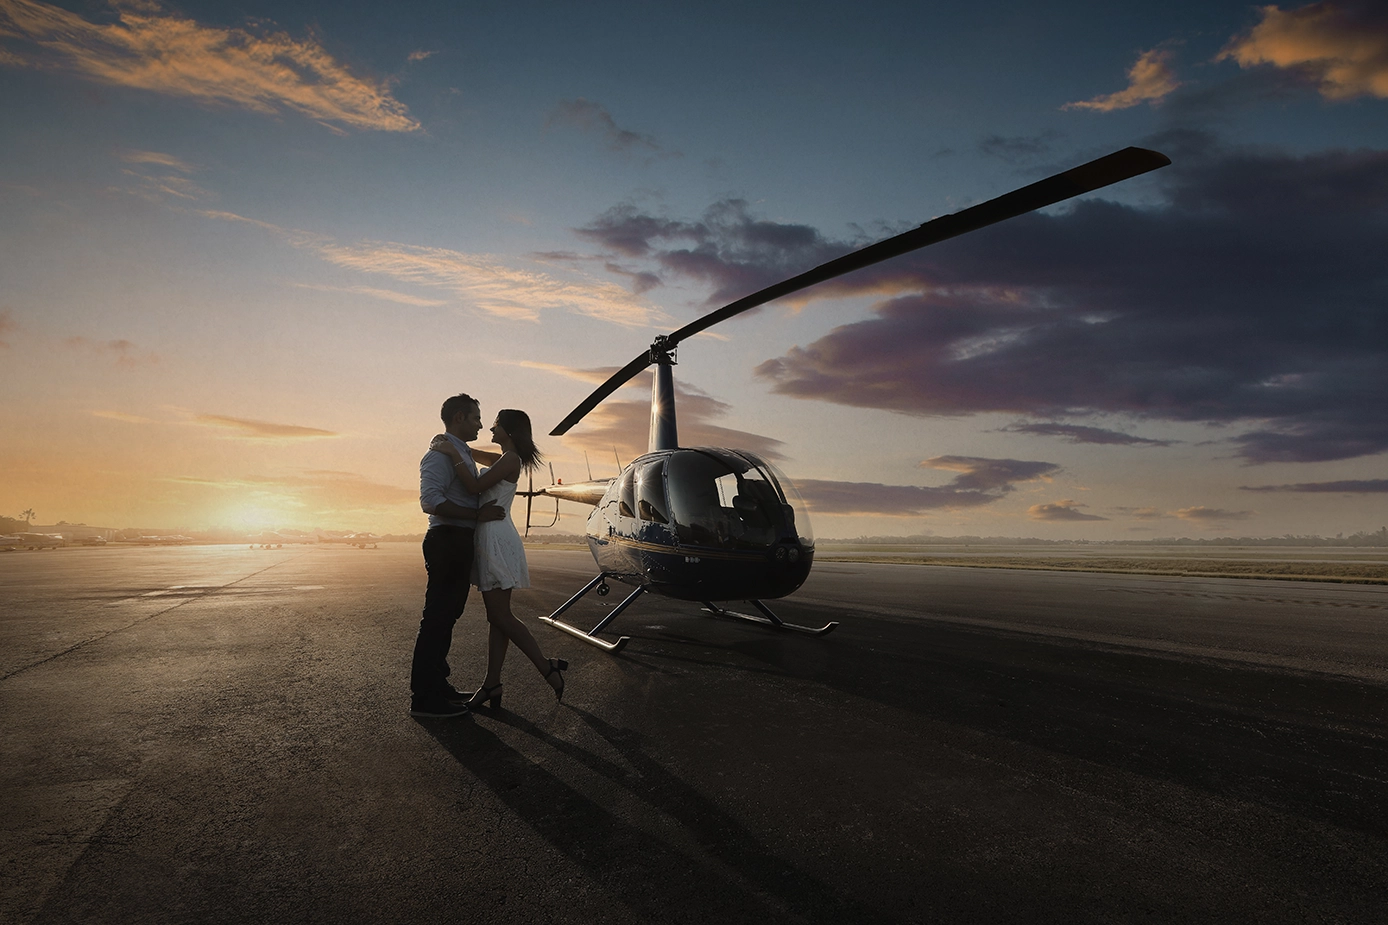
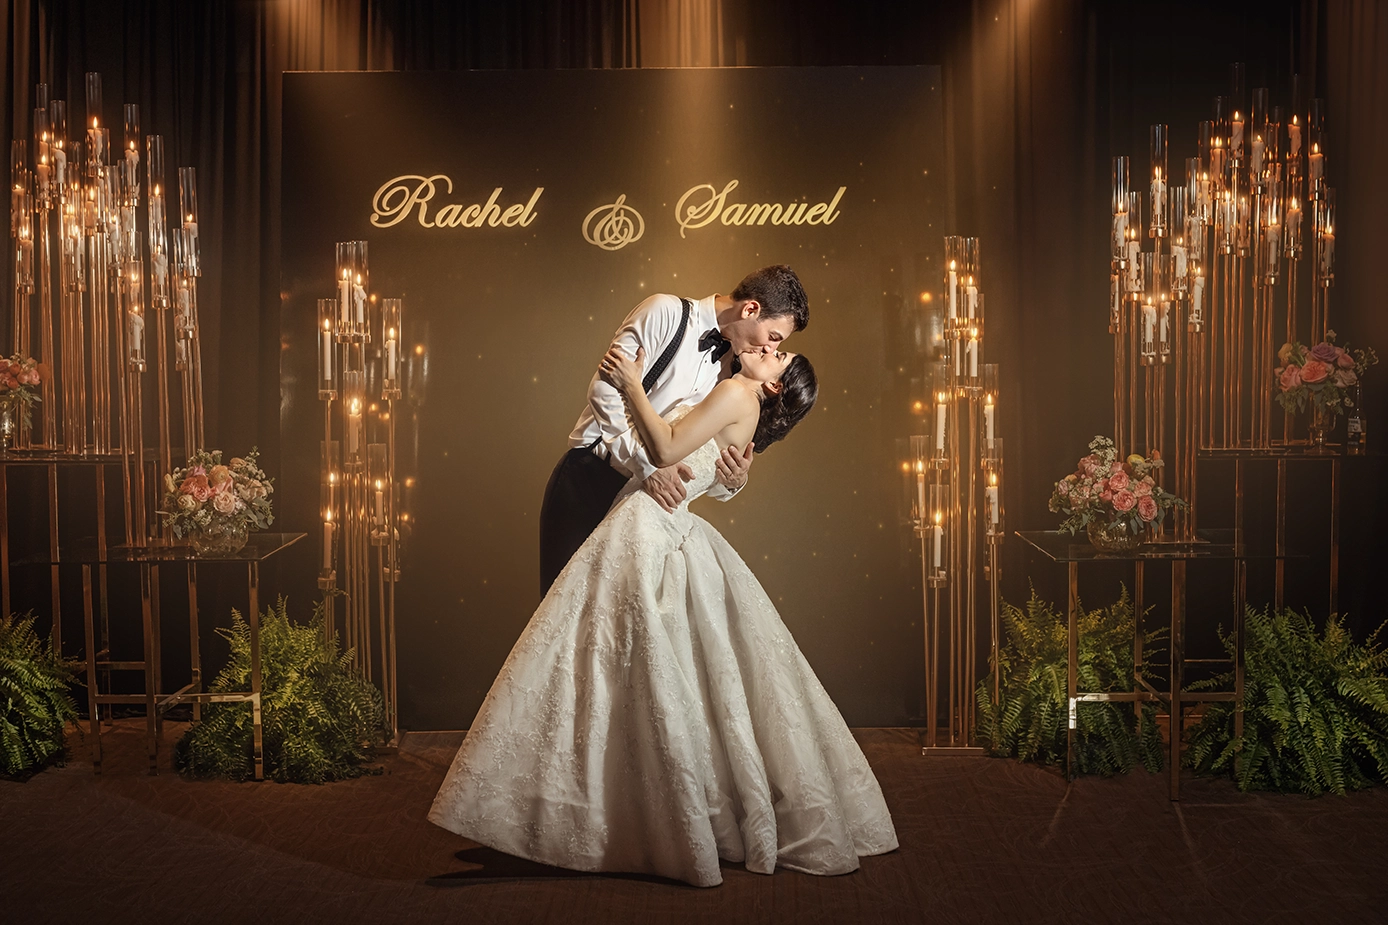
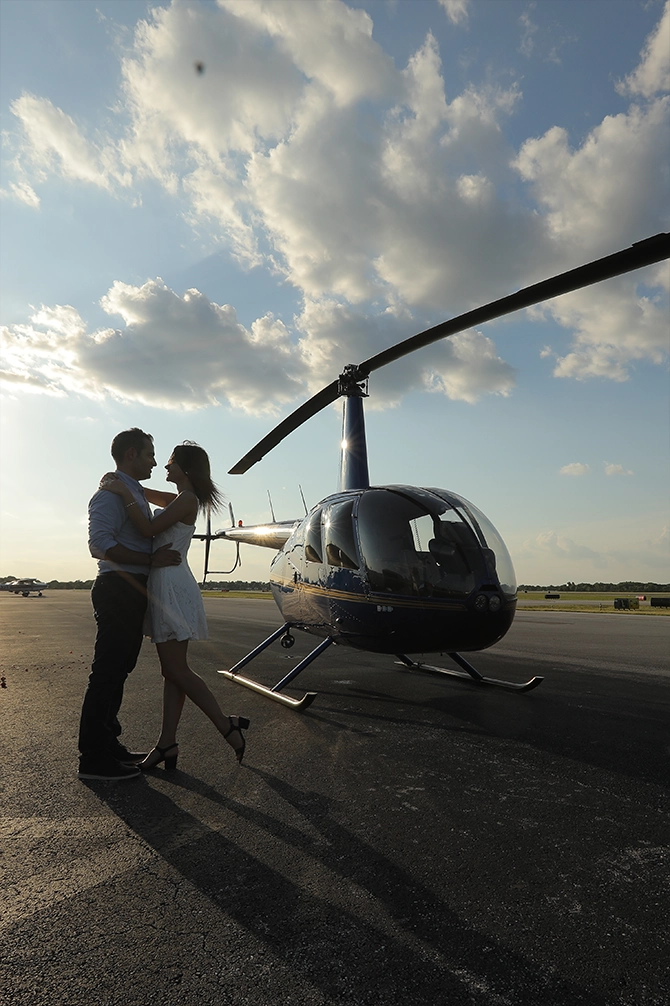
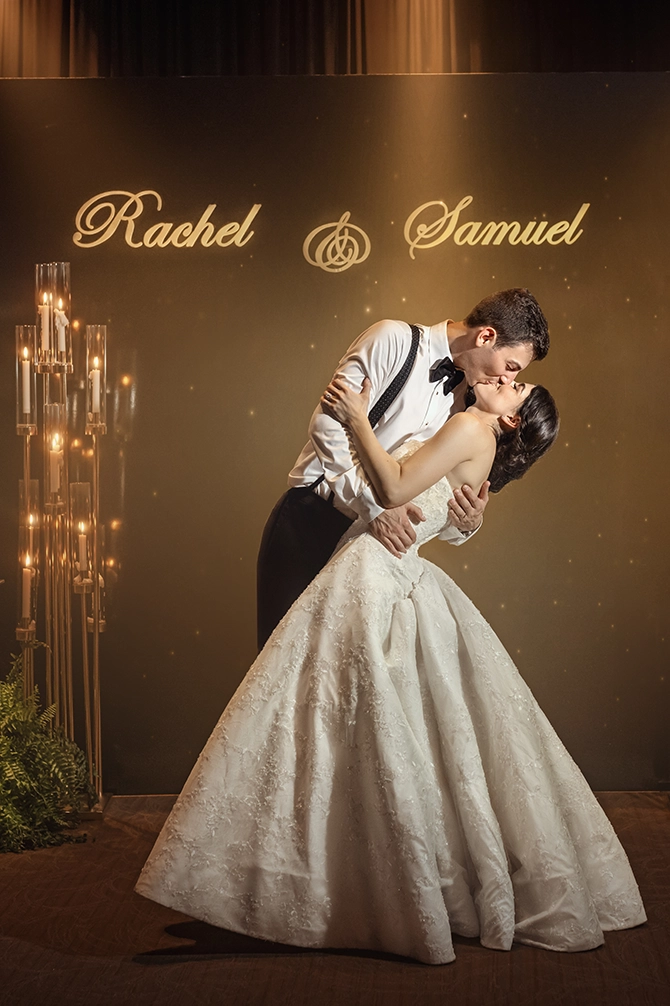
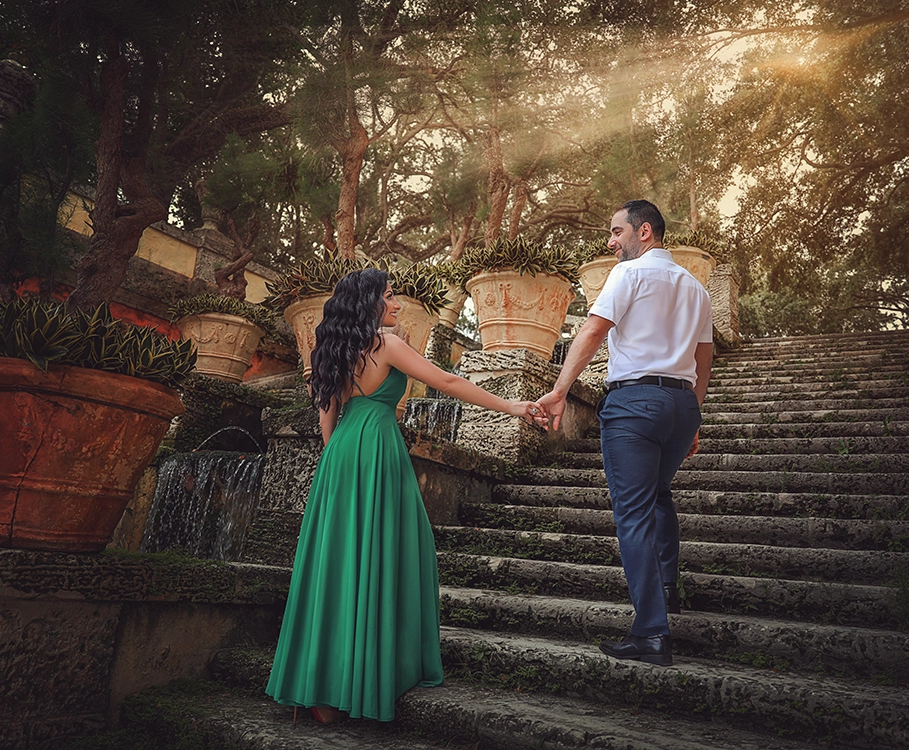
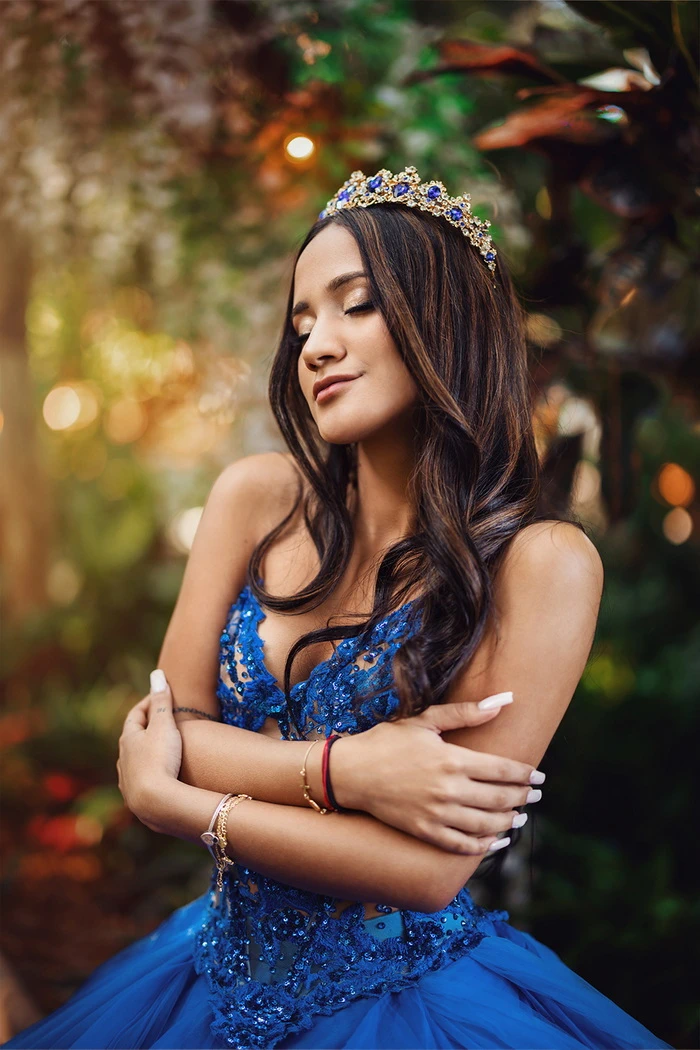
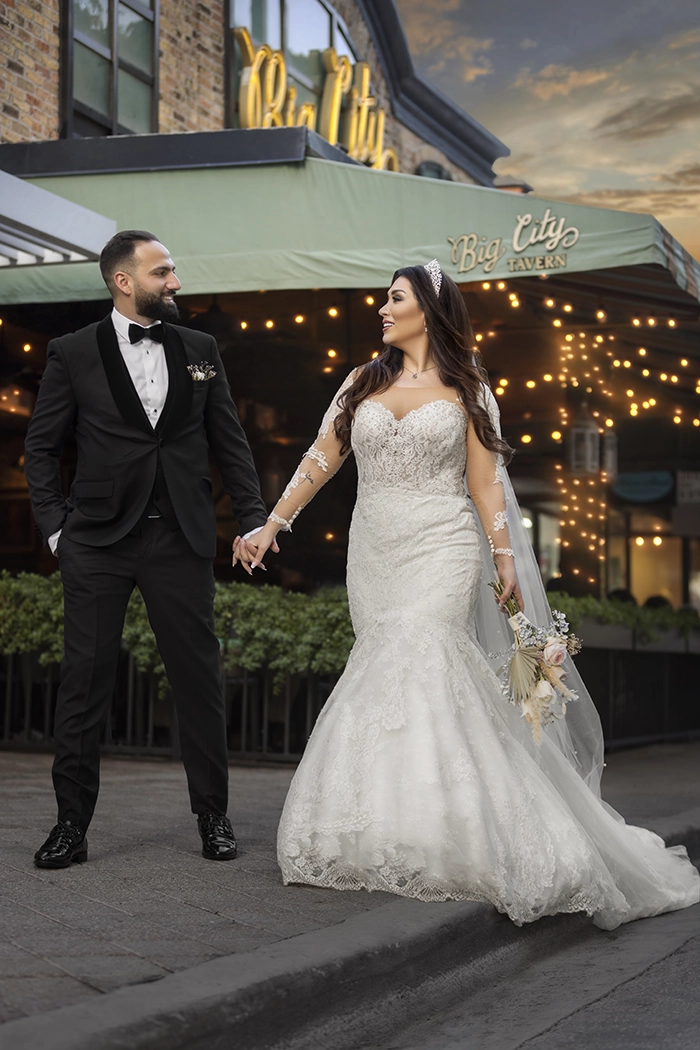
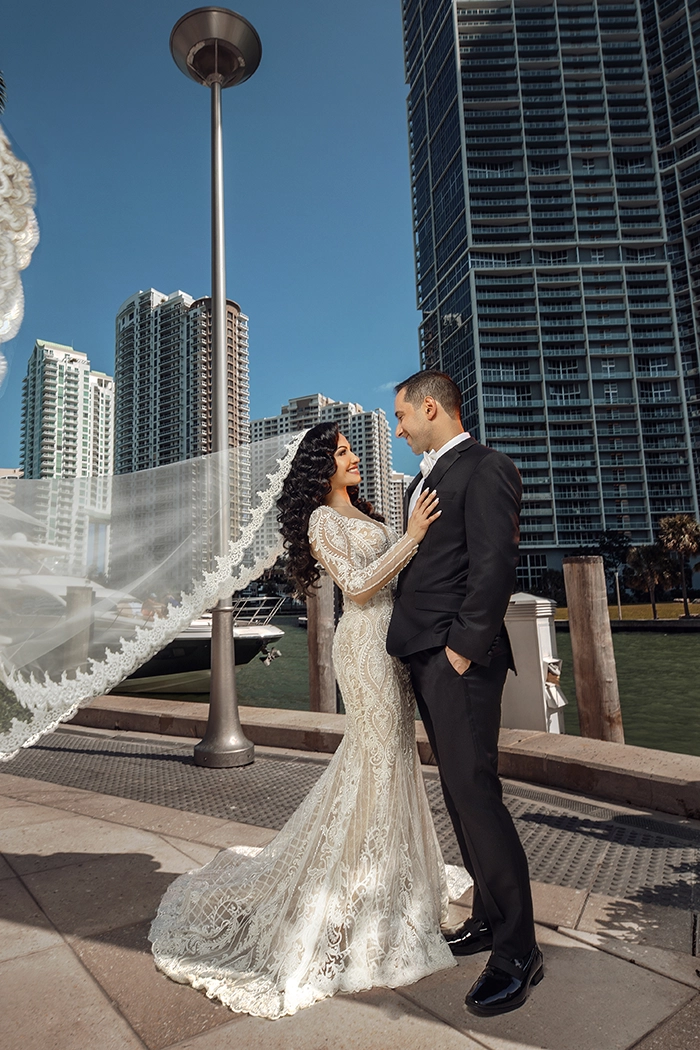
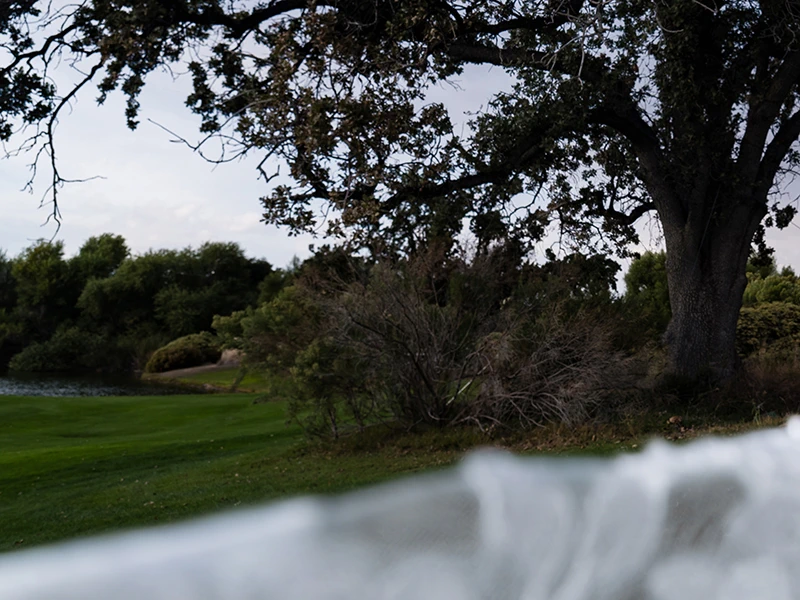
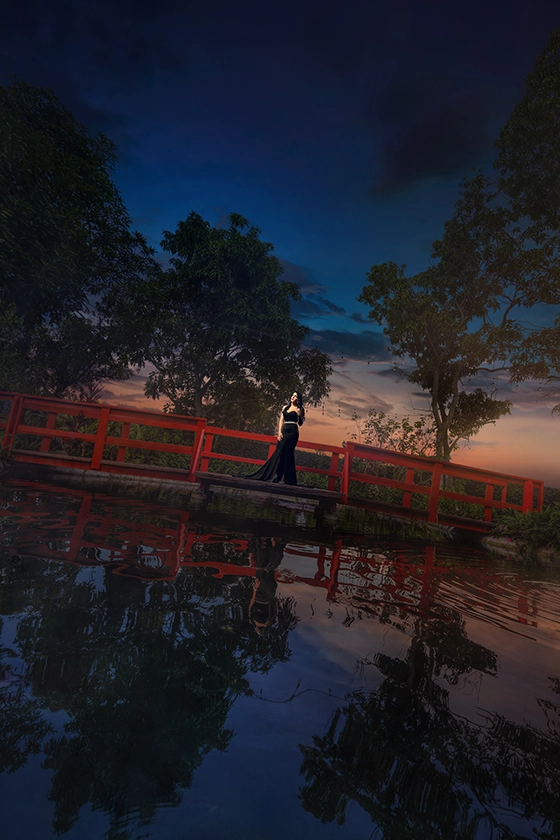
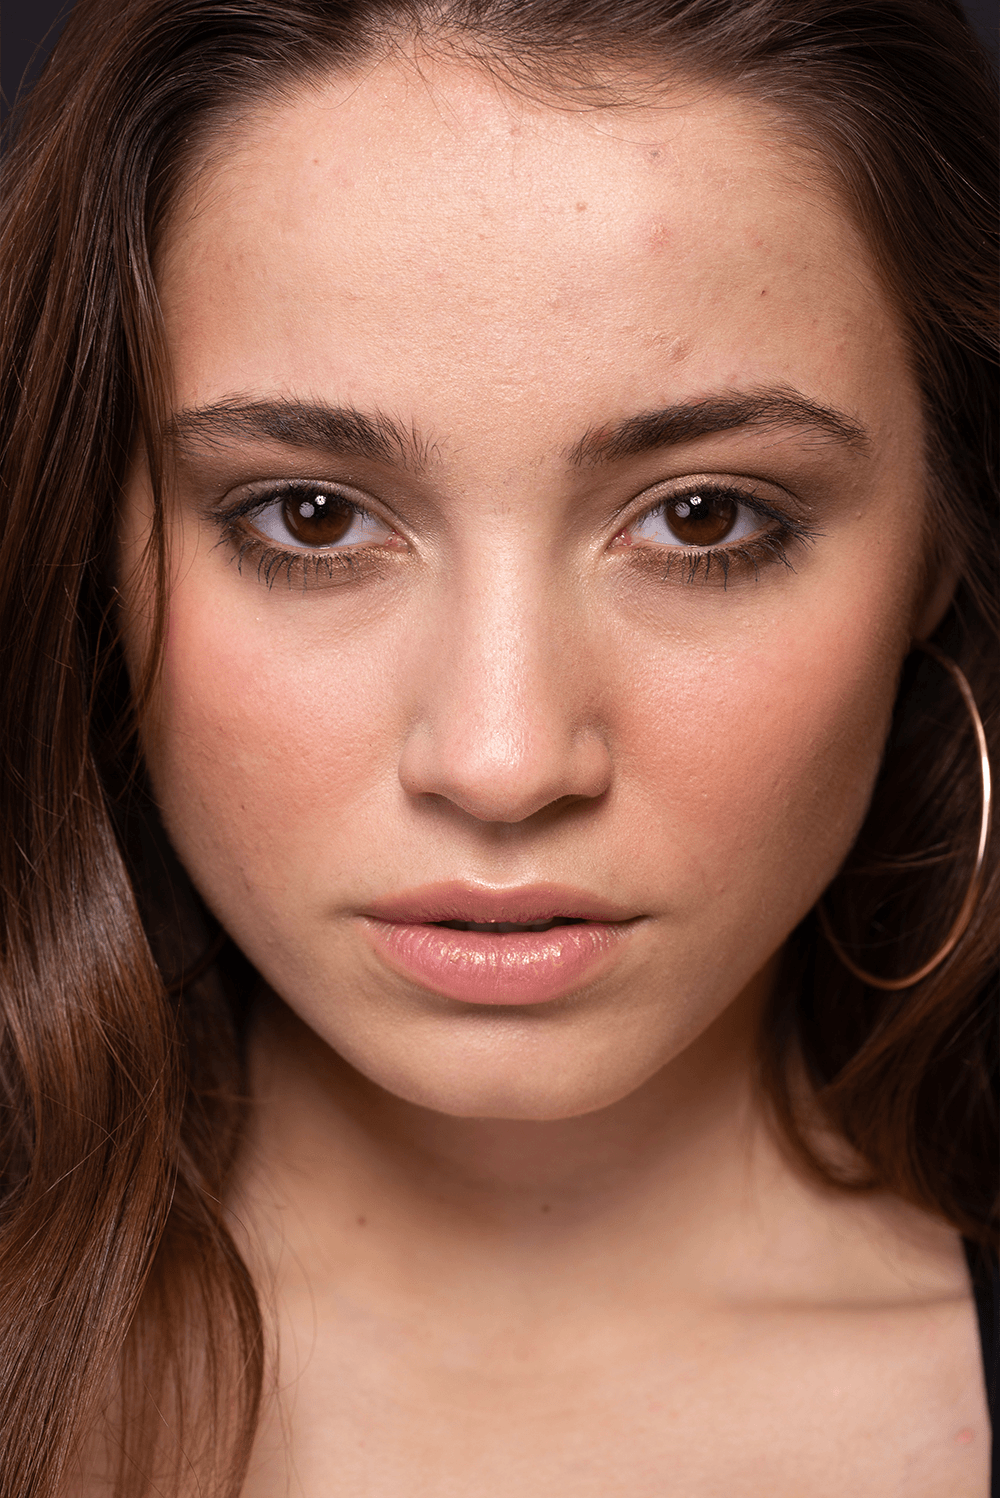
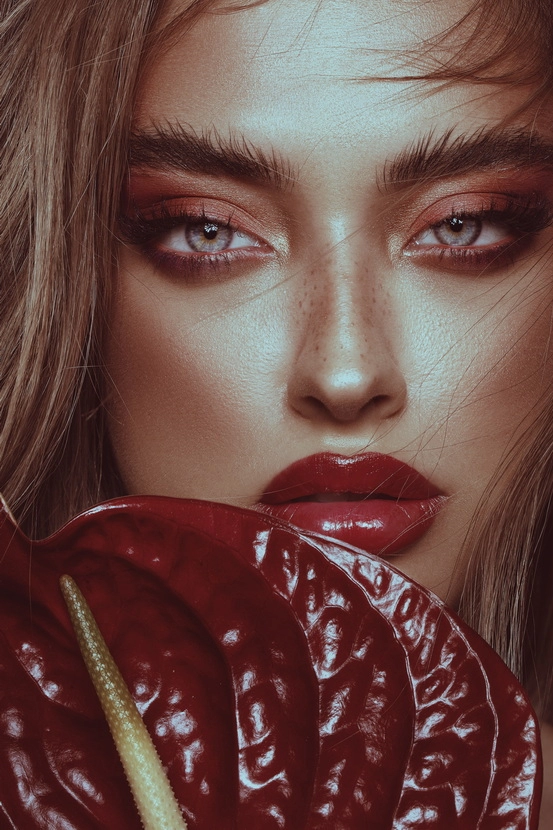
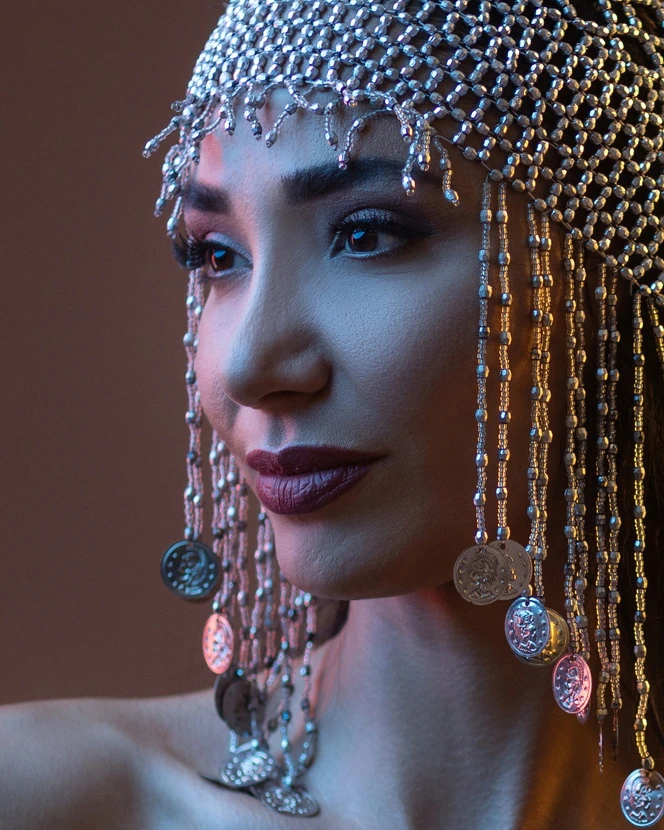
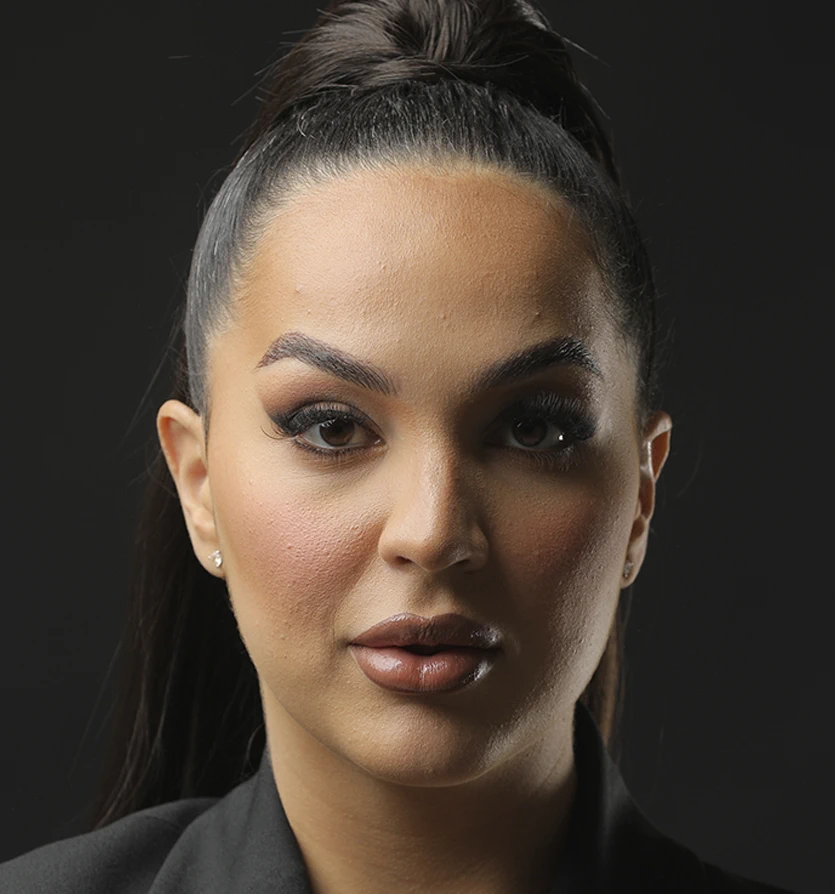
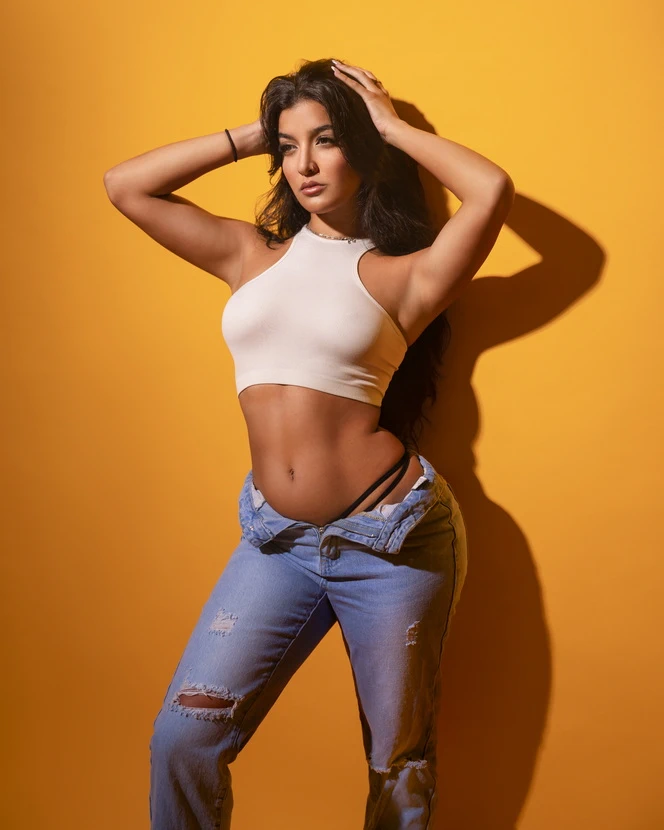
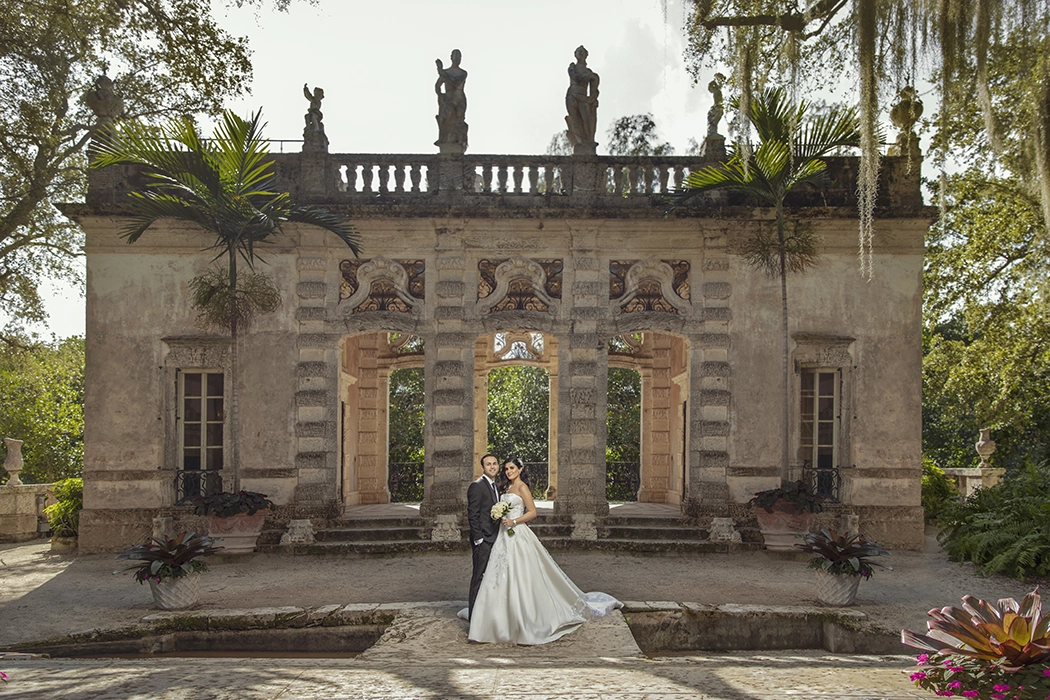
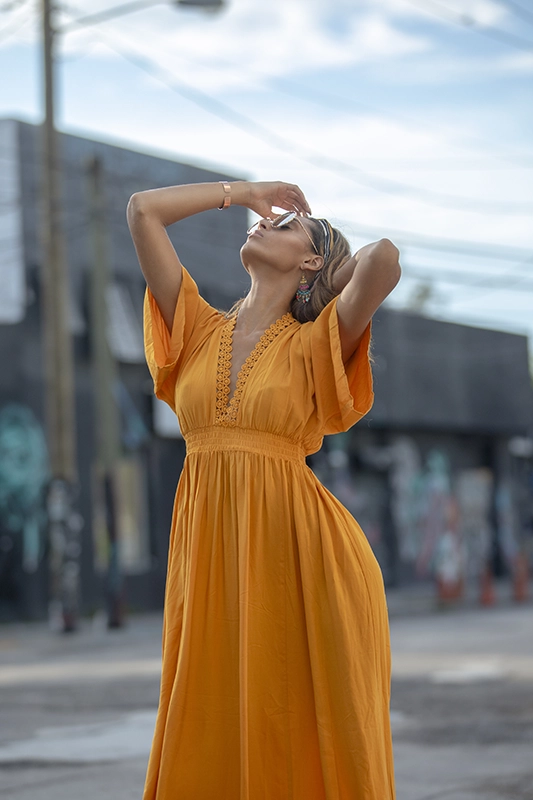
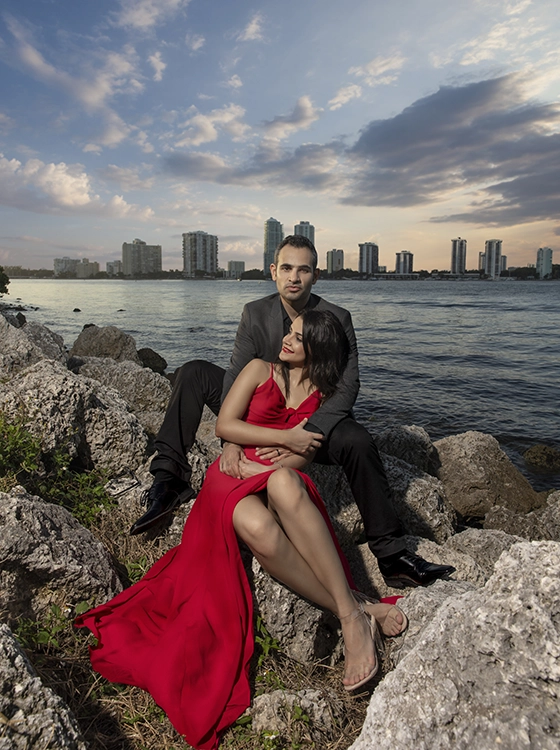
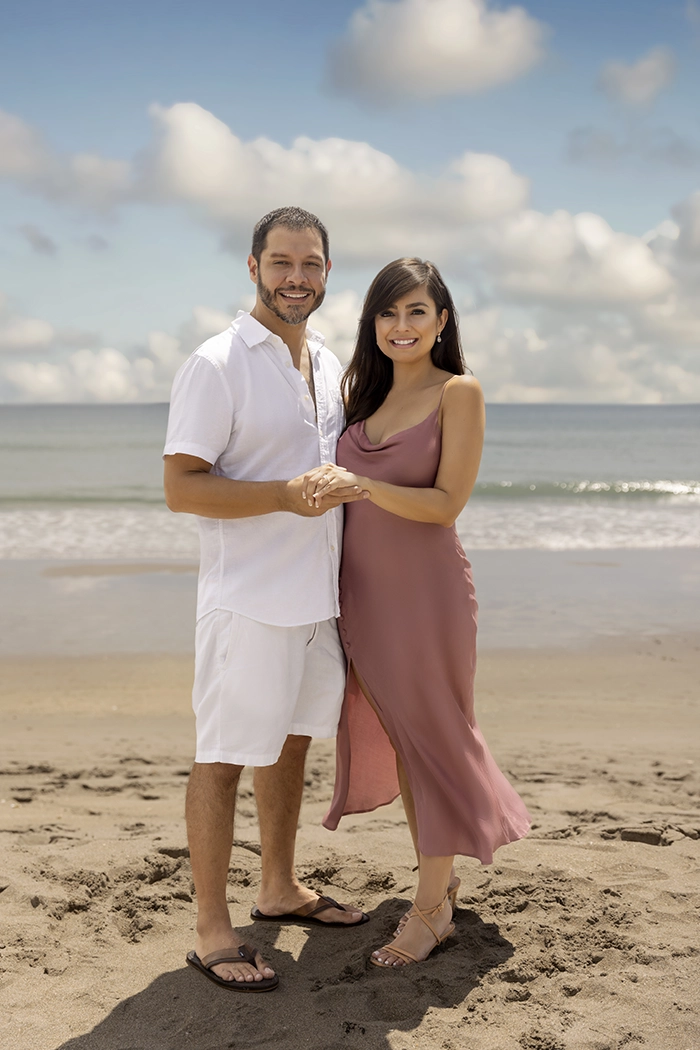
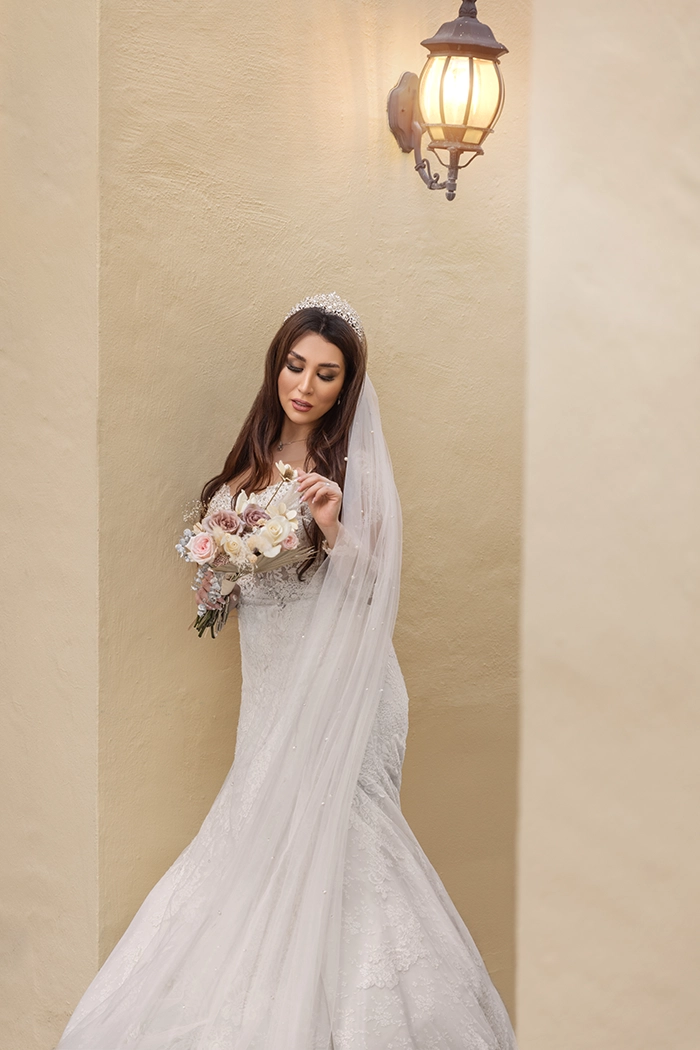
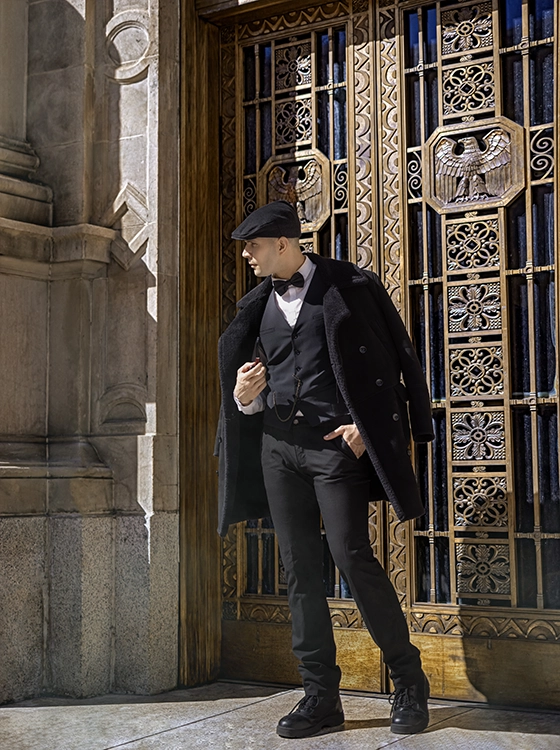
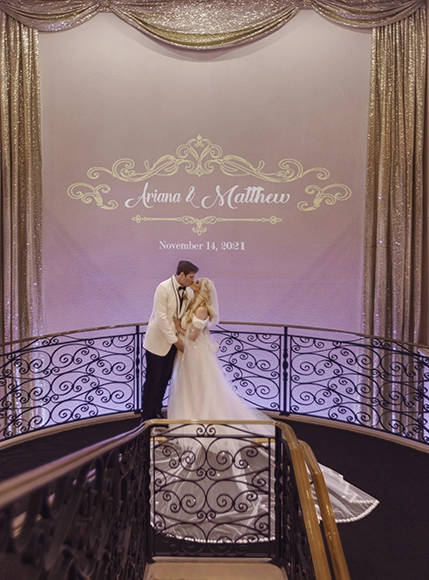
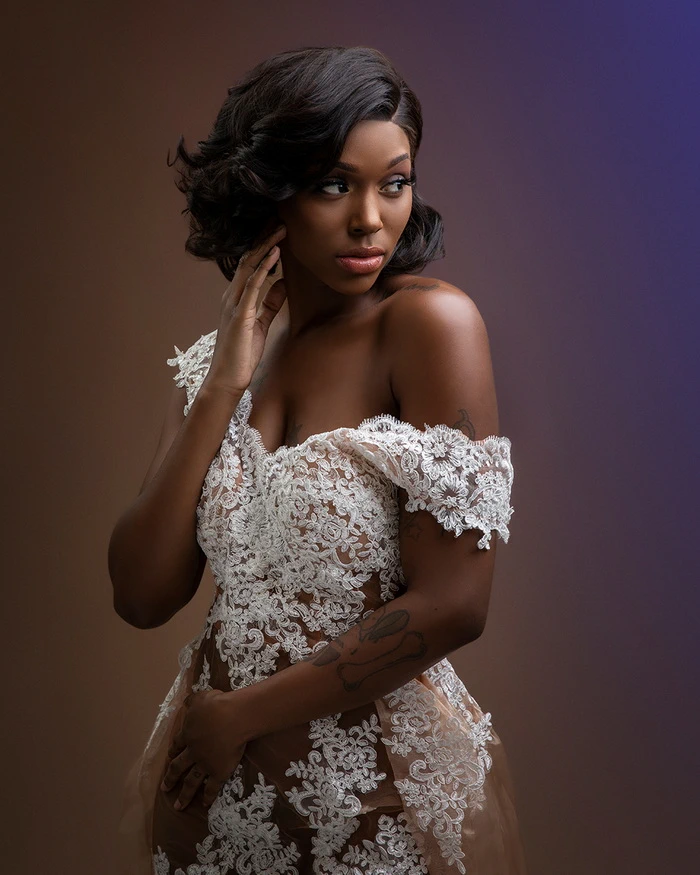
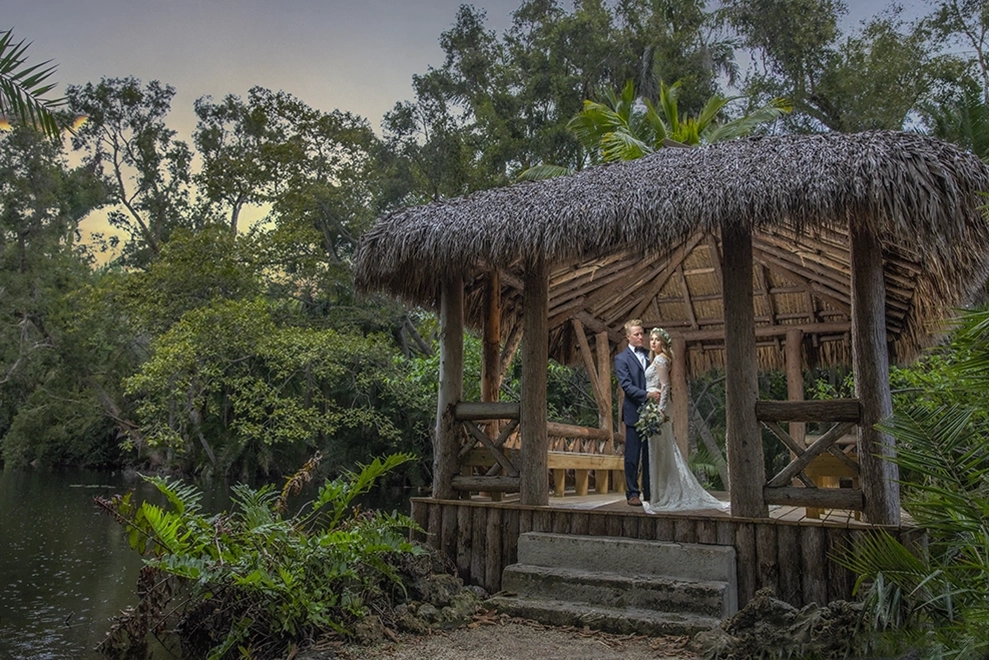
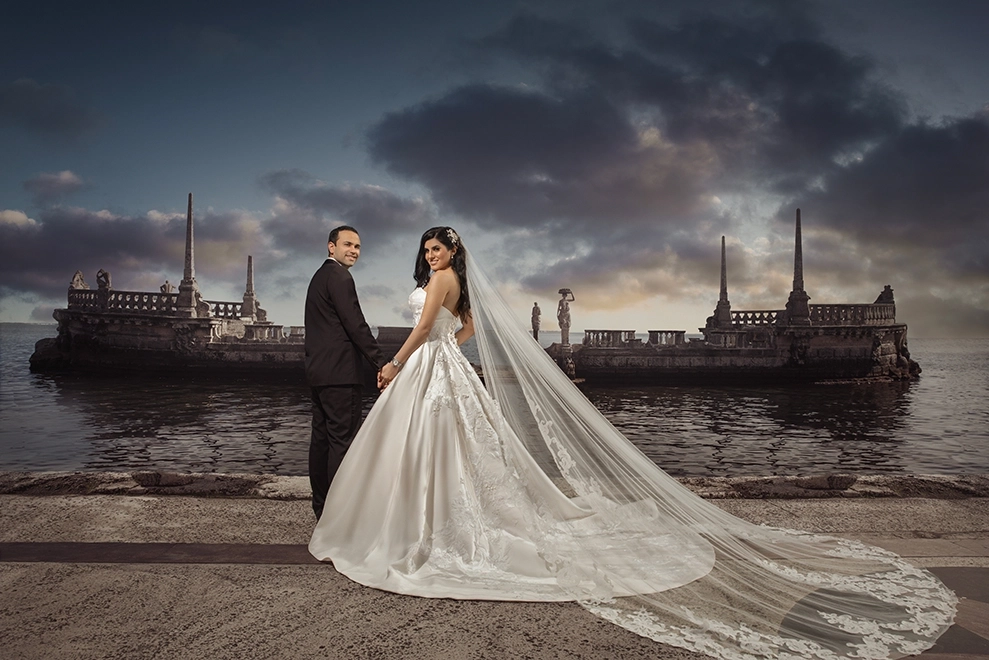
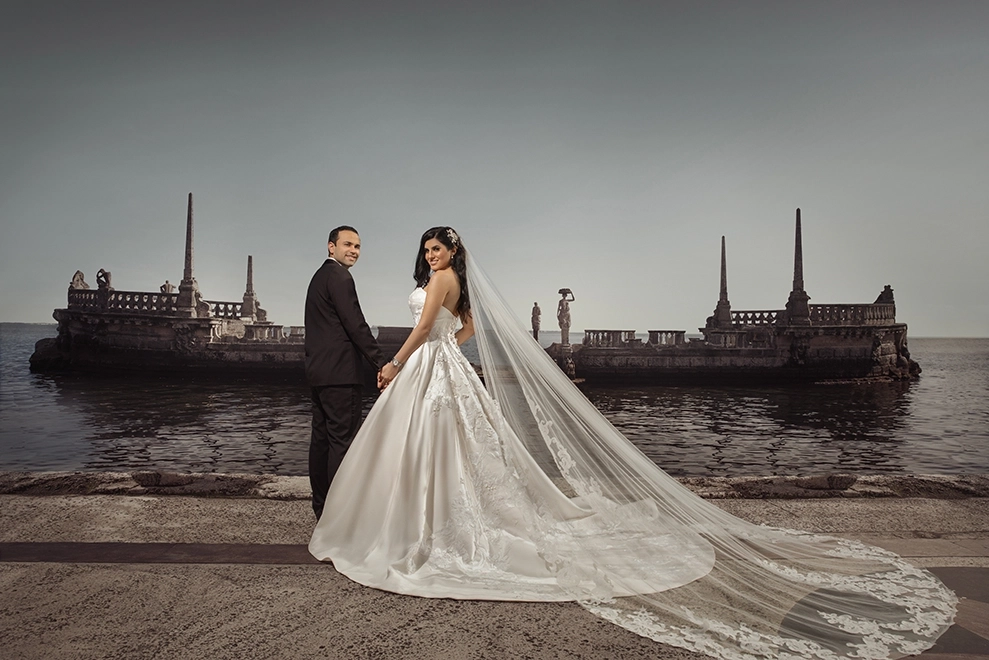
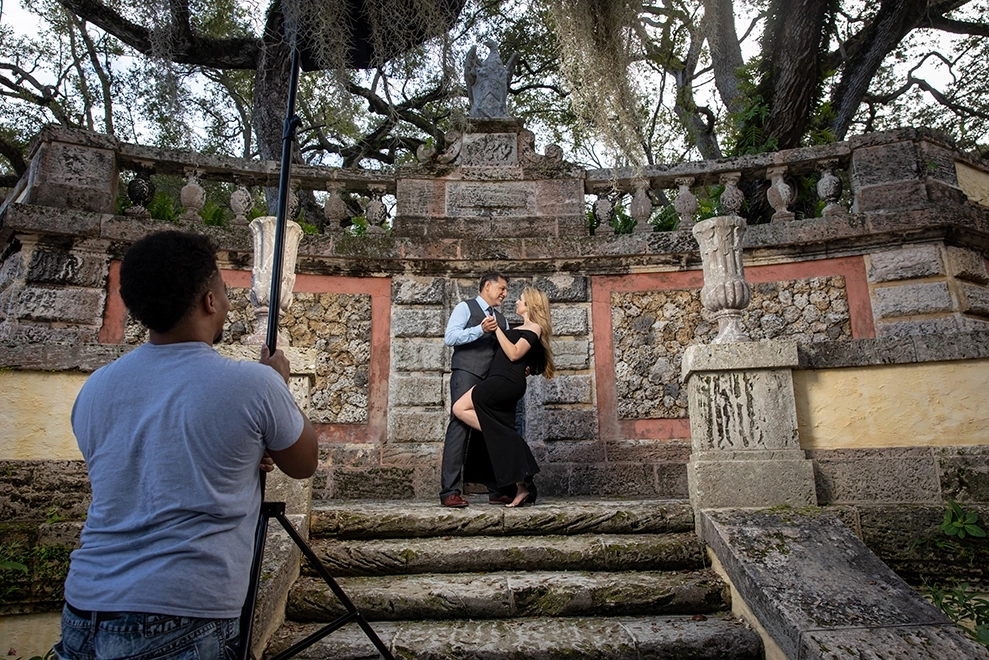
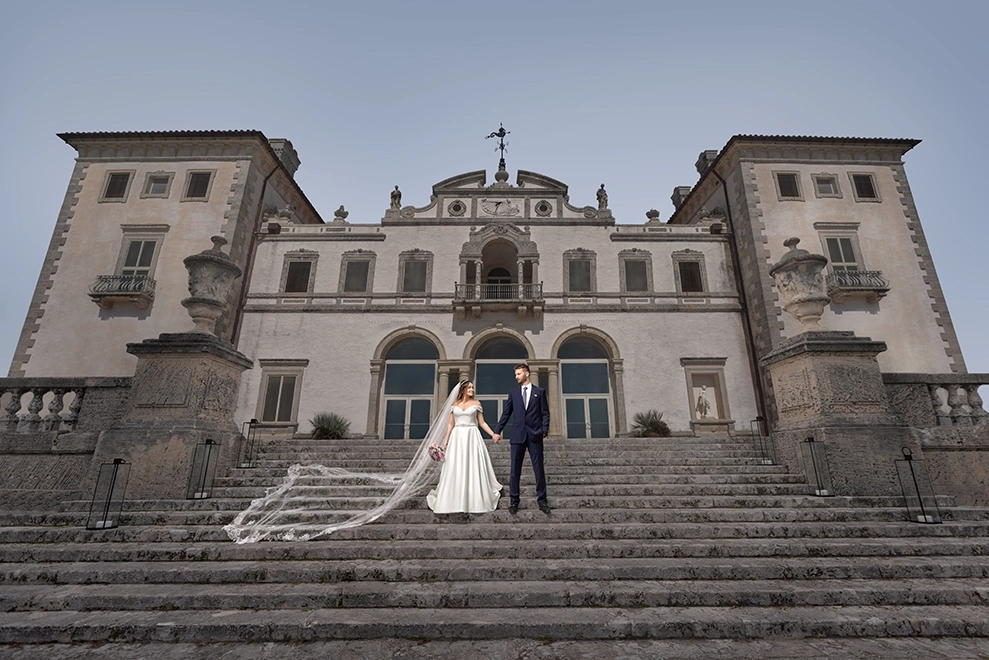
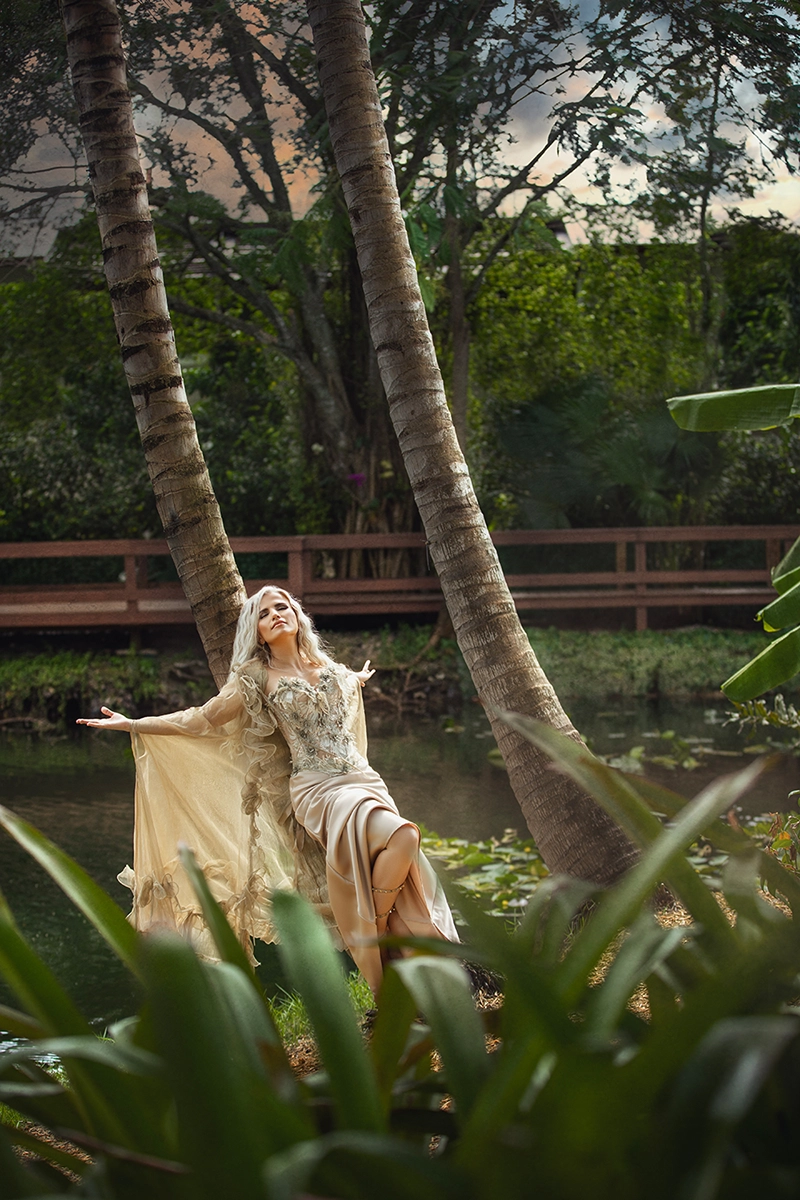
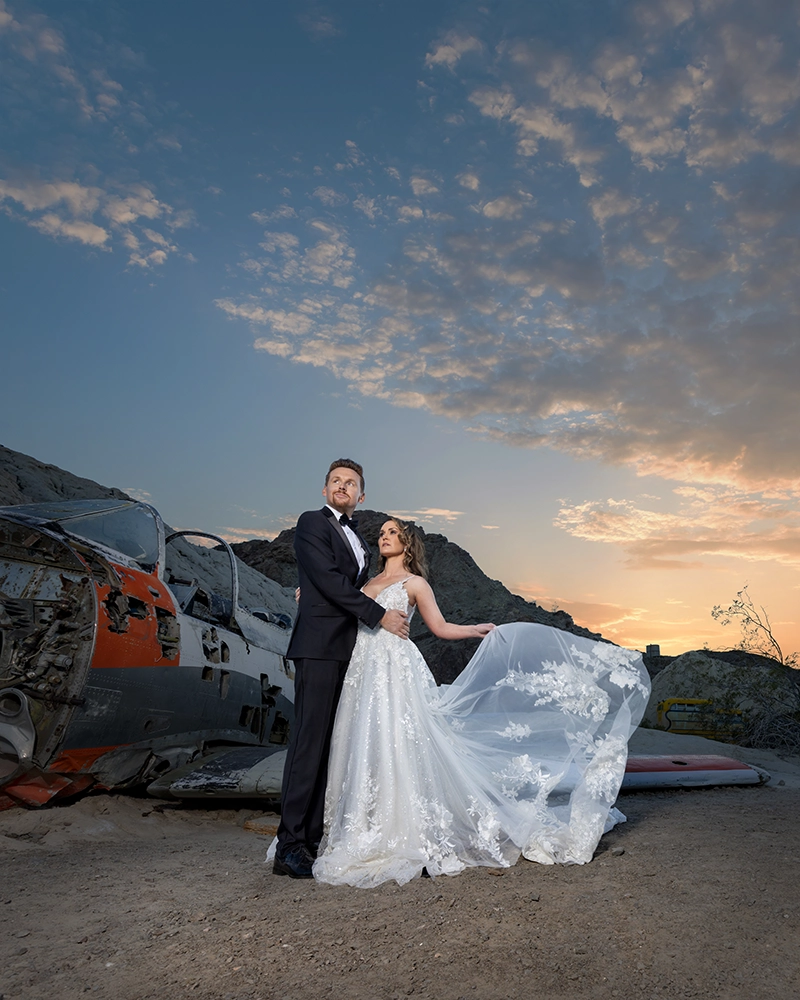
 Photographer : Braulio Rocha
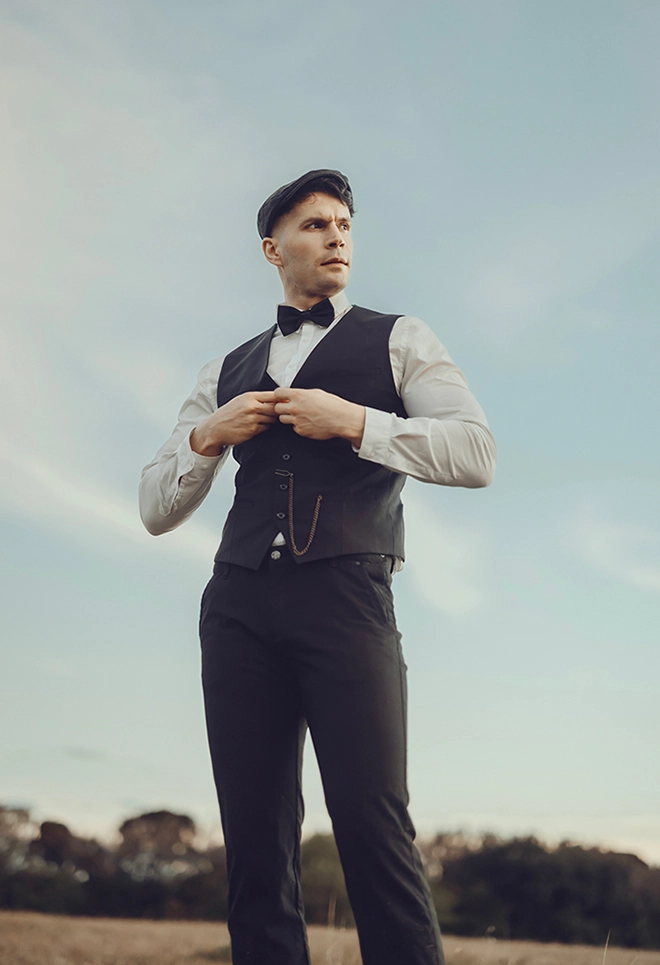
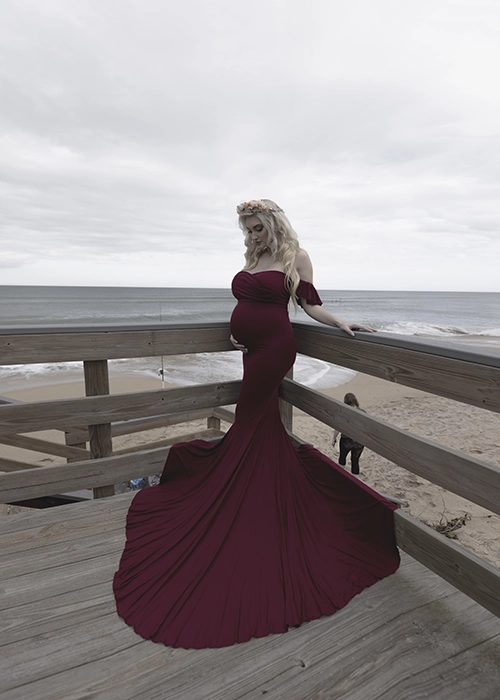
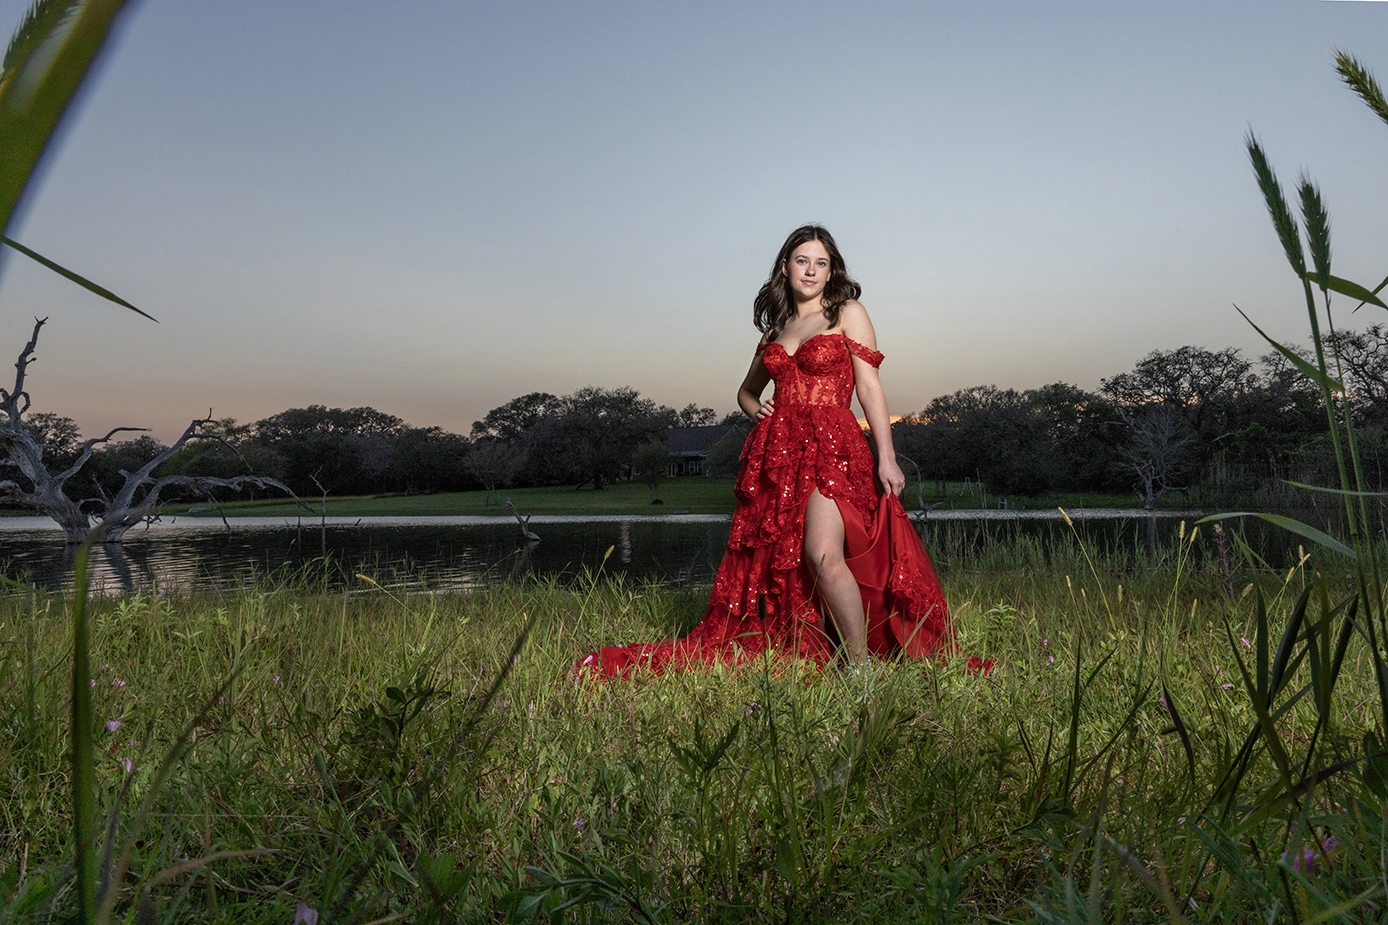
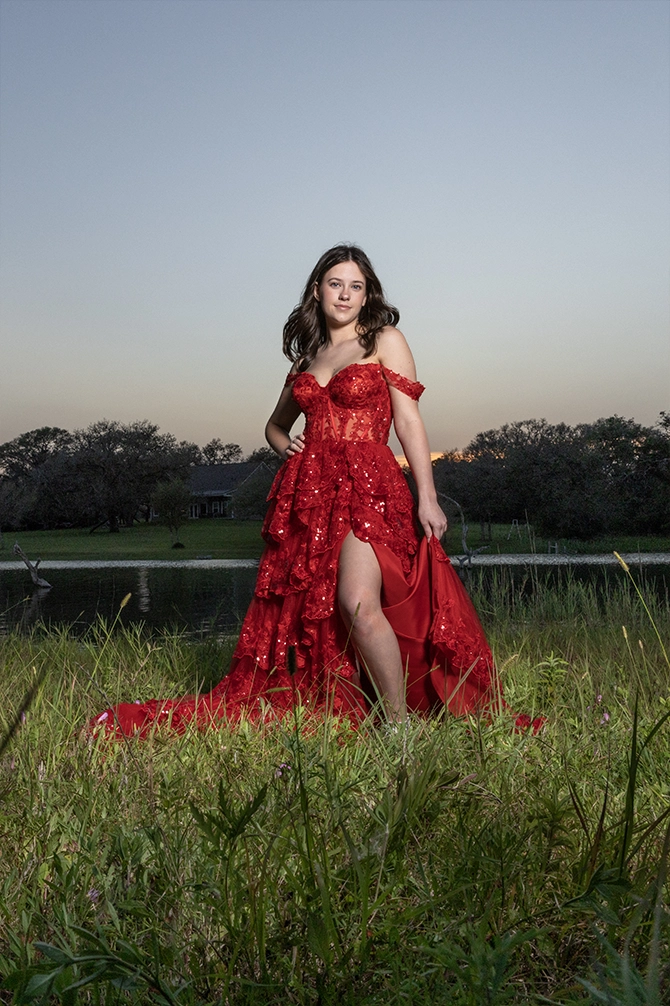
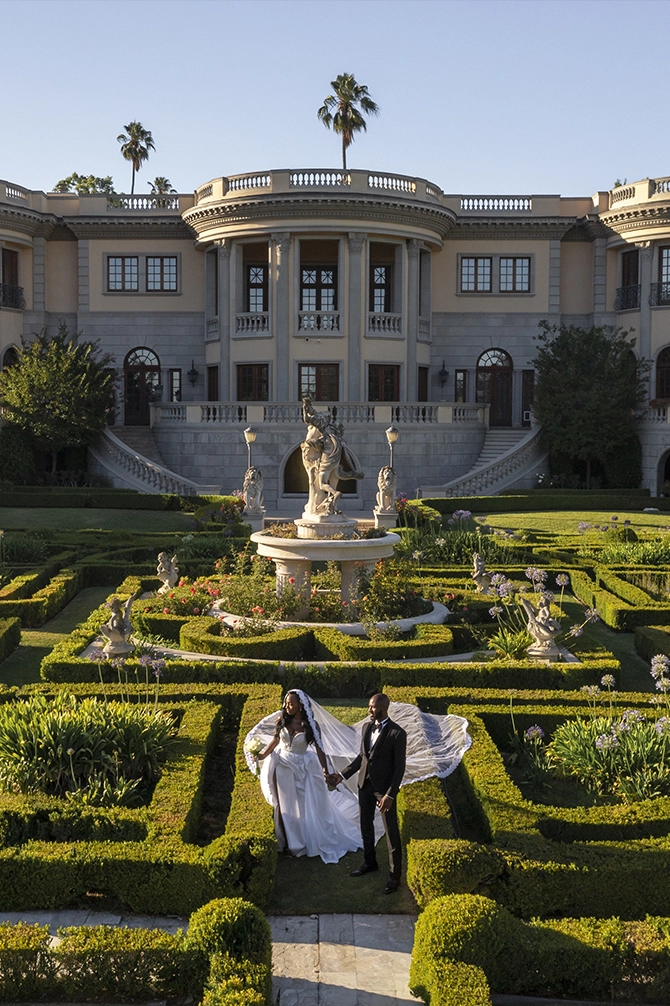
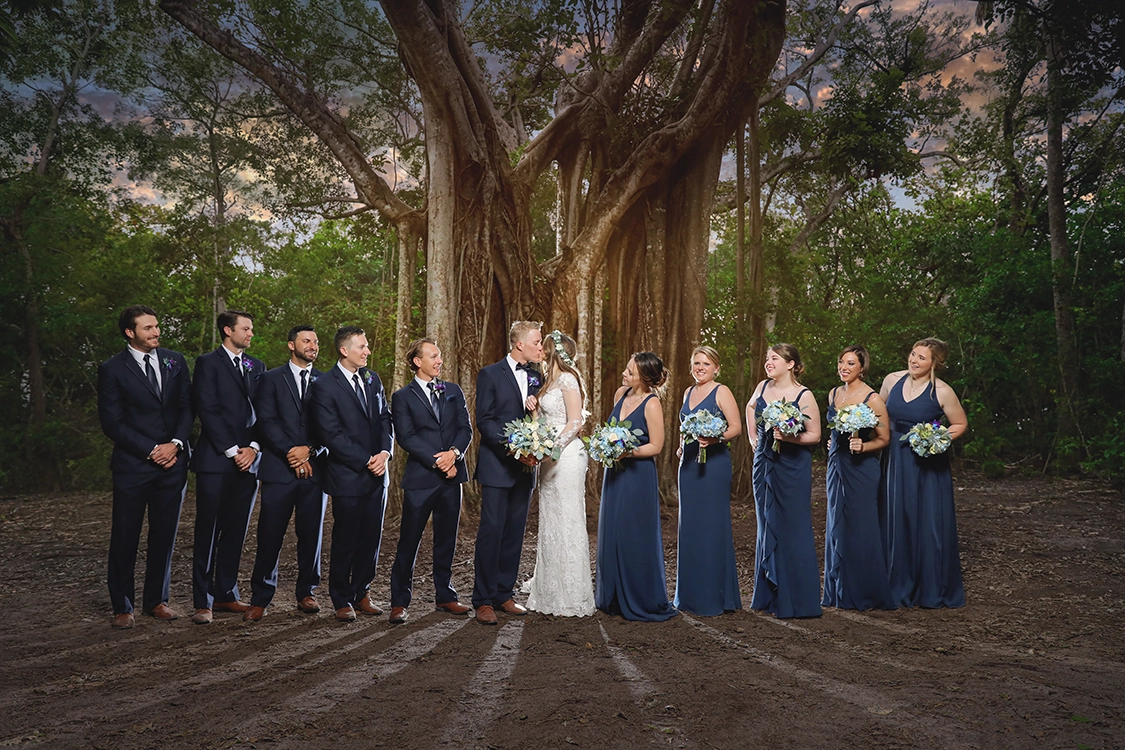
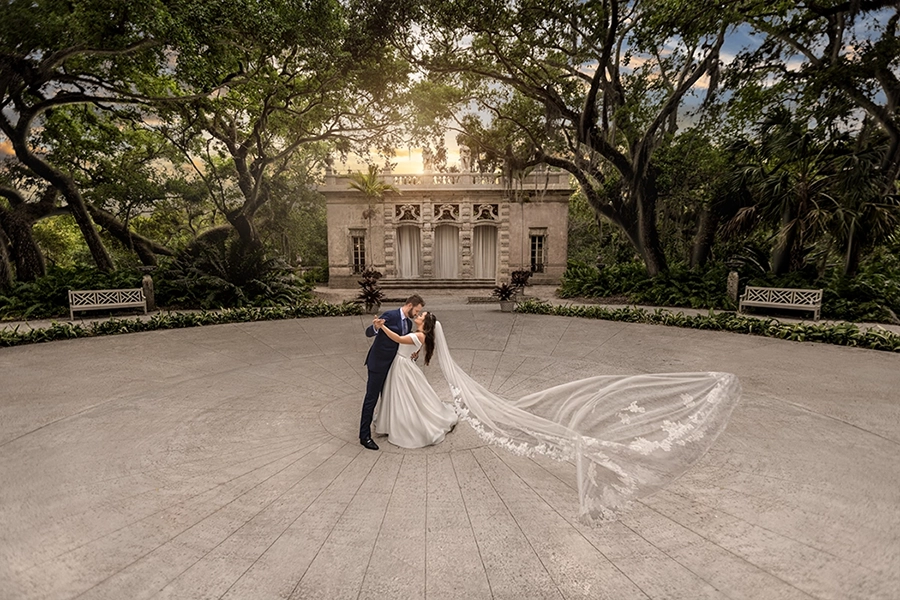
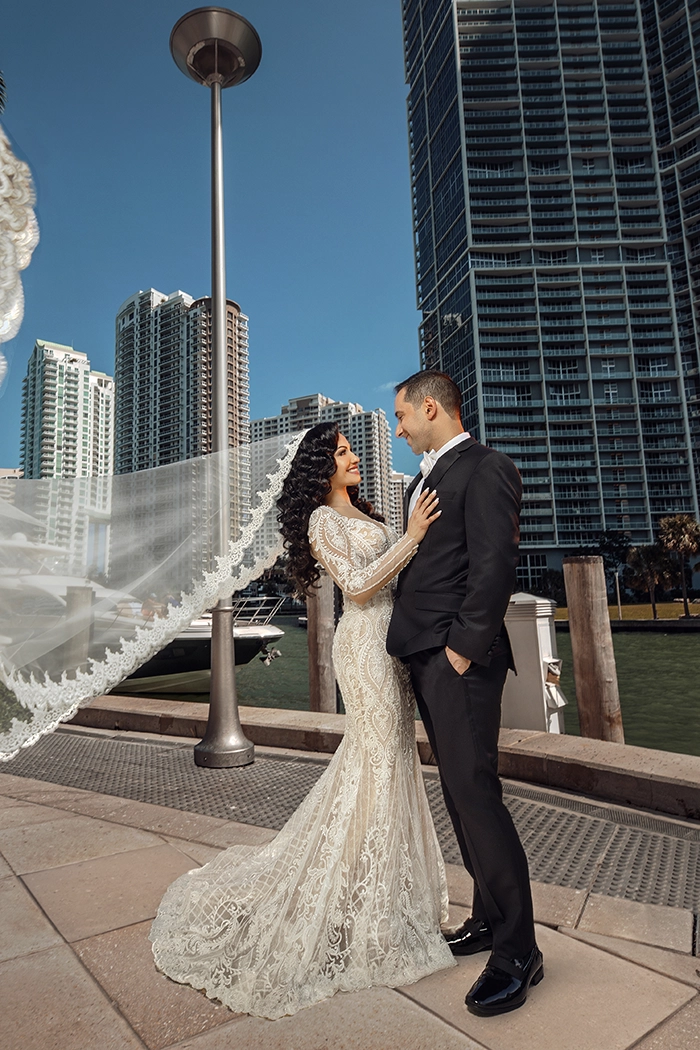
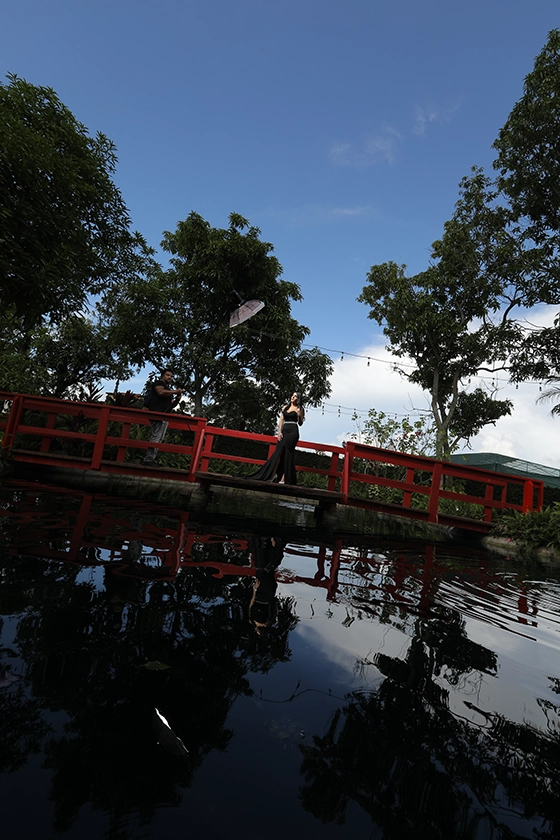
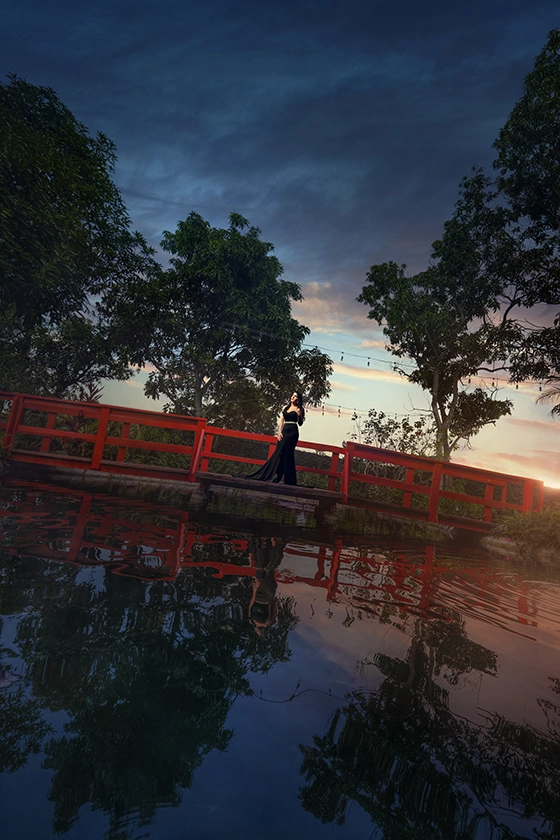
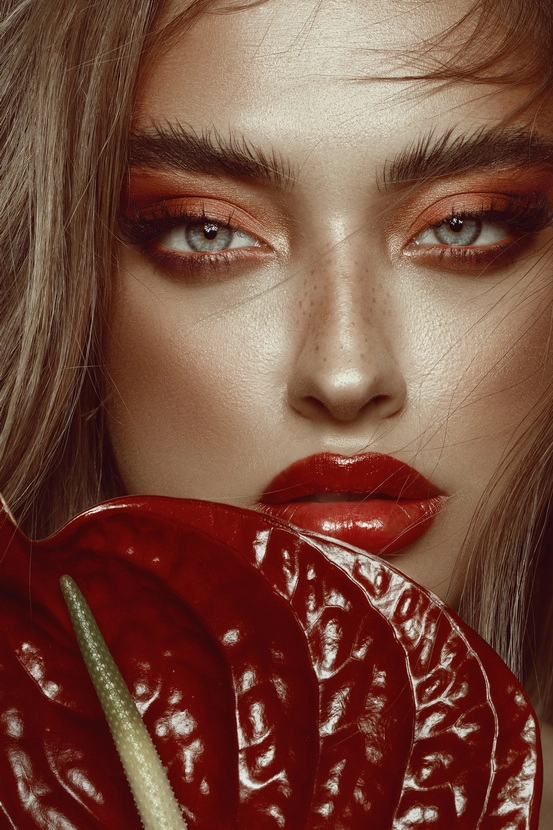
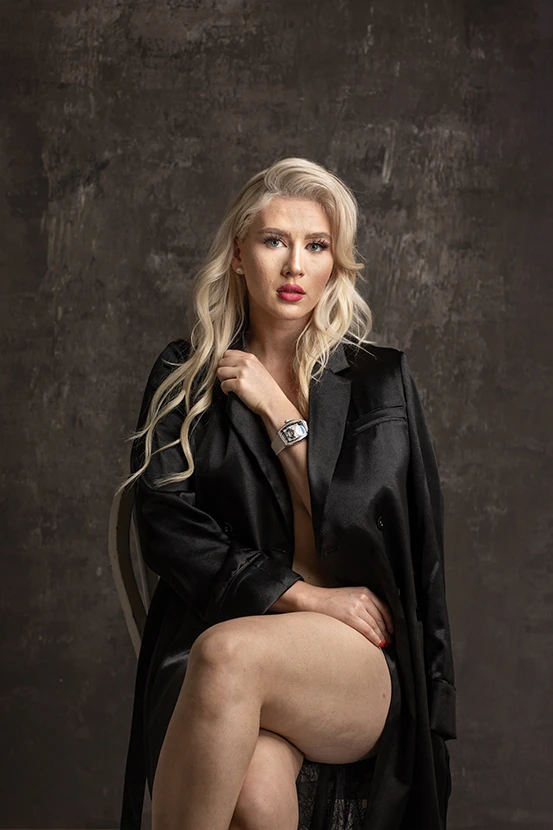
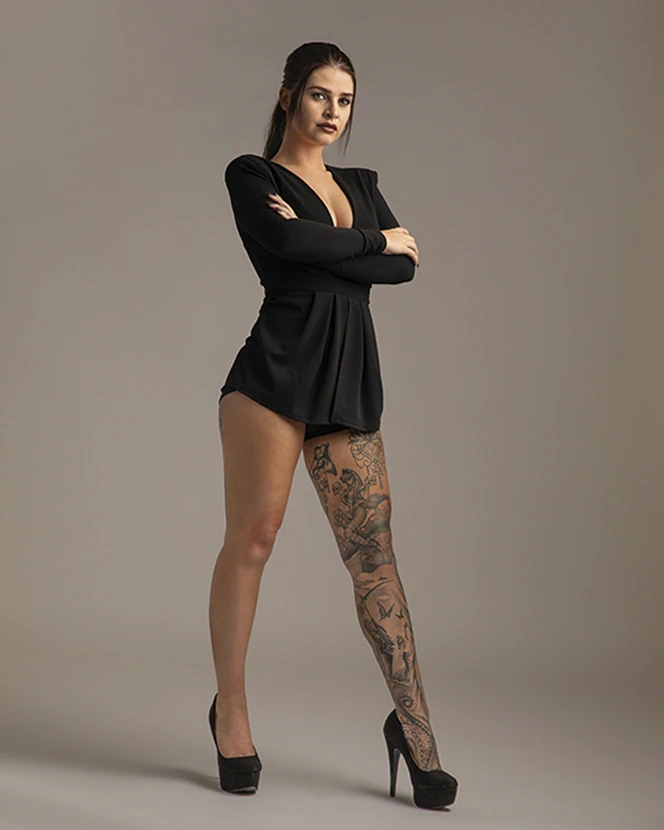
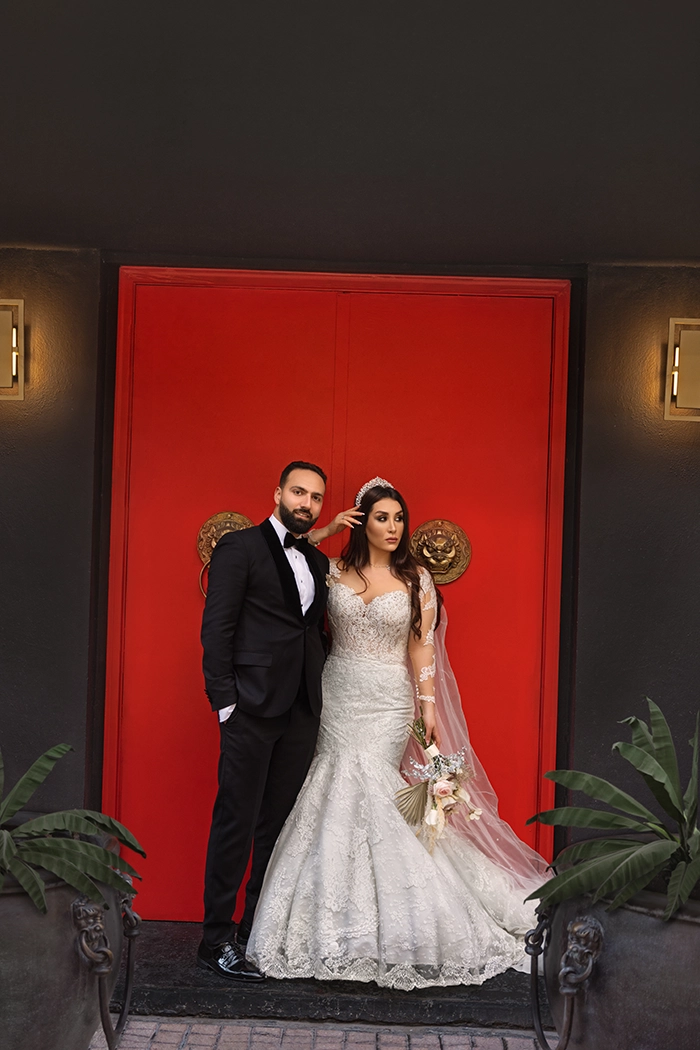
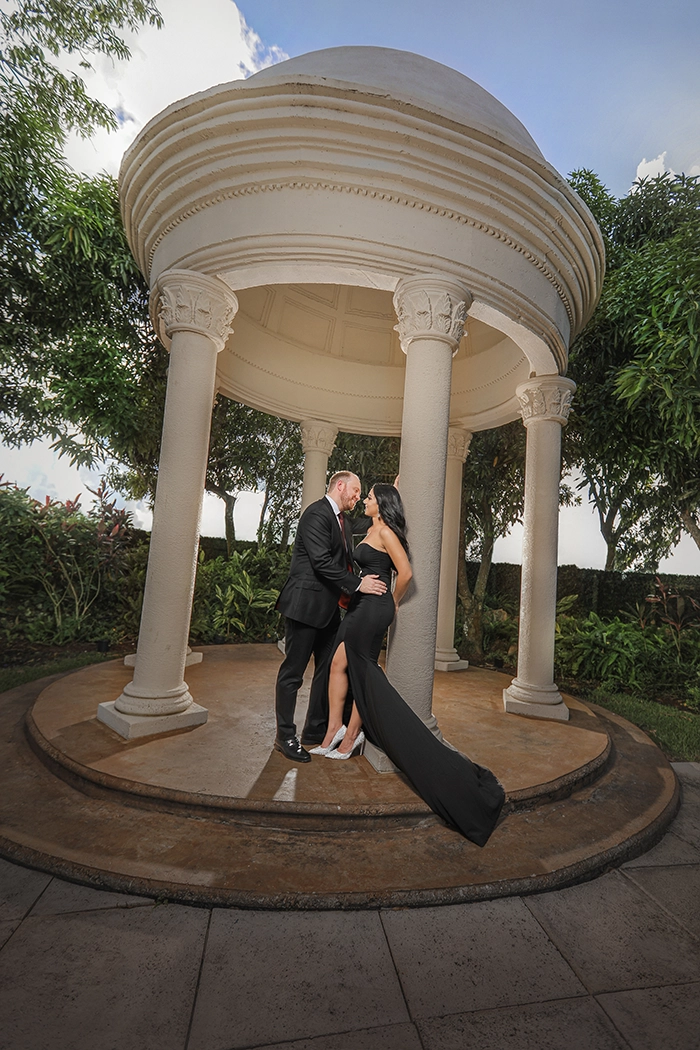
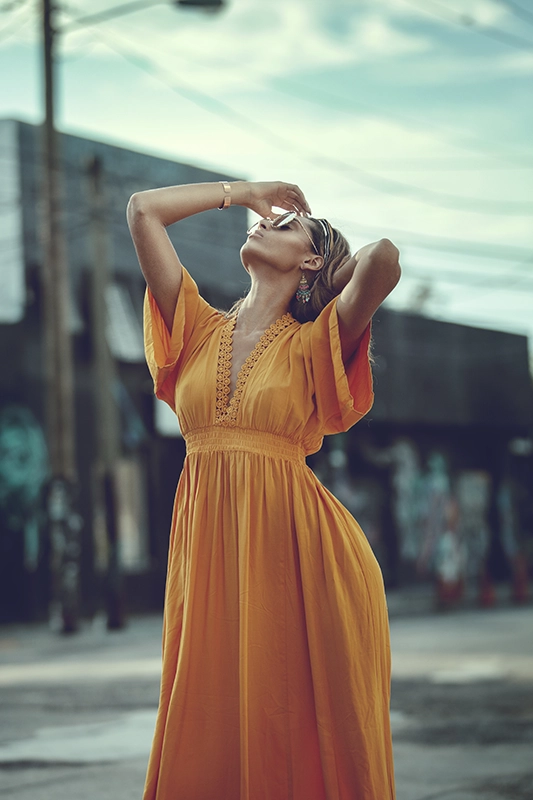
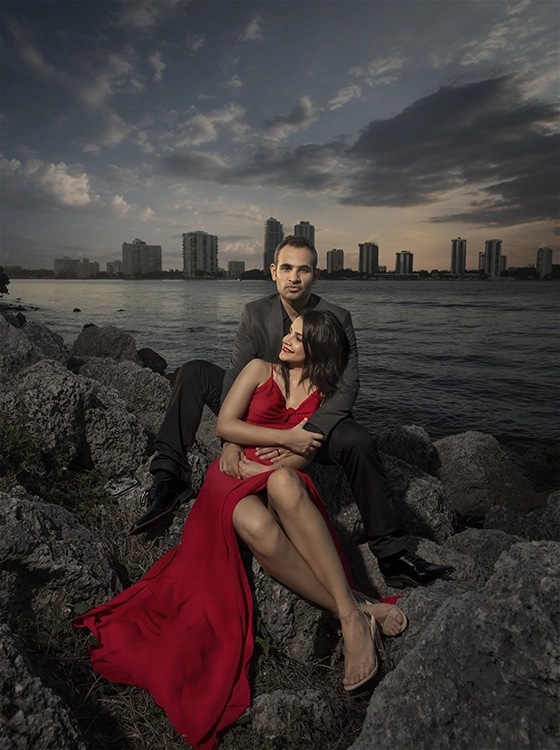
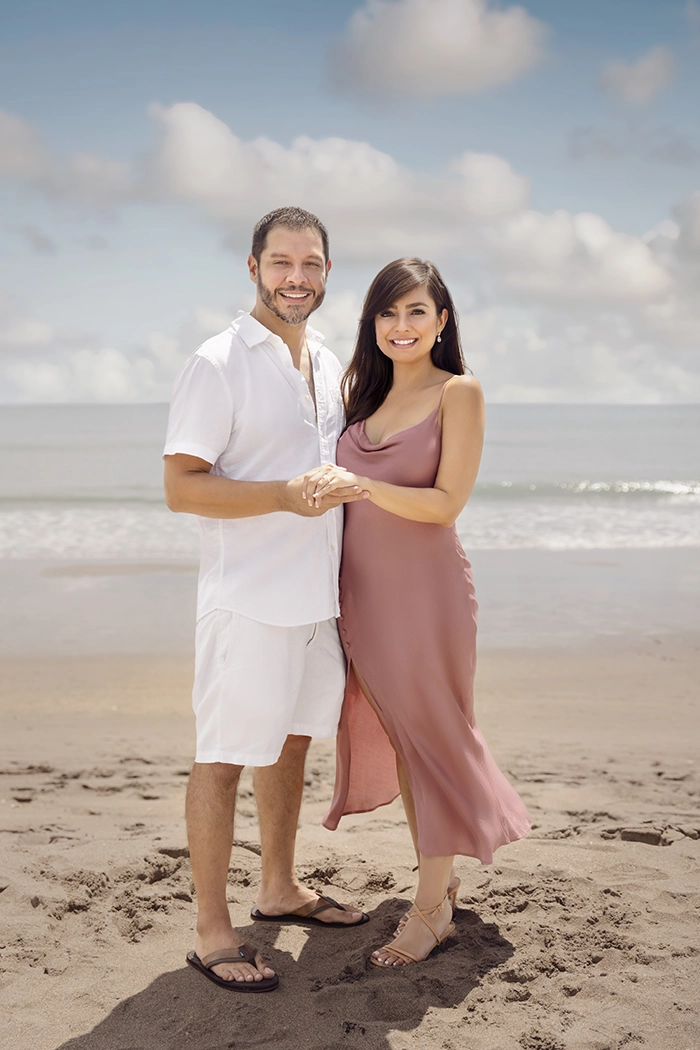
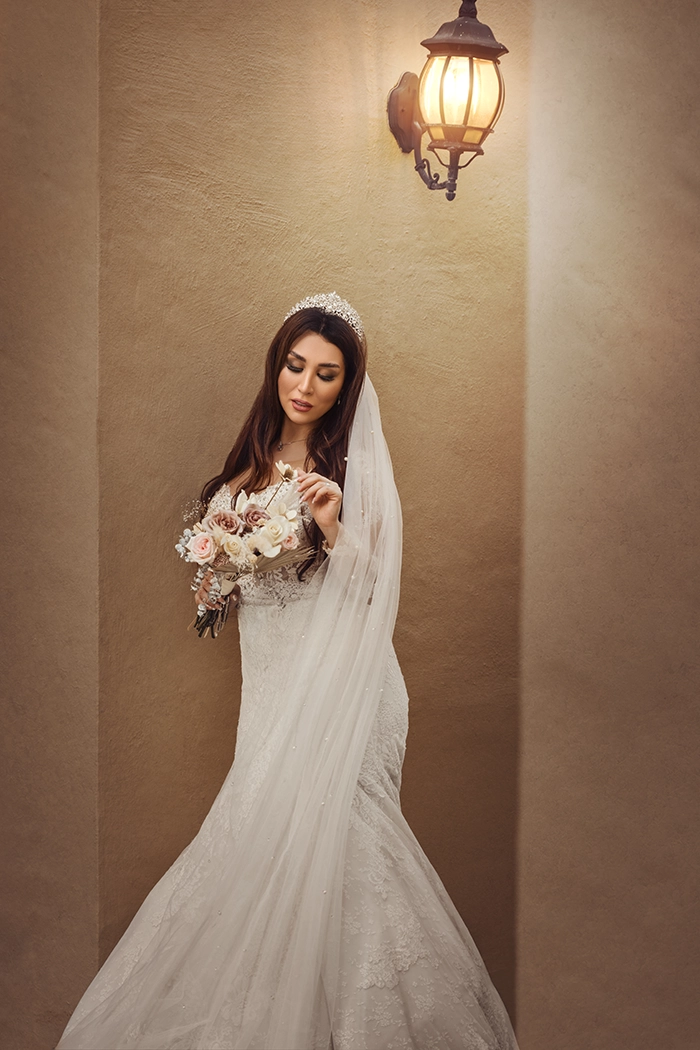
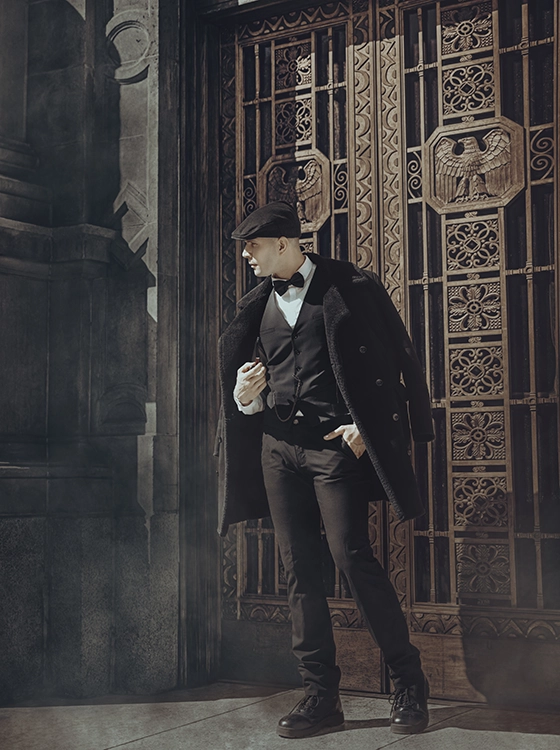
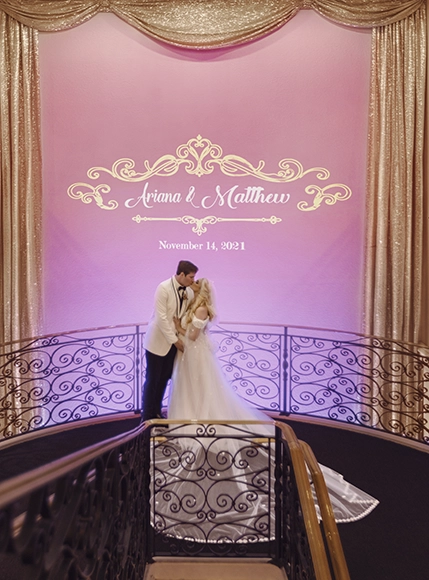
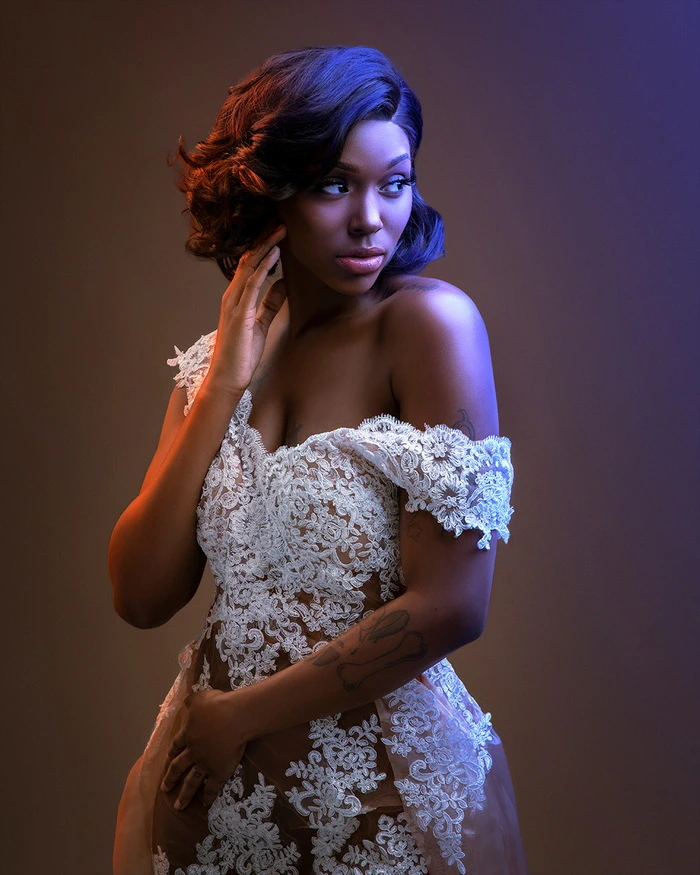
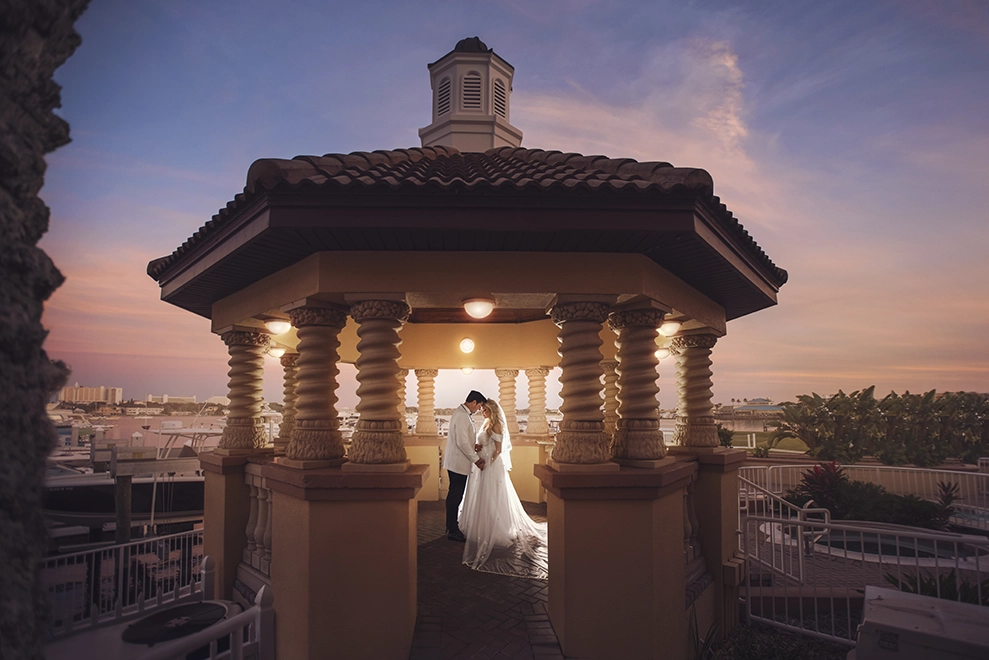
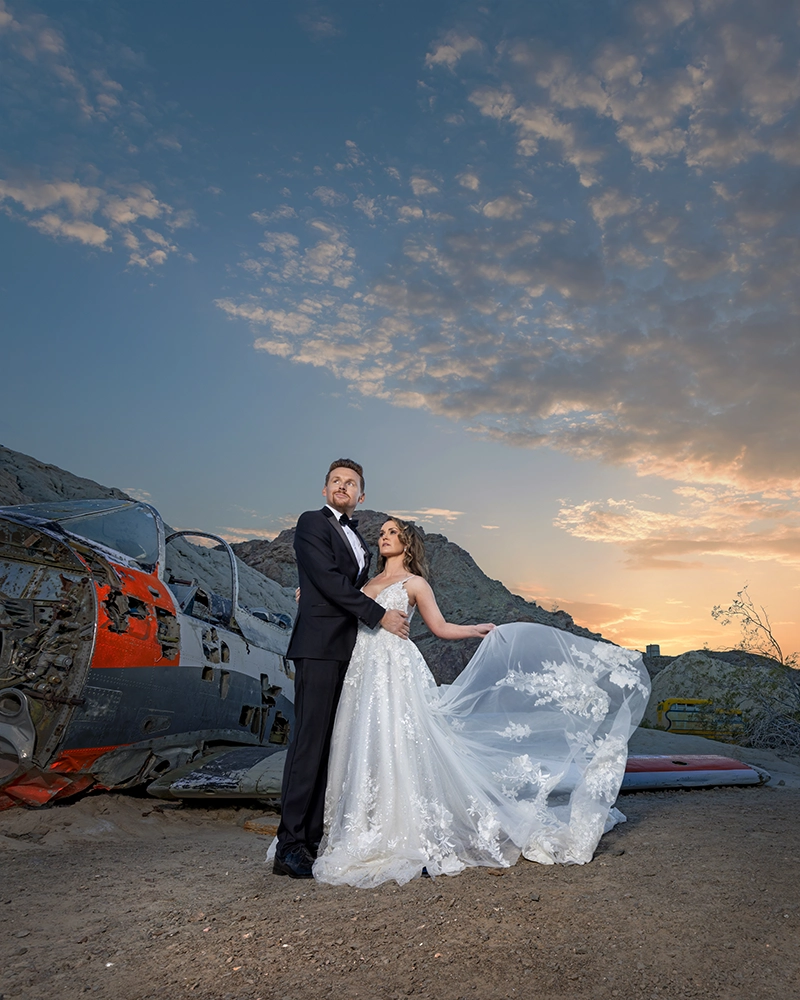
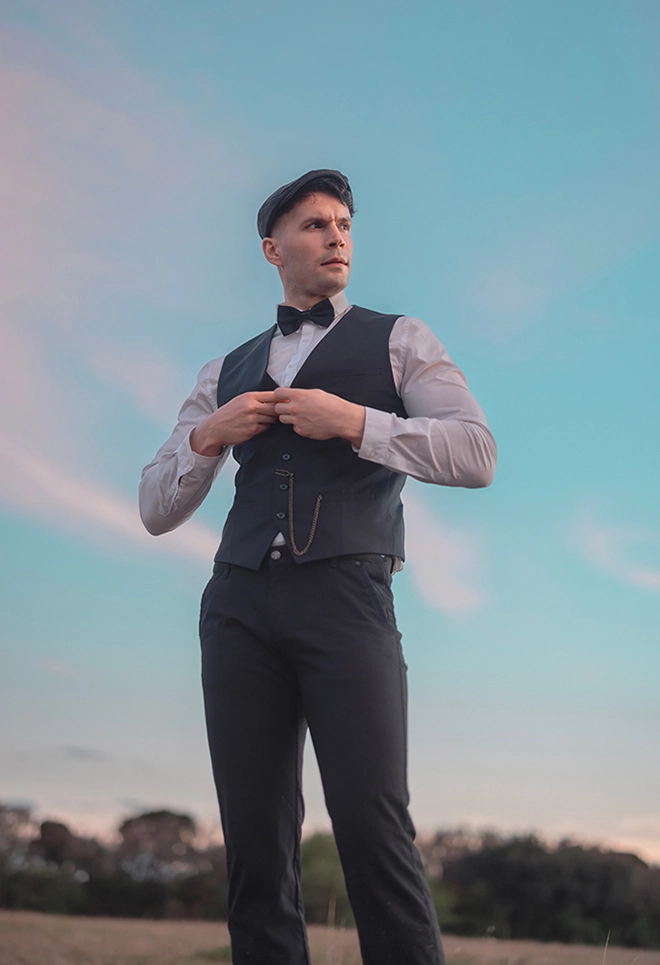
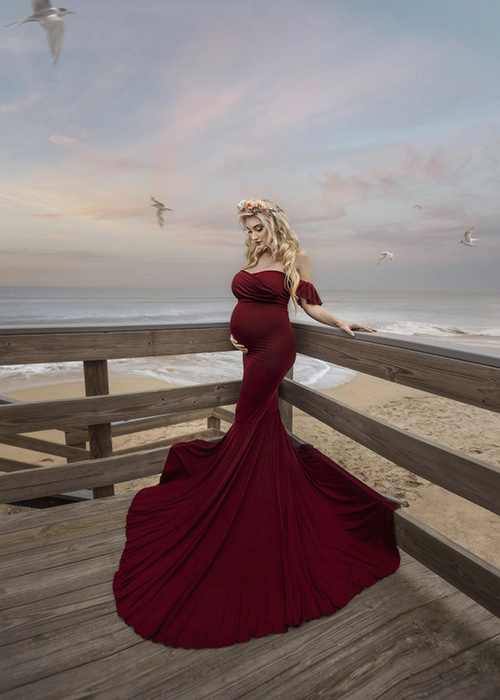
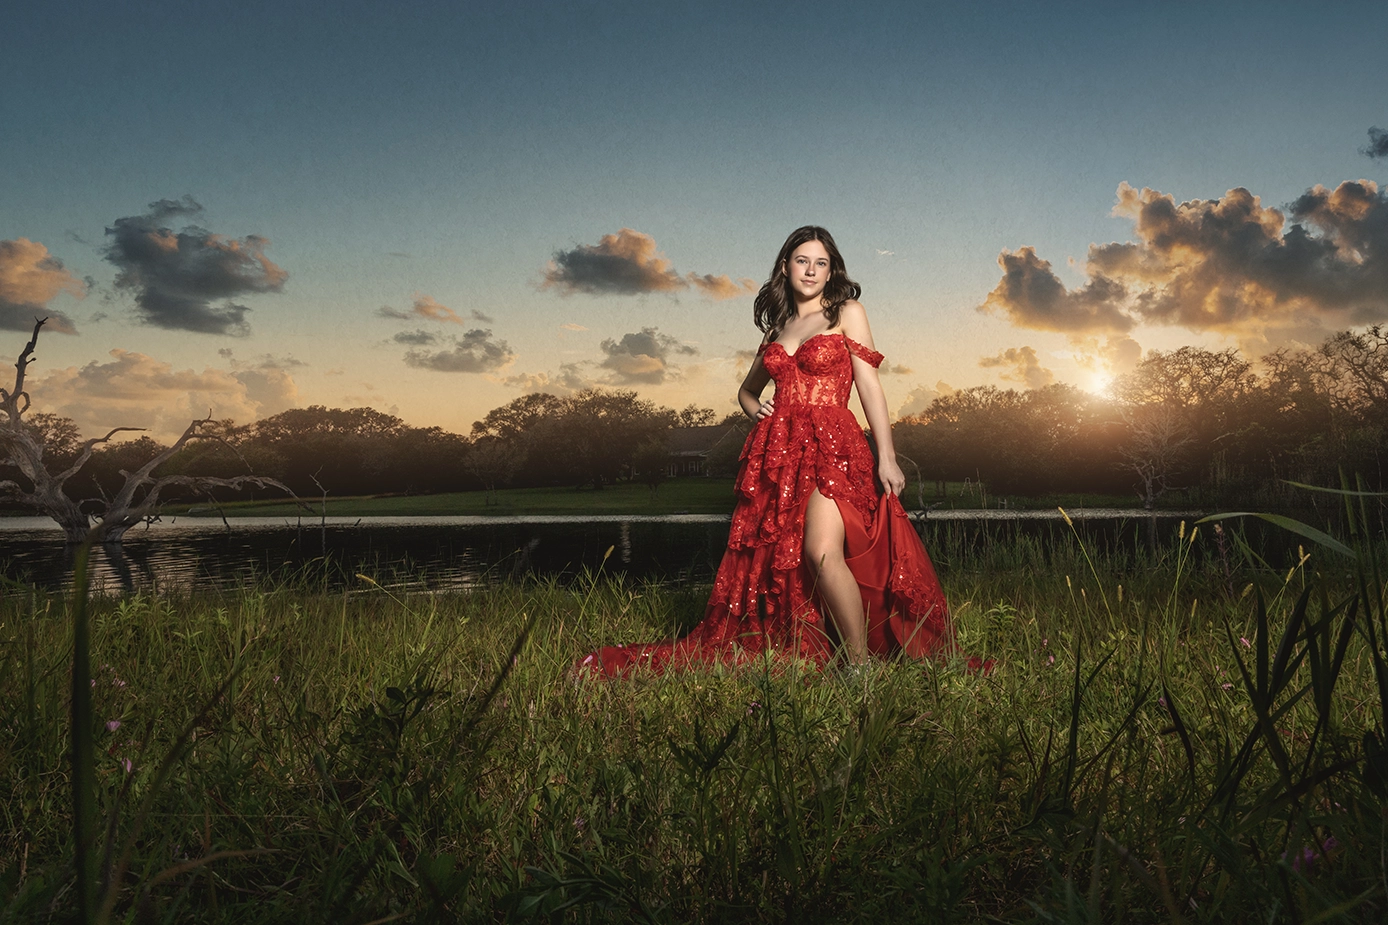
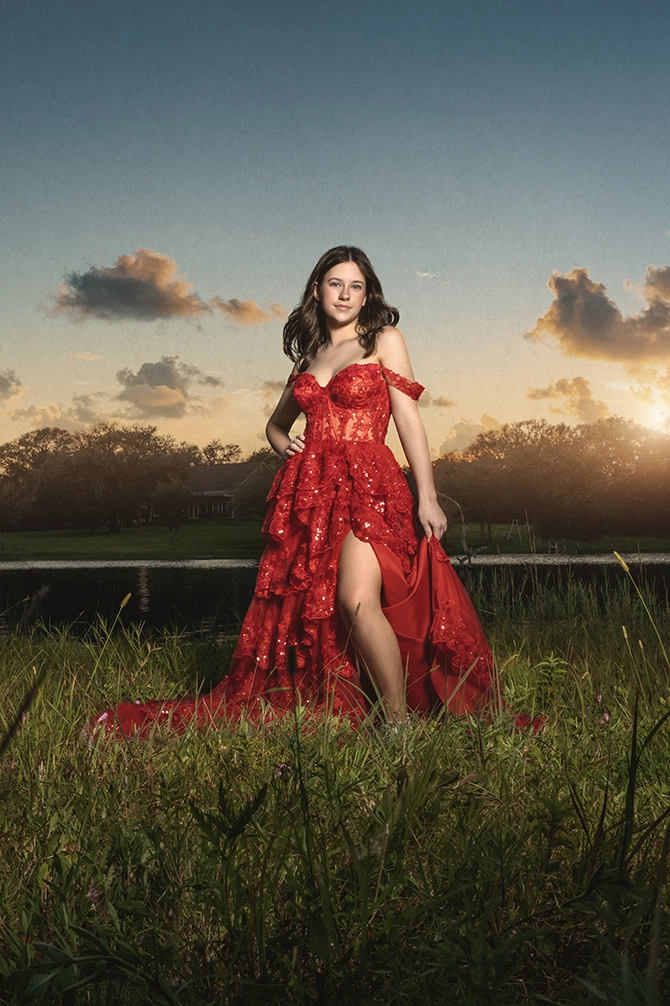
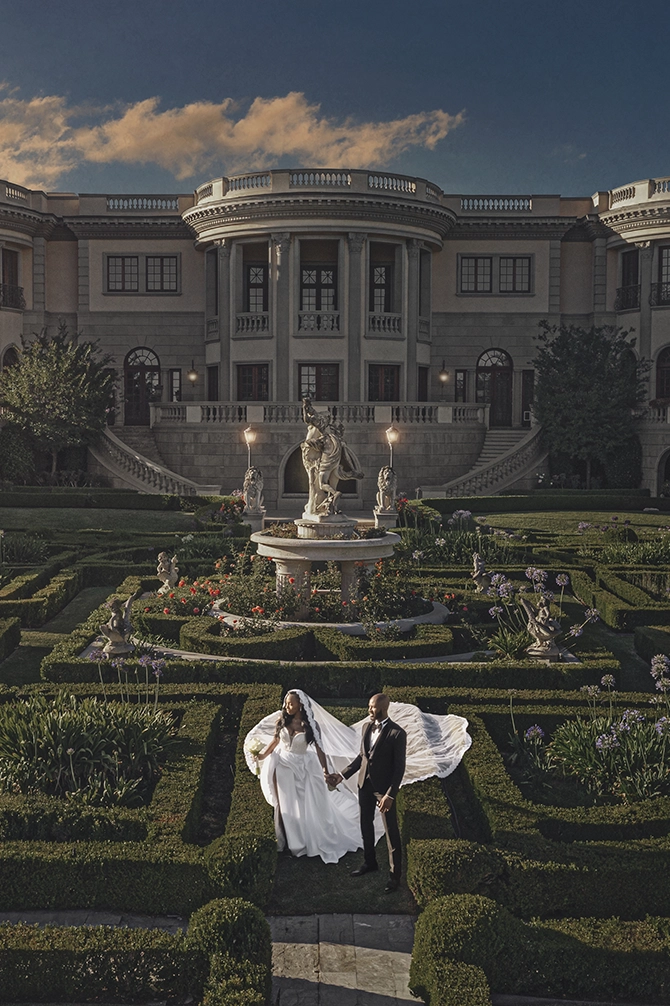
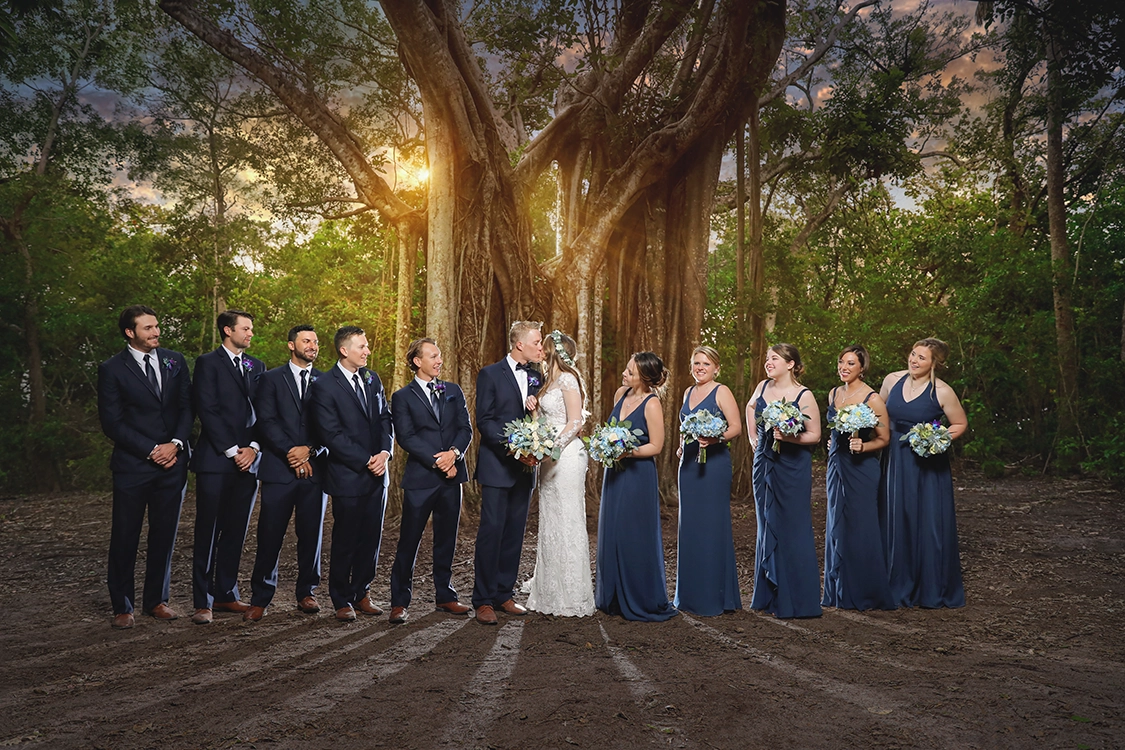
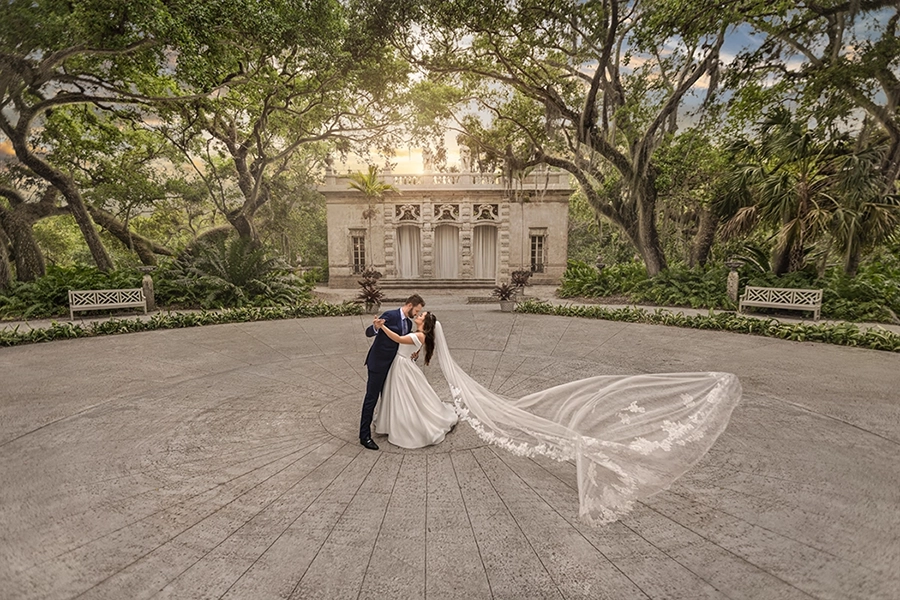
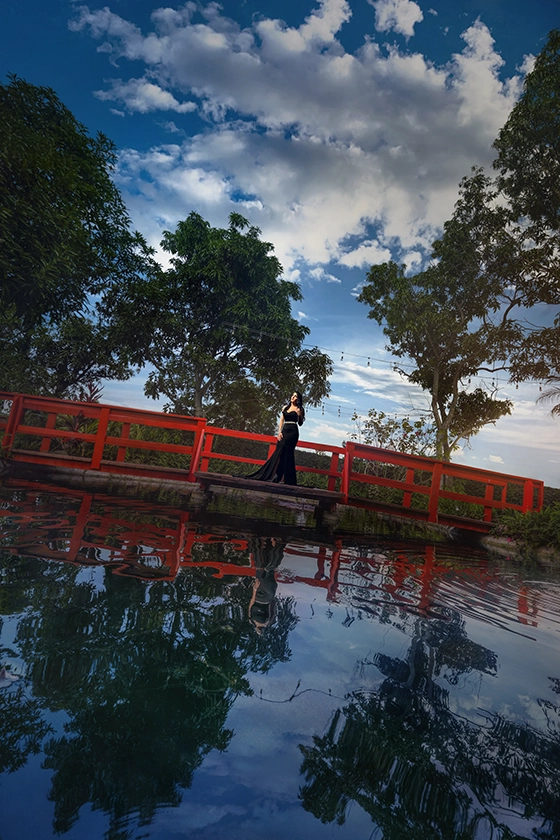
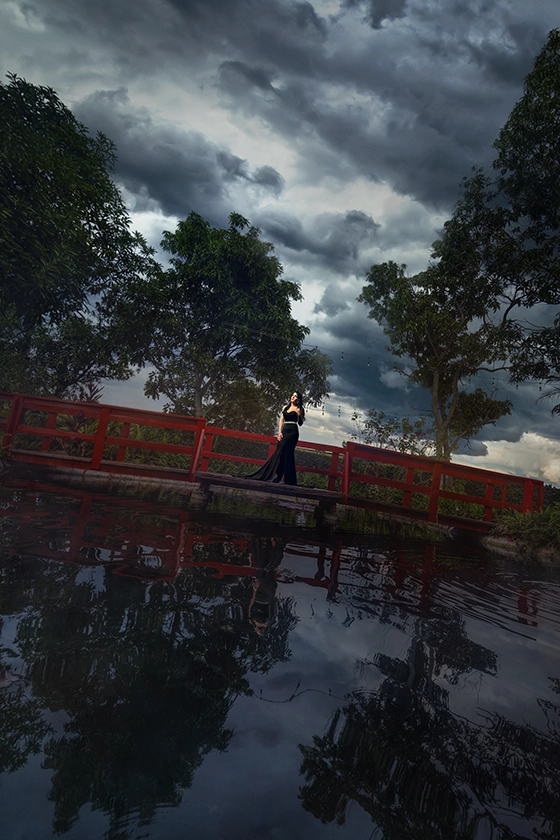
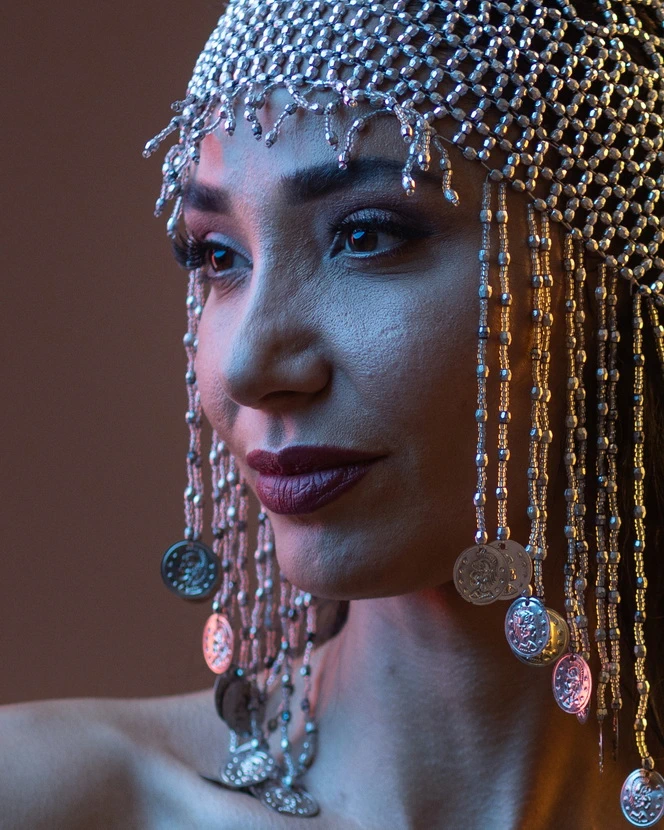
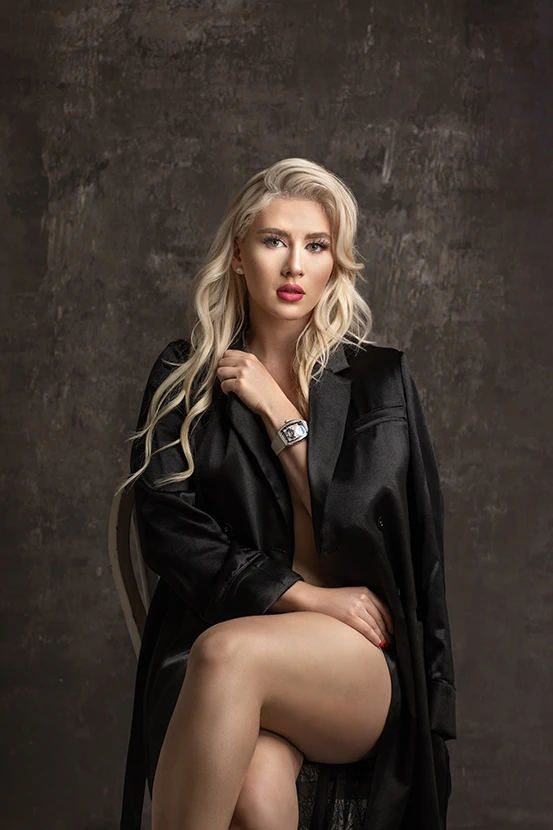
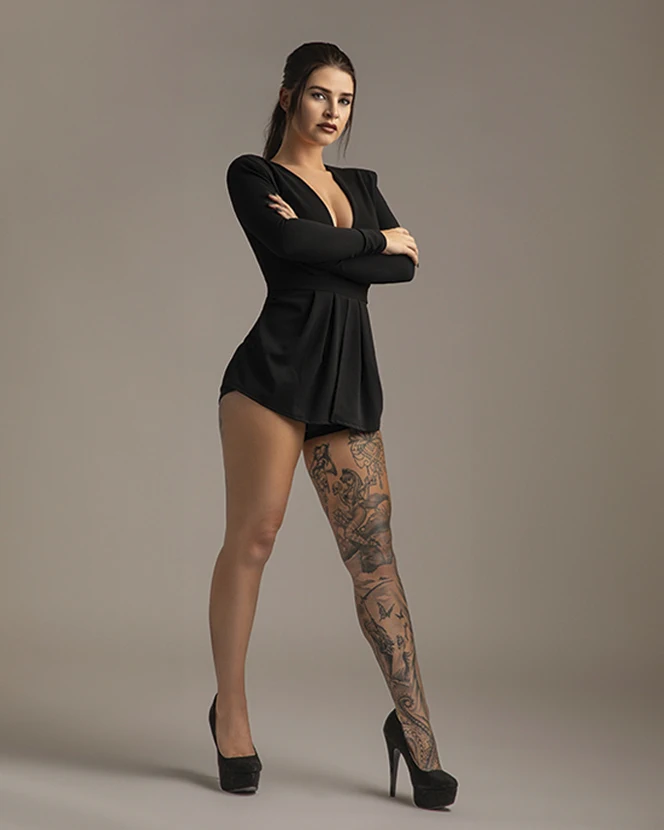
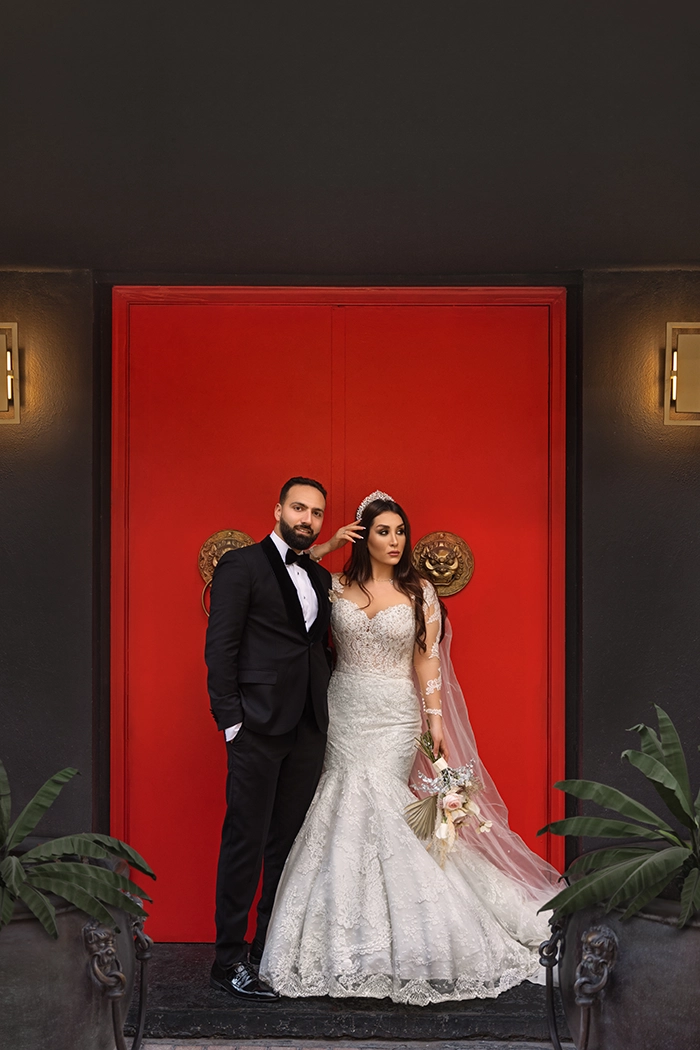
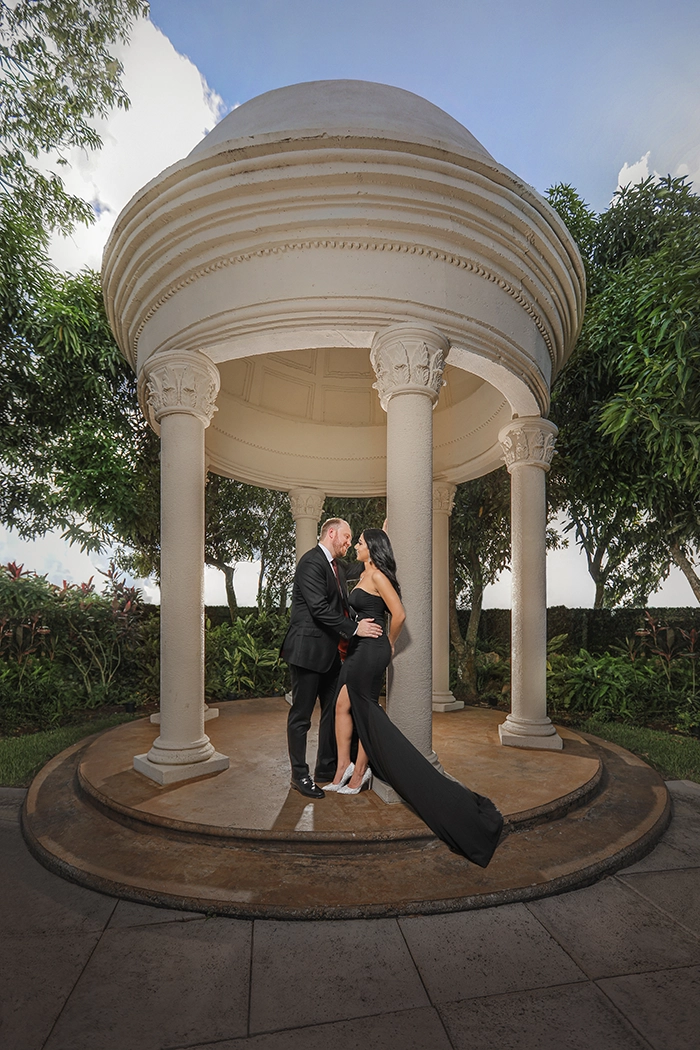
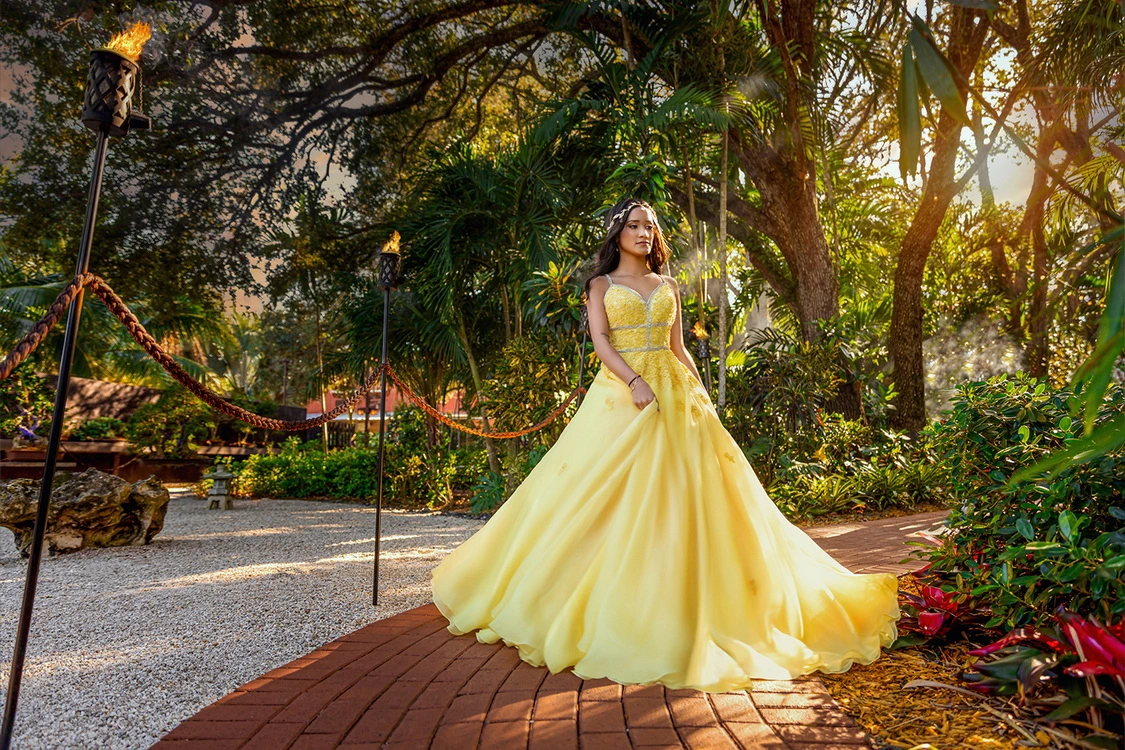
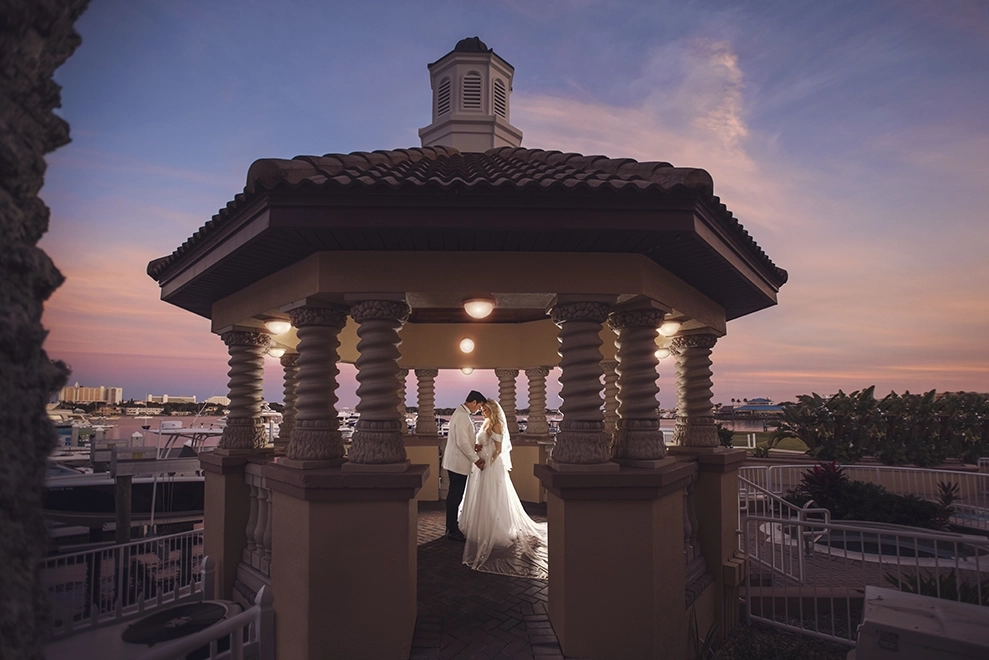
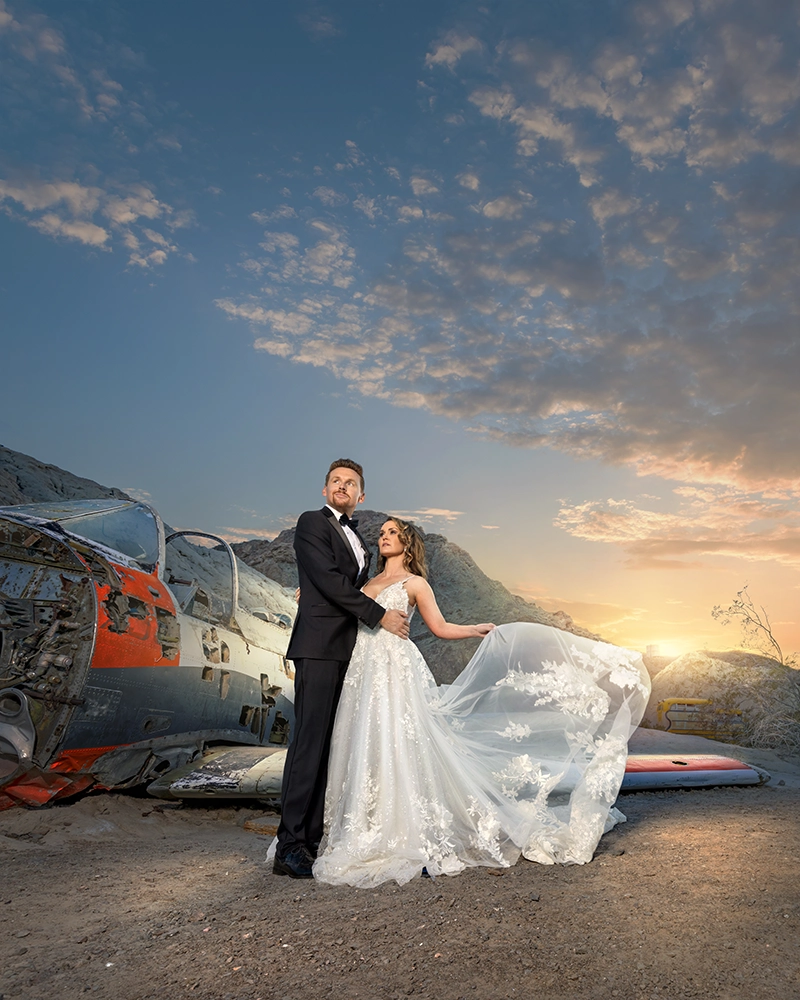
 Photographer : Braulio Rocha
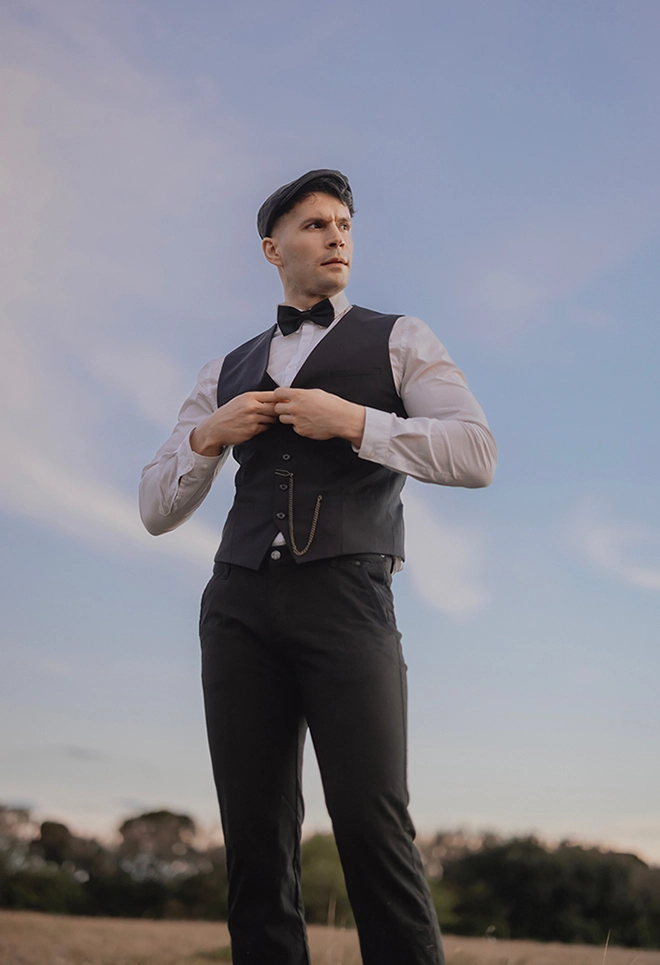
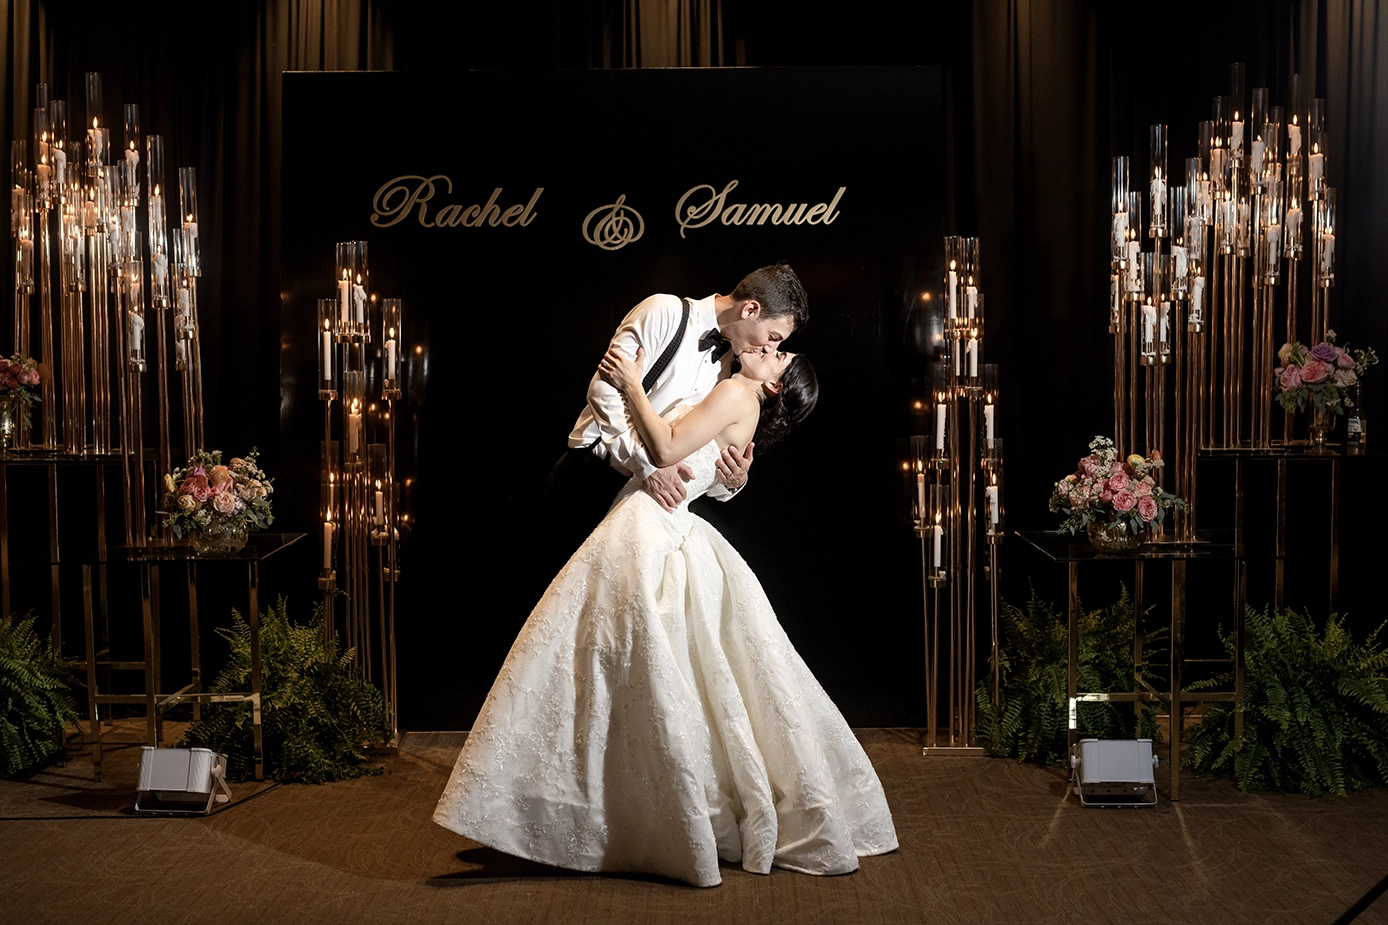
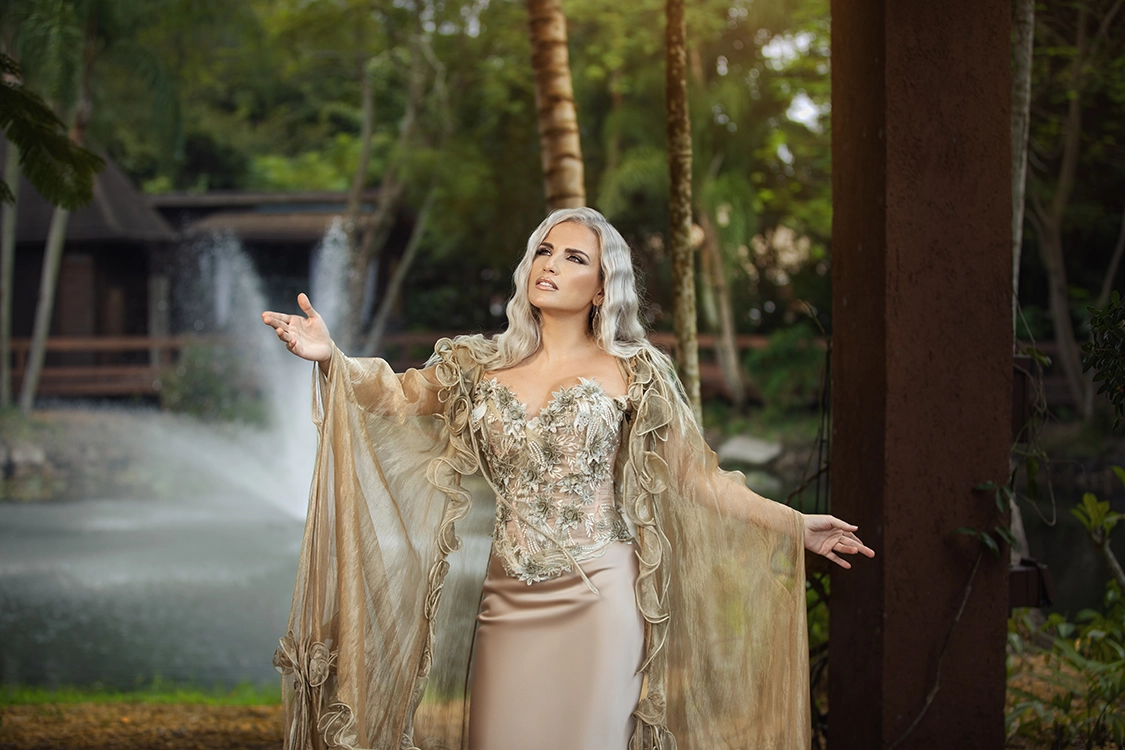
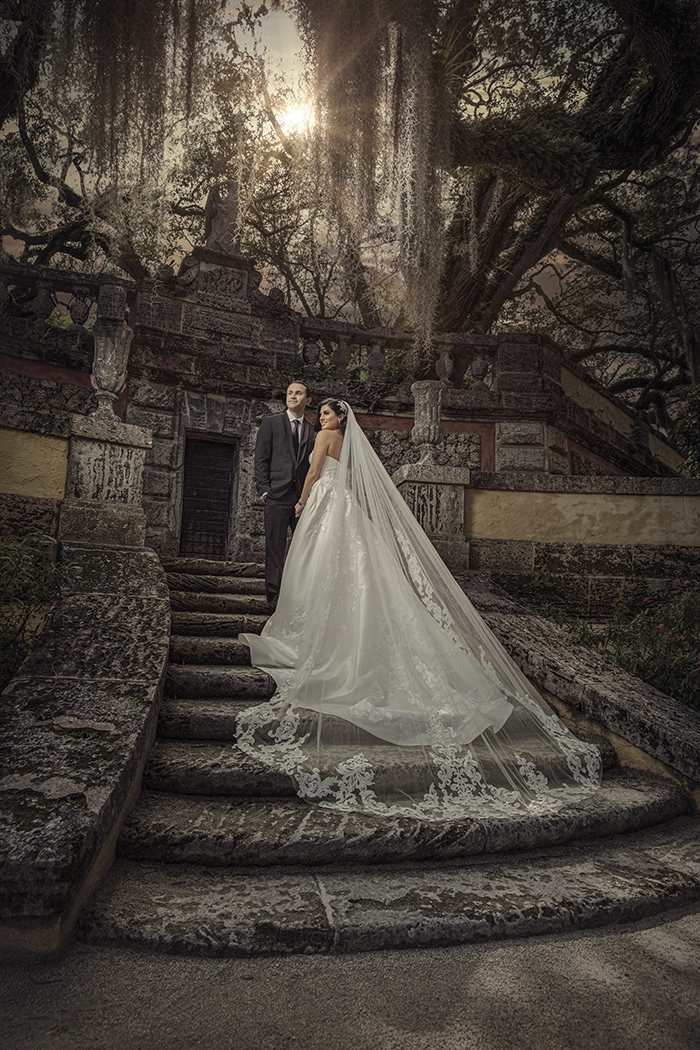
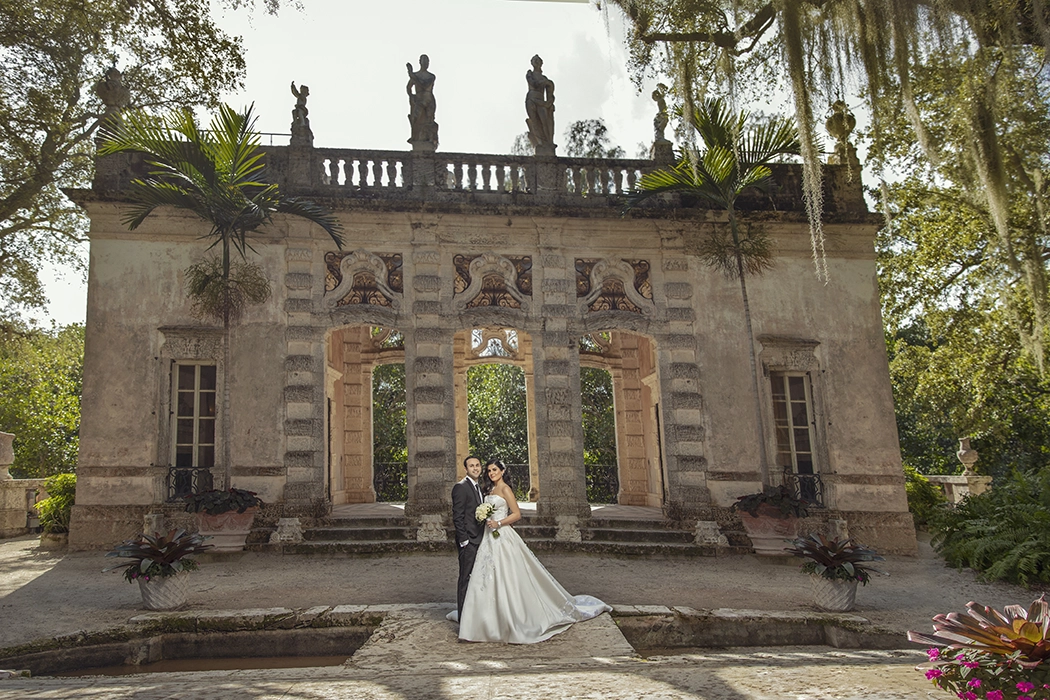
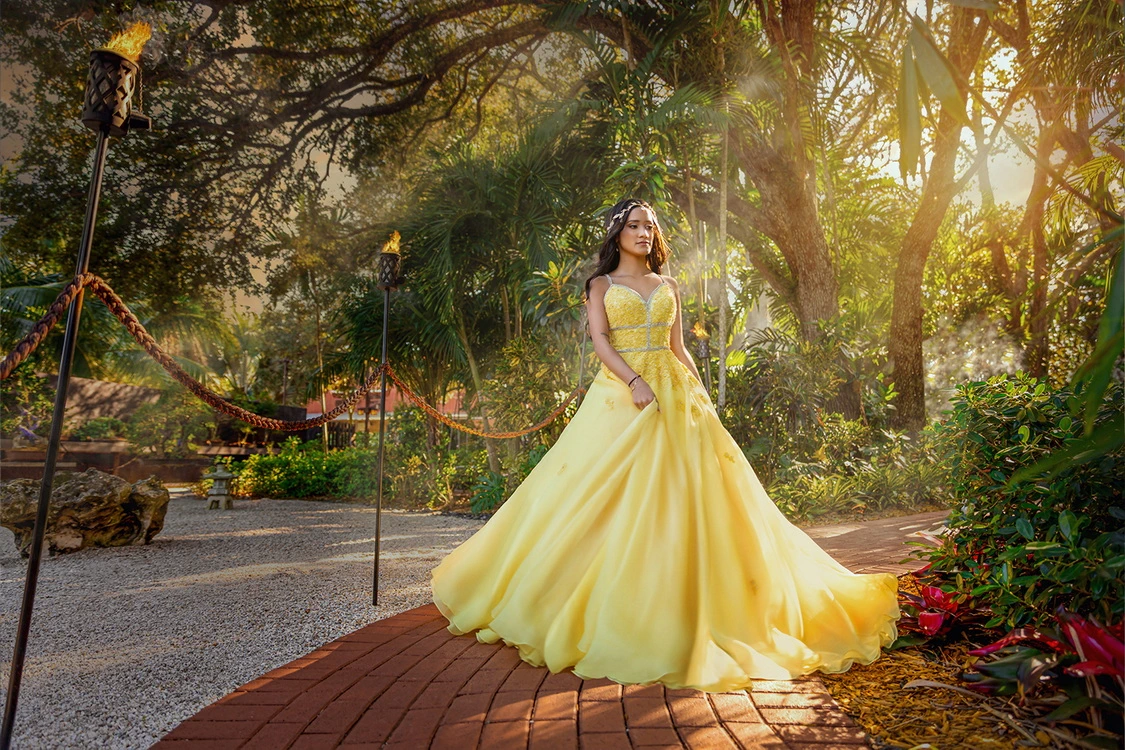
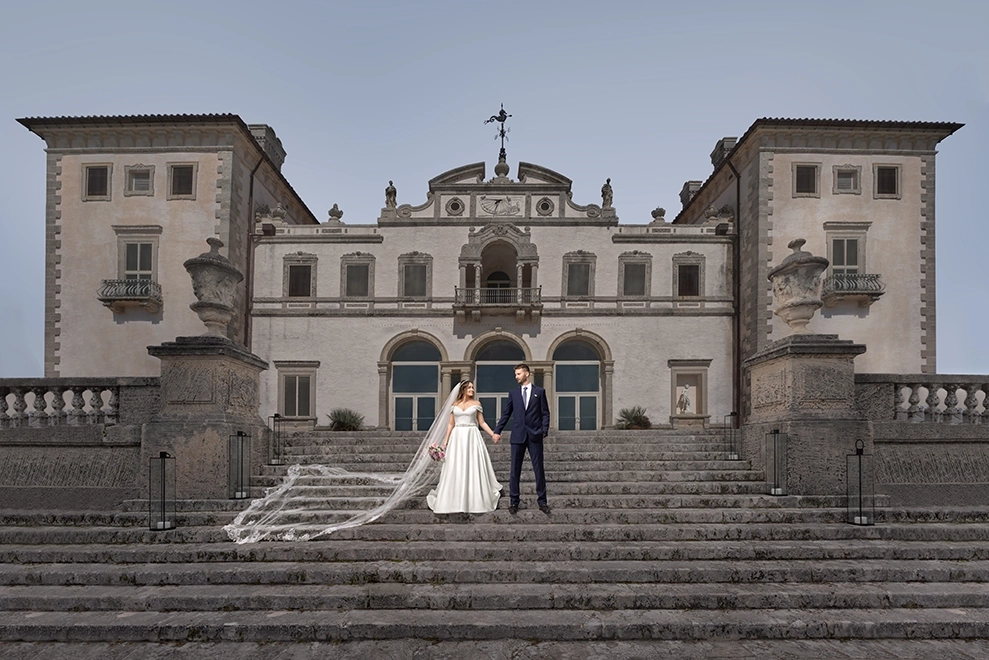
 Photographer : Braulio Rocha
 Photographer : Braulio Rocha
 Photographer : Braulio Rocha
 Photographer : Braulio Rocha
Photographer : Braulio Rocha
Photographer : Braulio Rocha
Photographer : Braulio Rocha
Photographer : Braulio Rocha
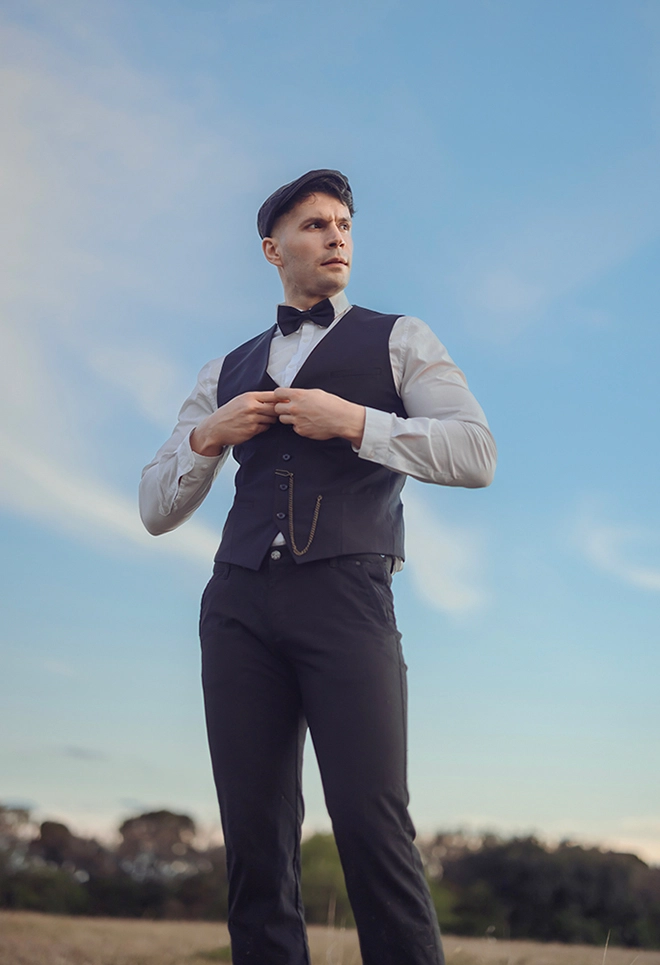
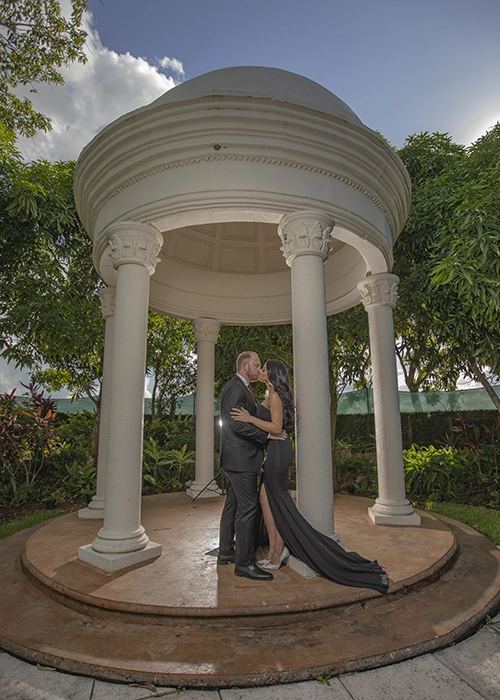
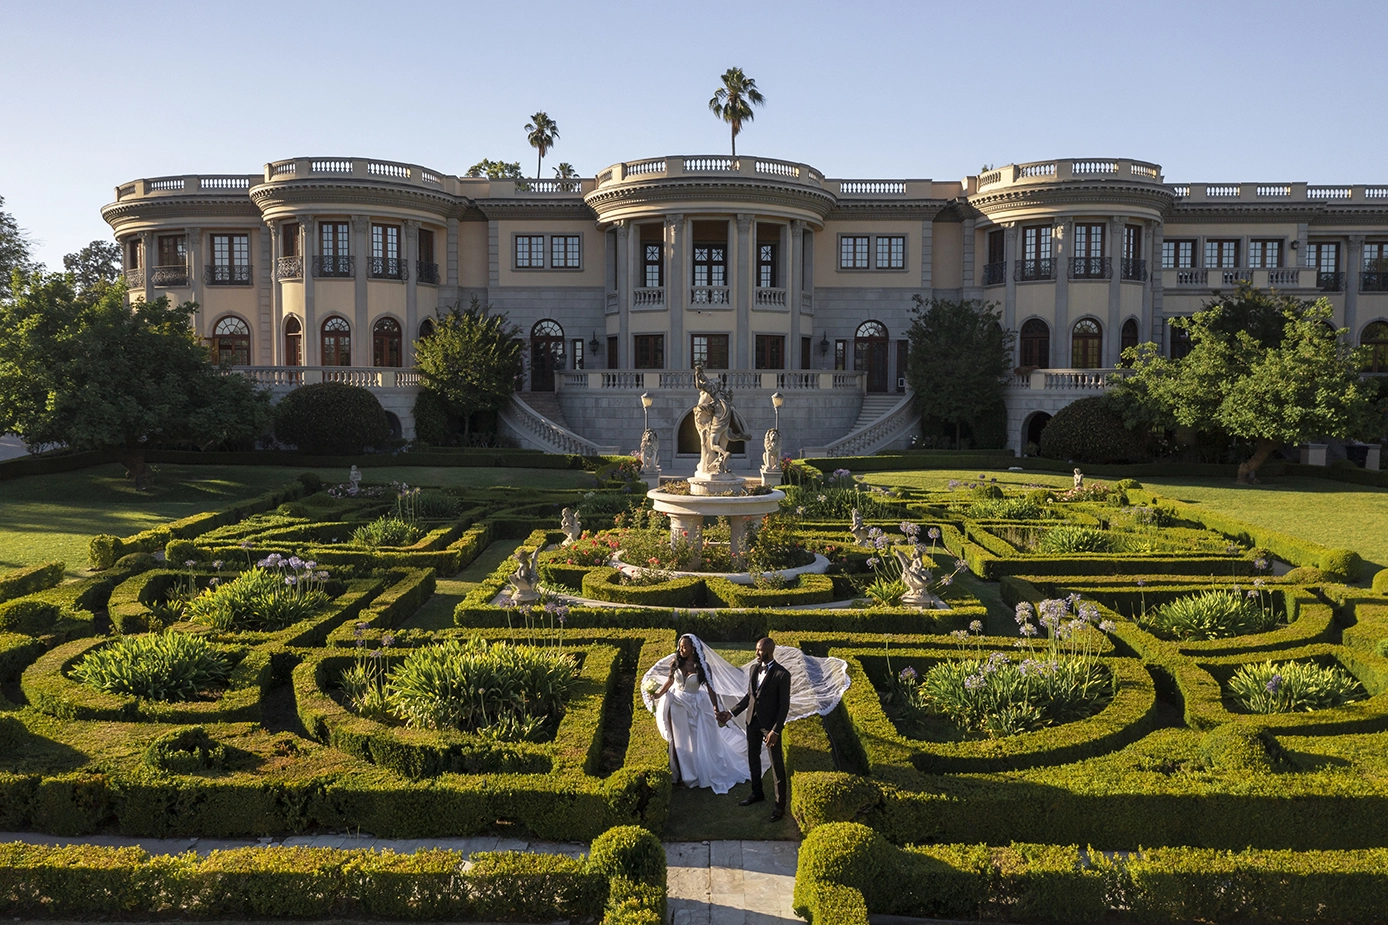
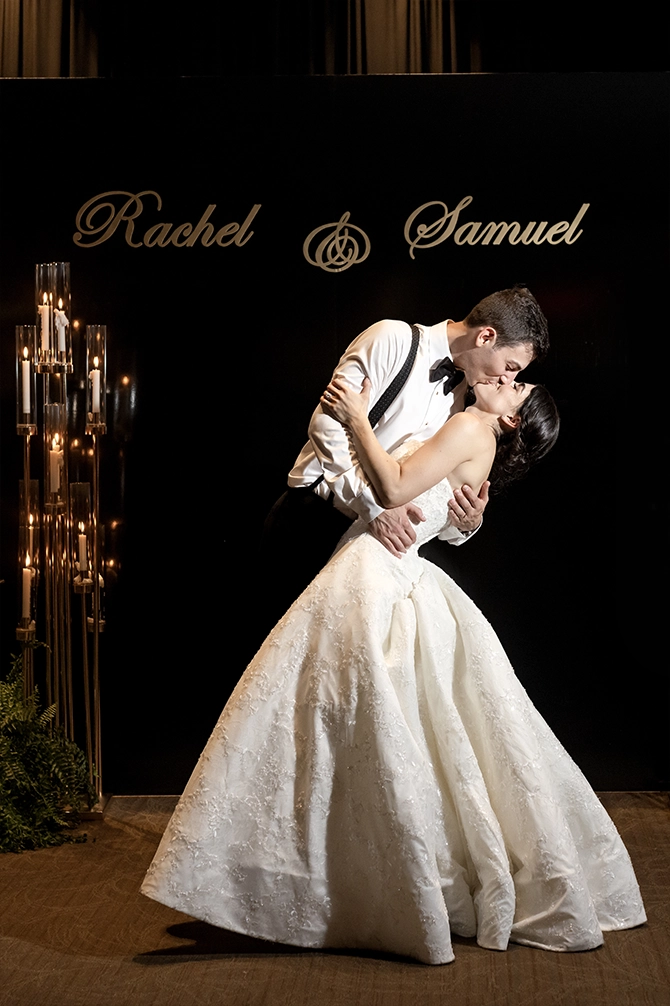
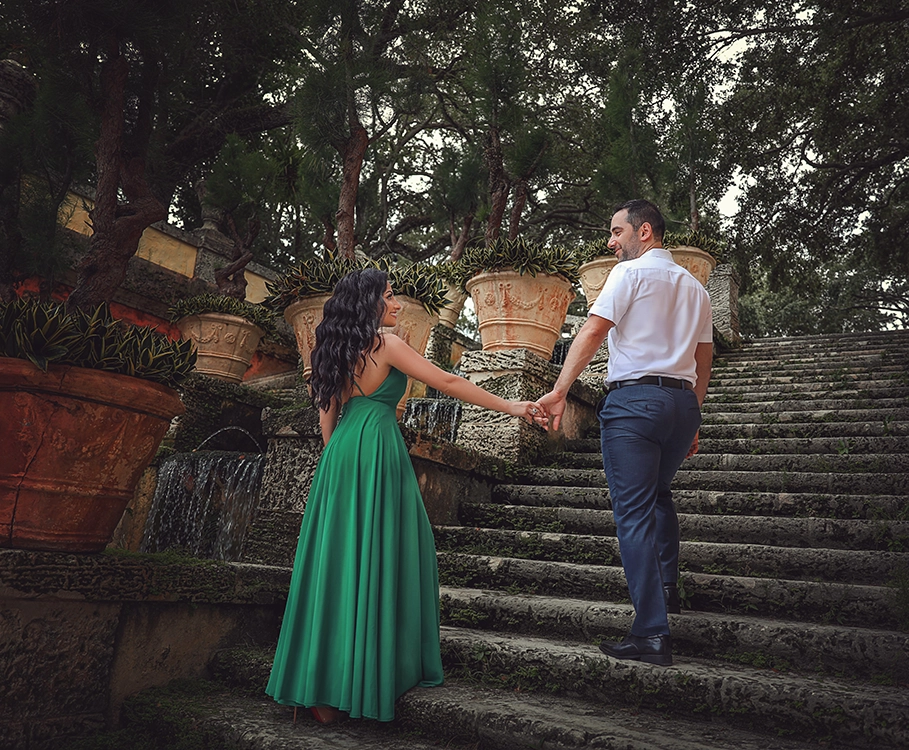
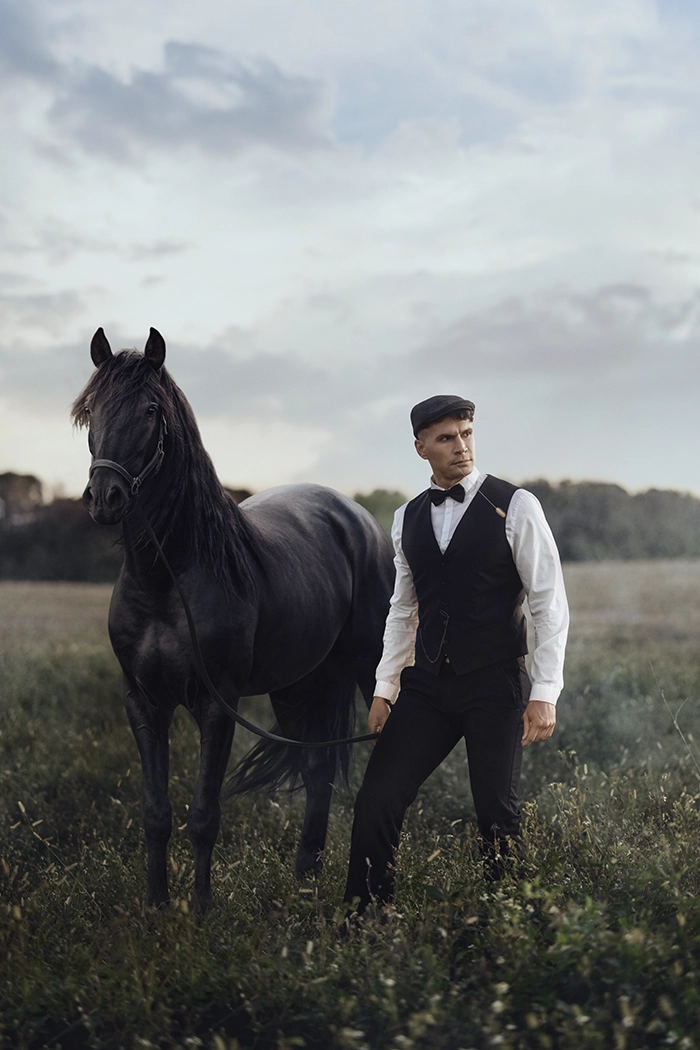
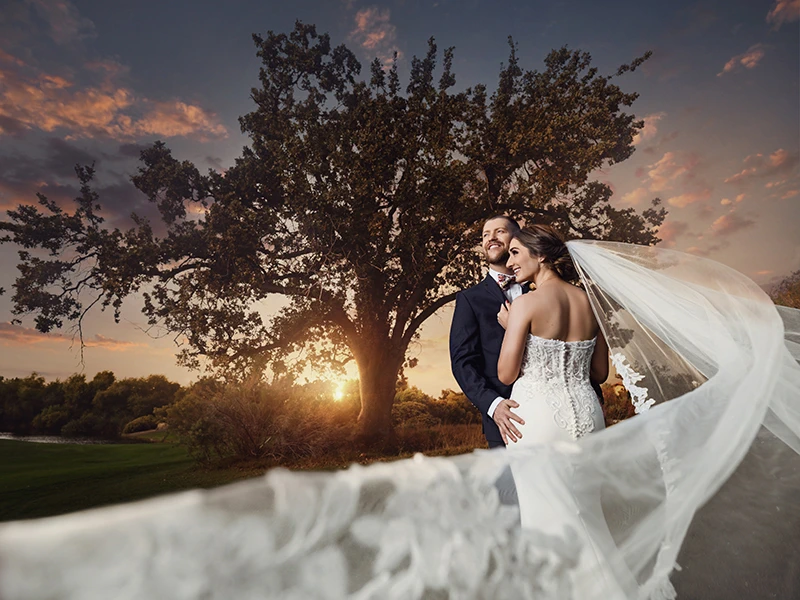
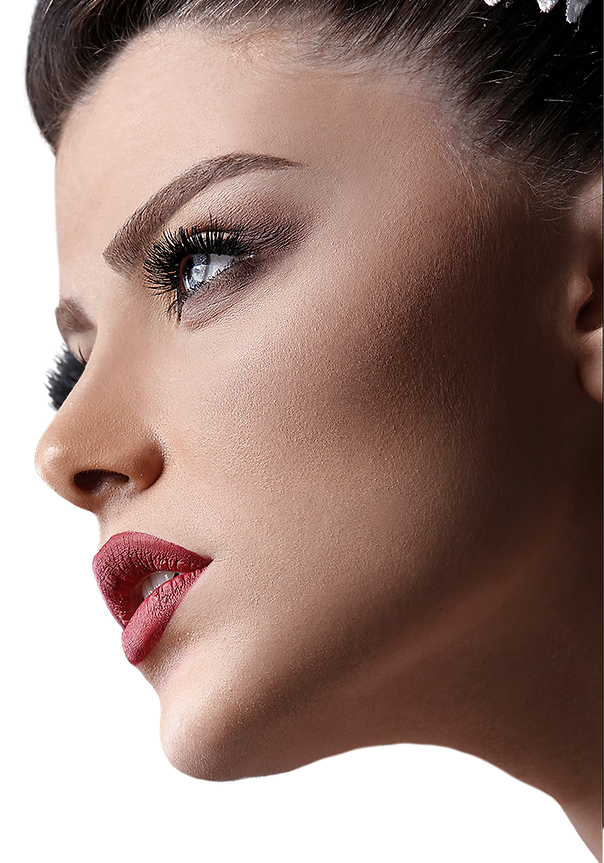
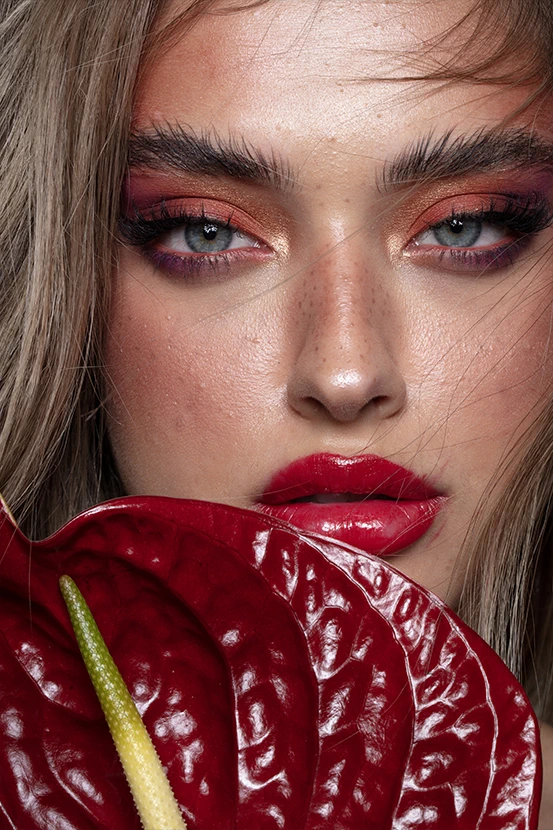
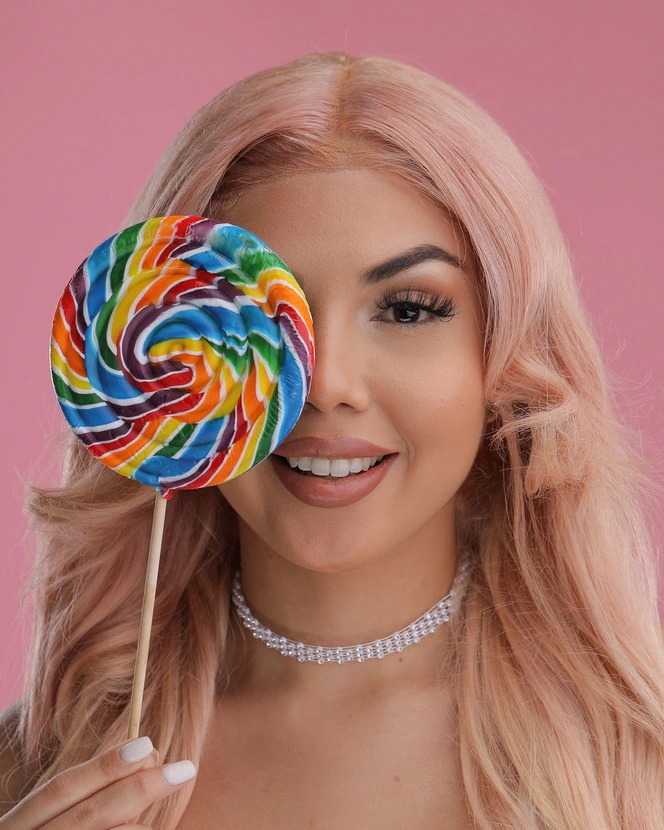
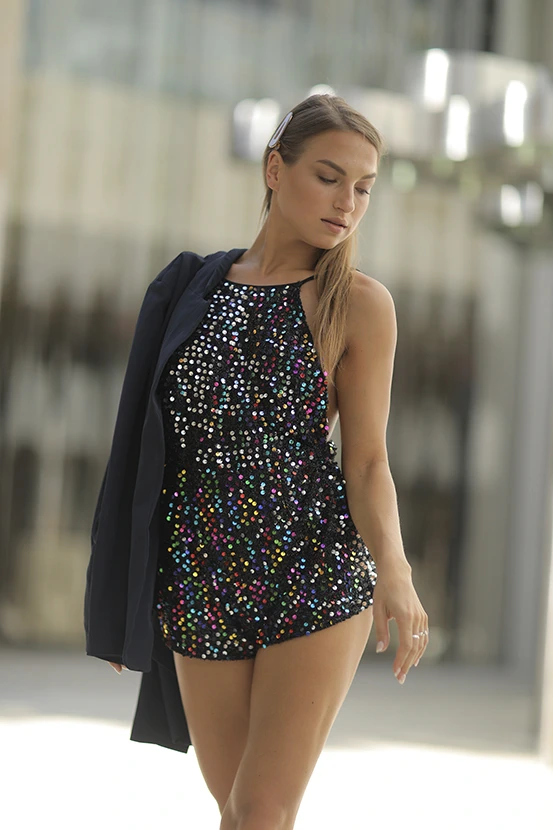
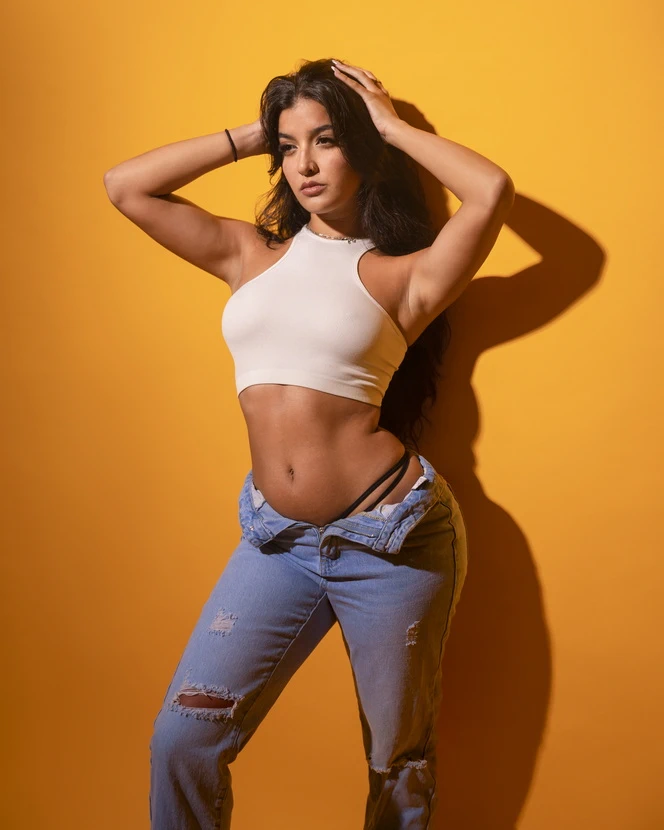
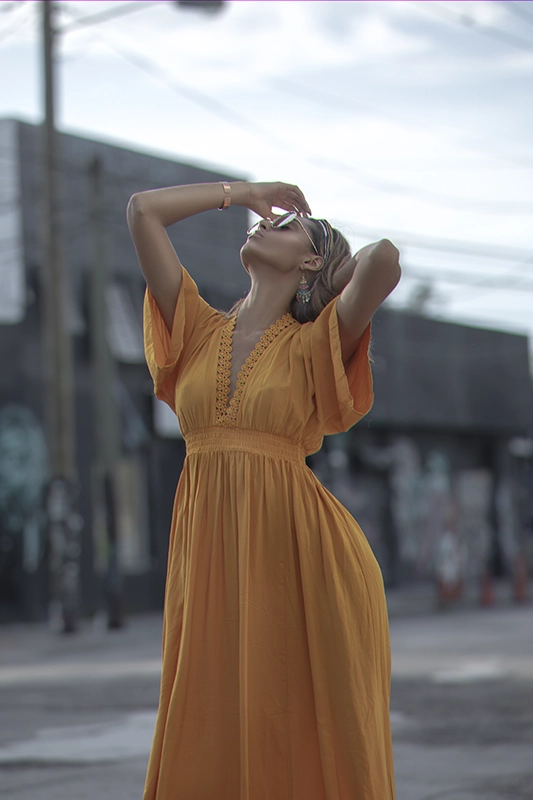
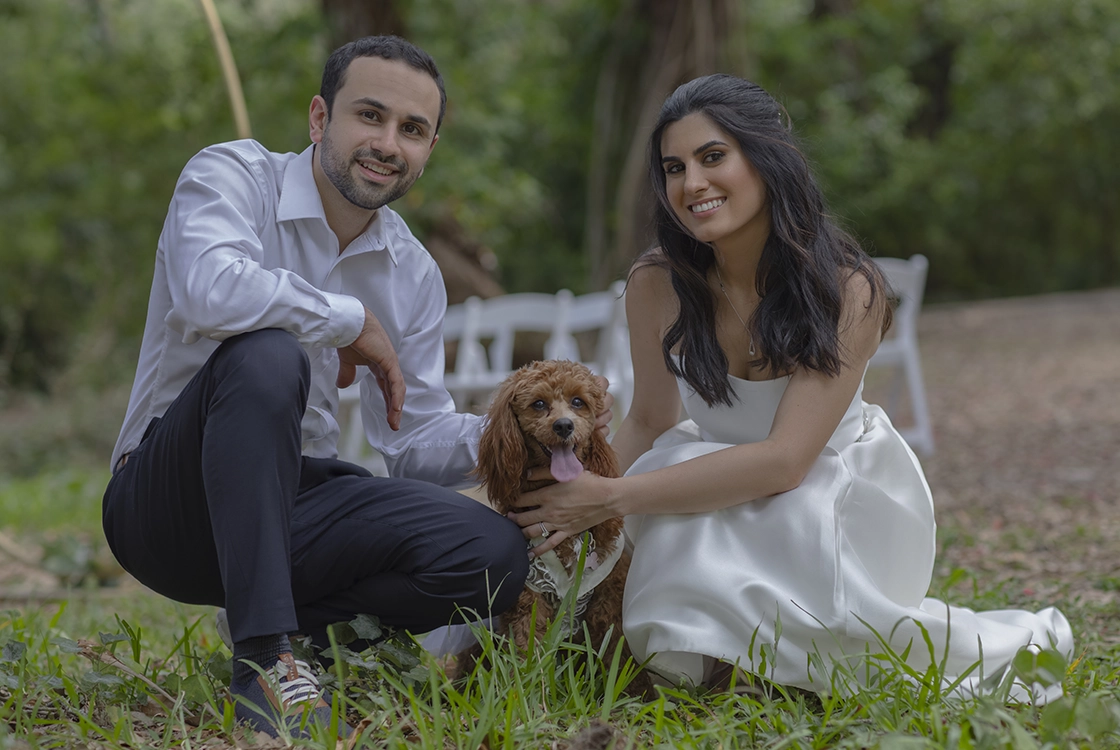
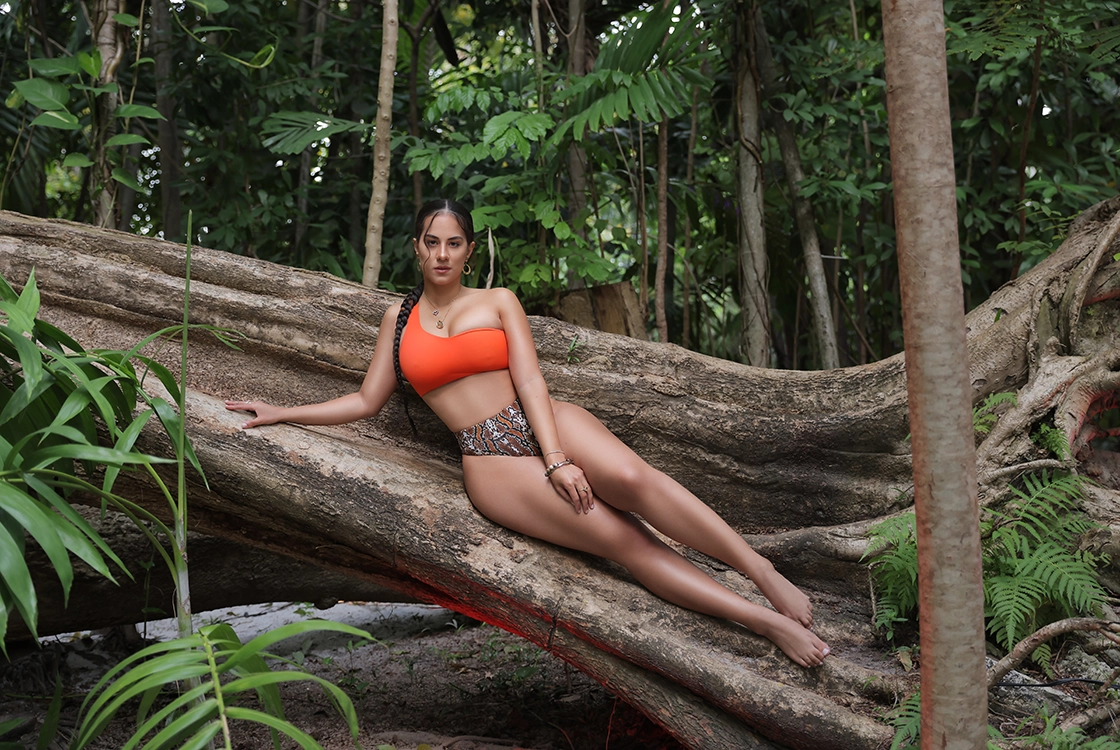
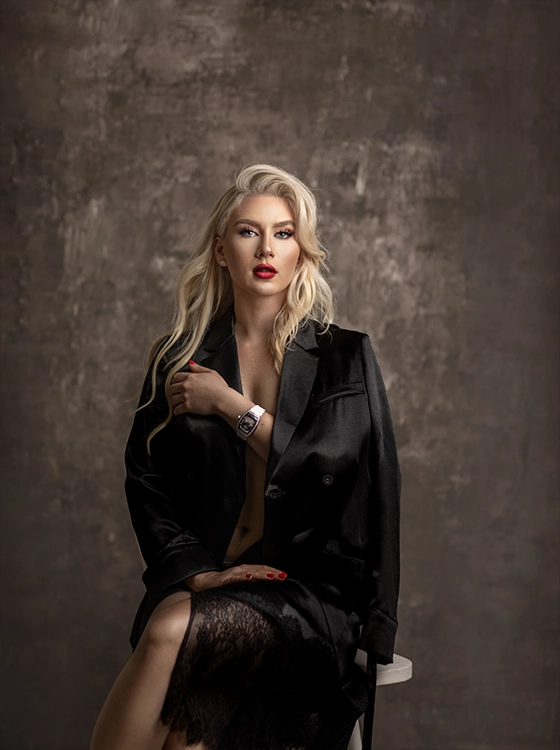
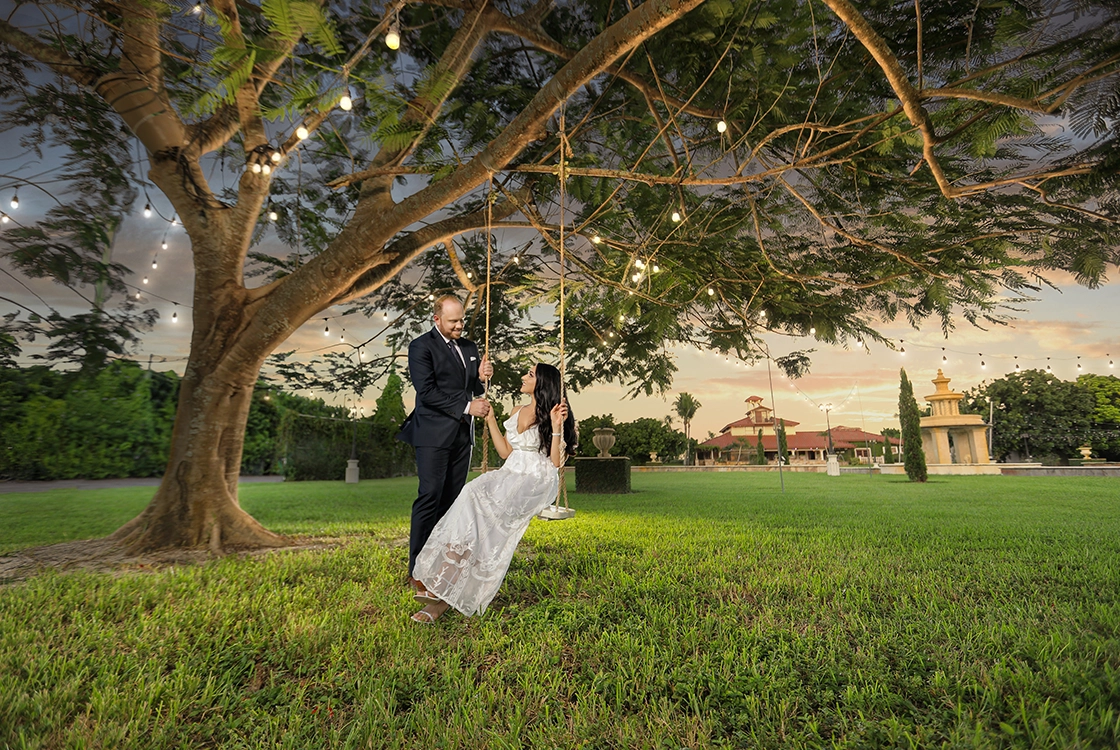
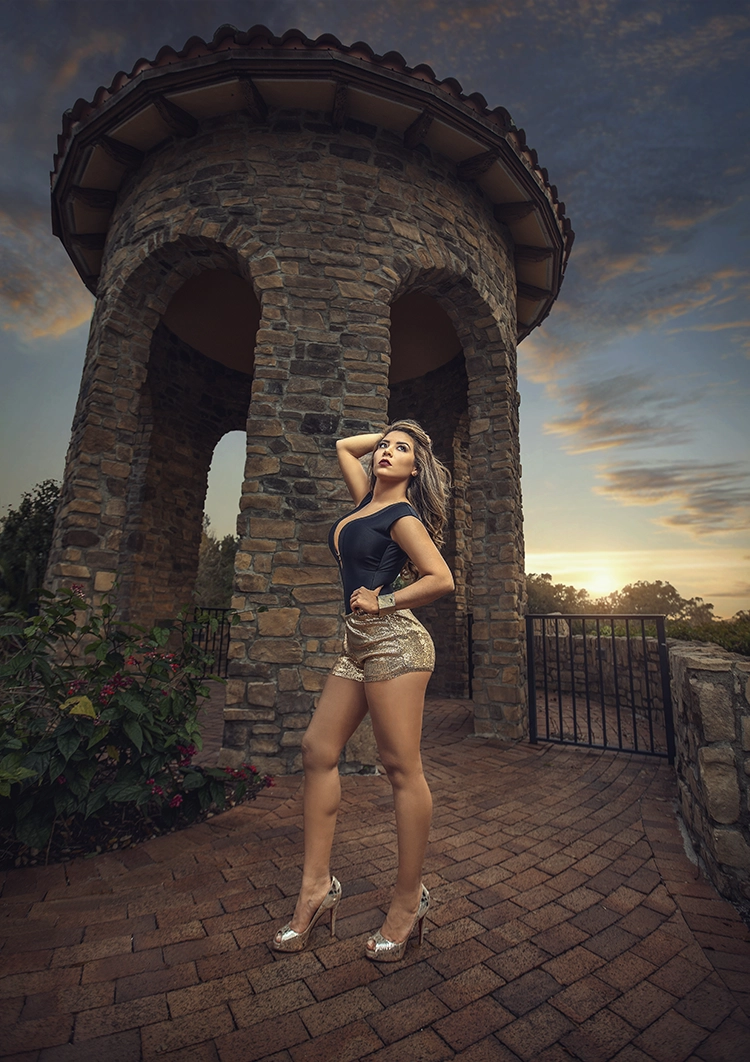
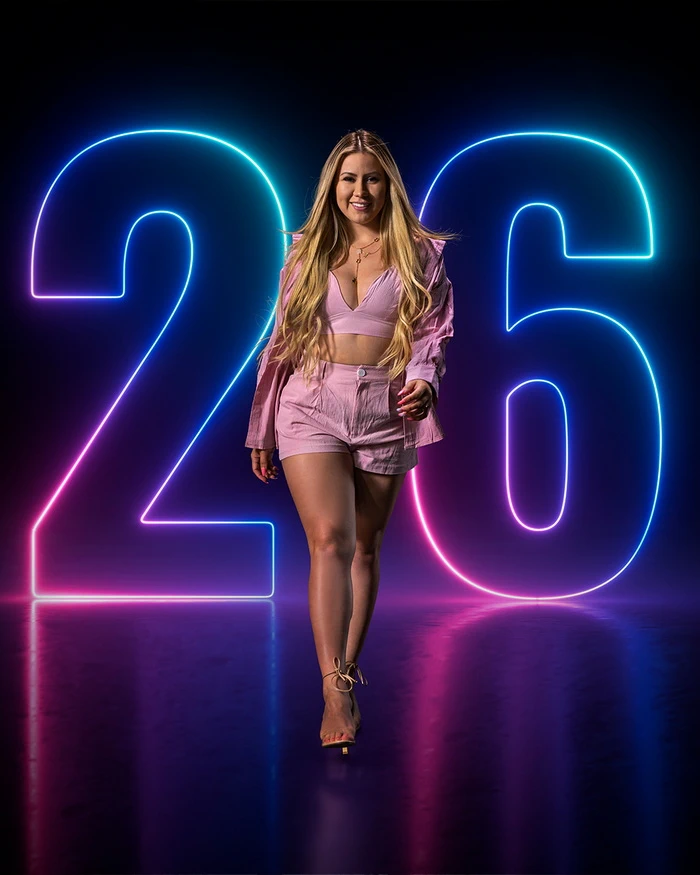
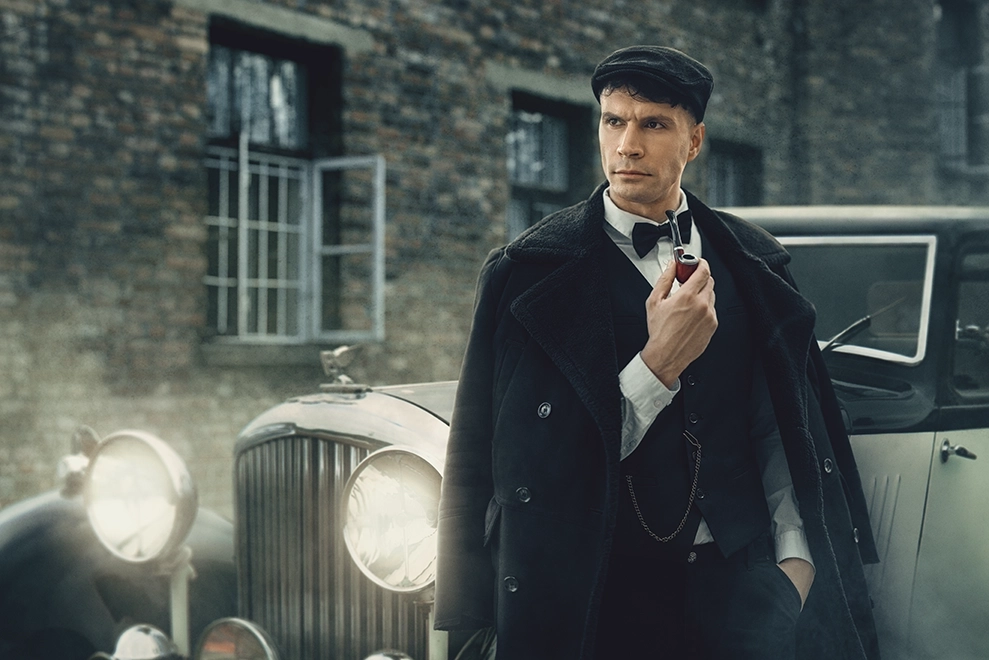
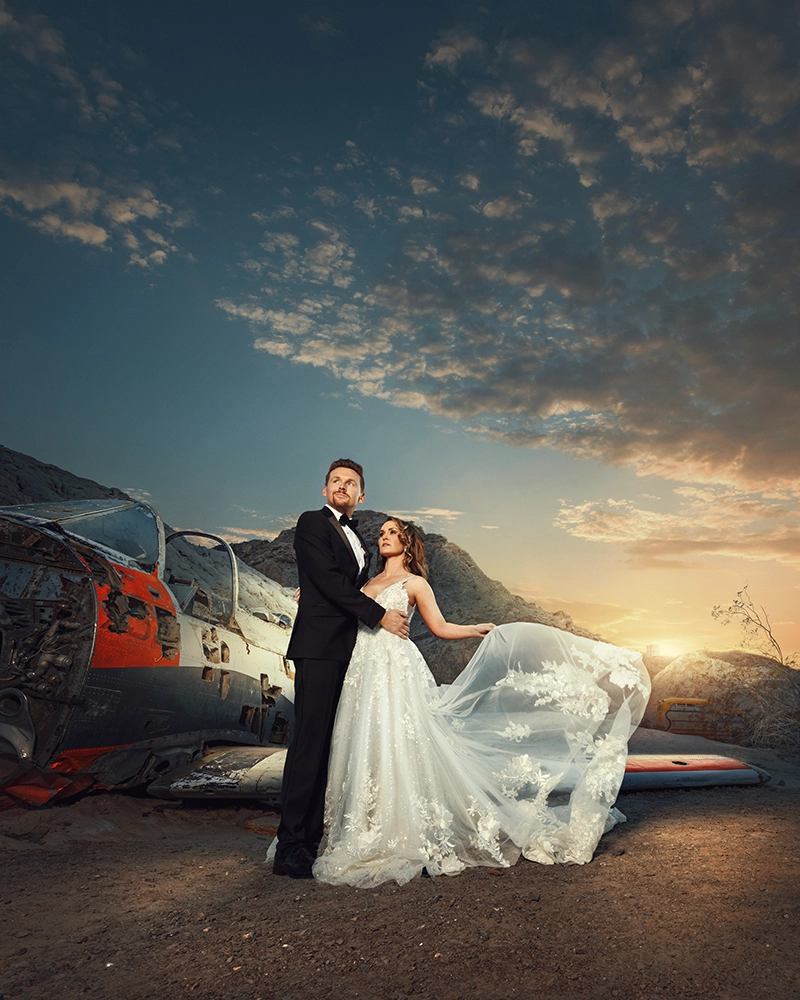
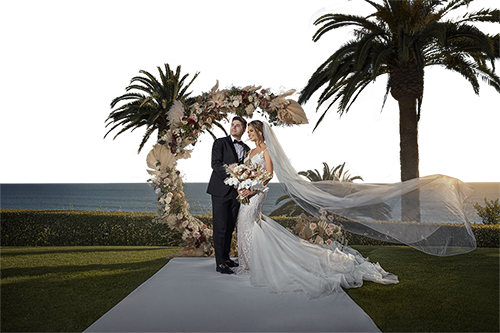 Photographer : Michael
Anthony
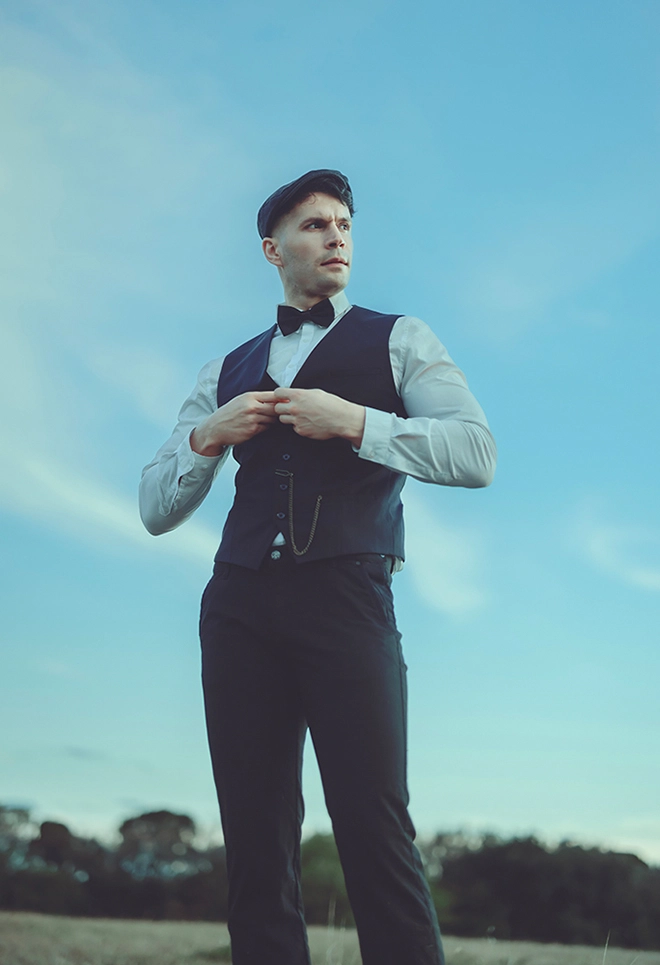
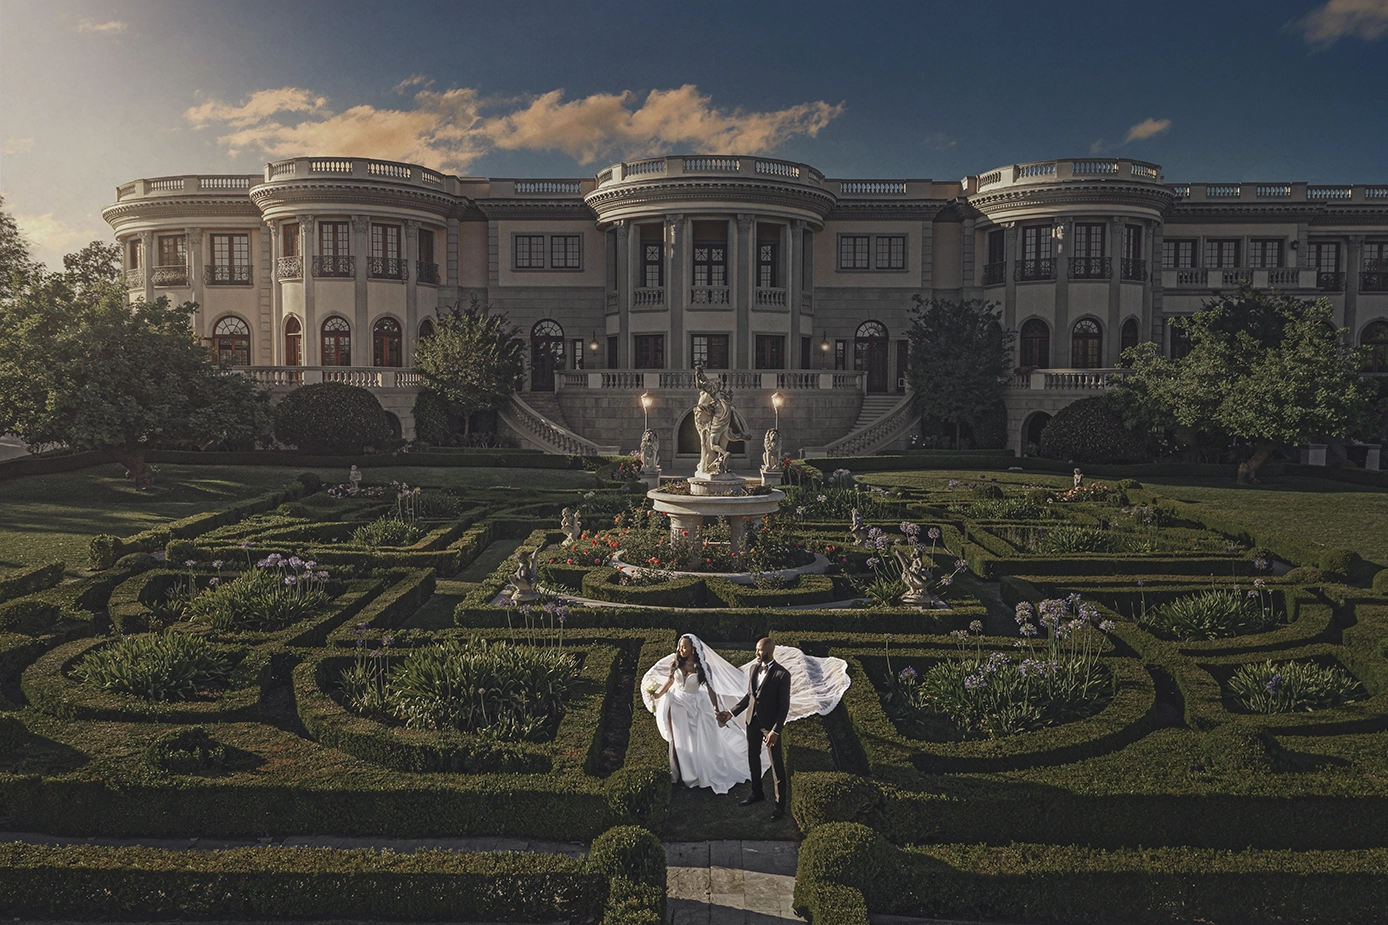
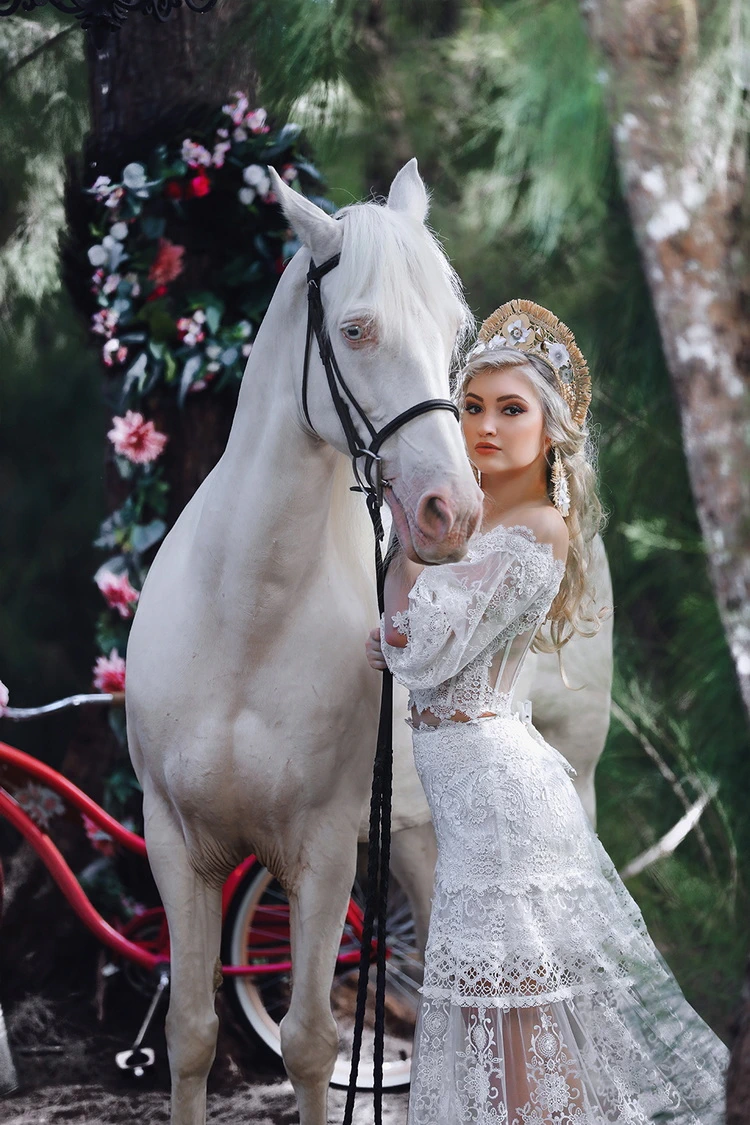
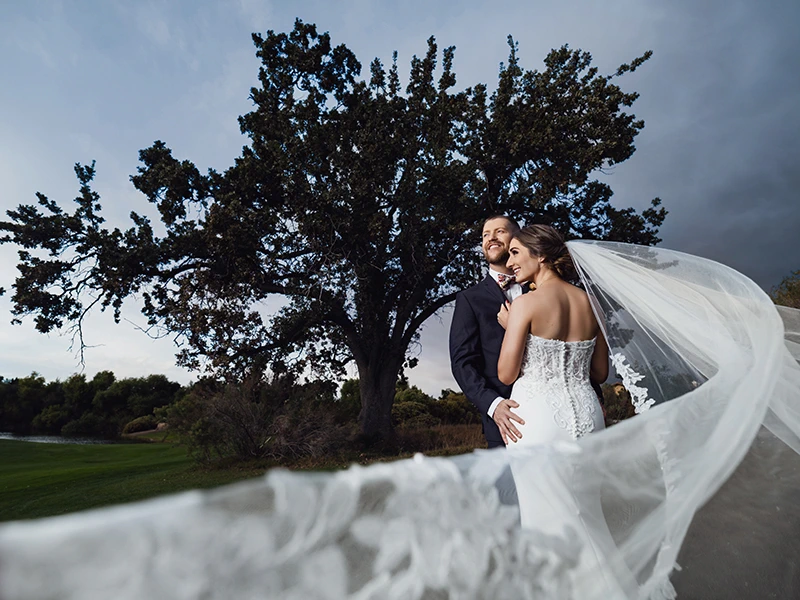
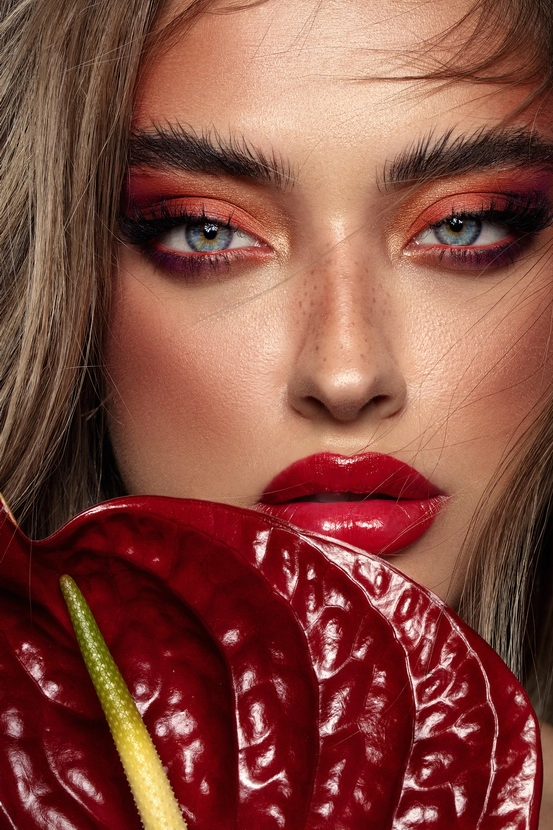
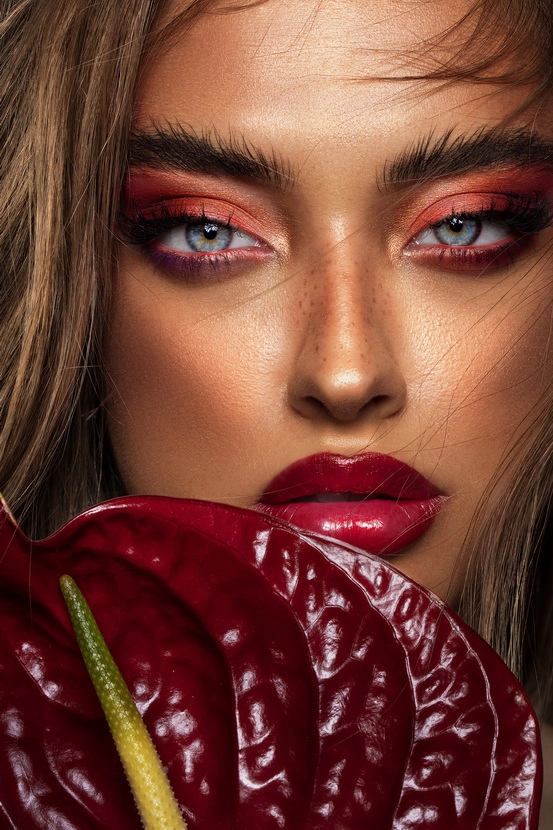
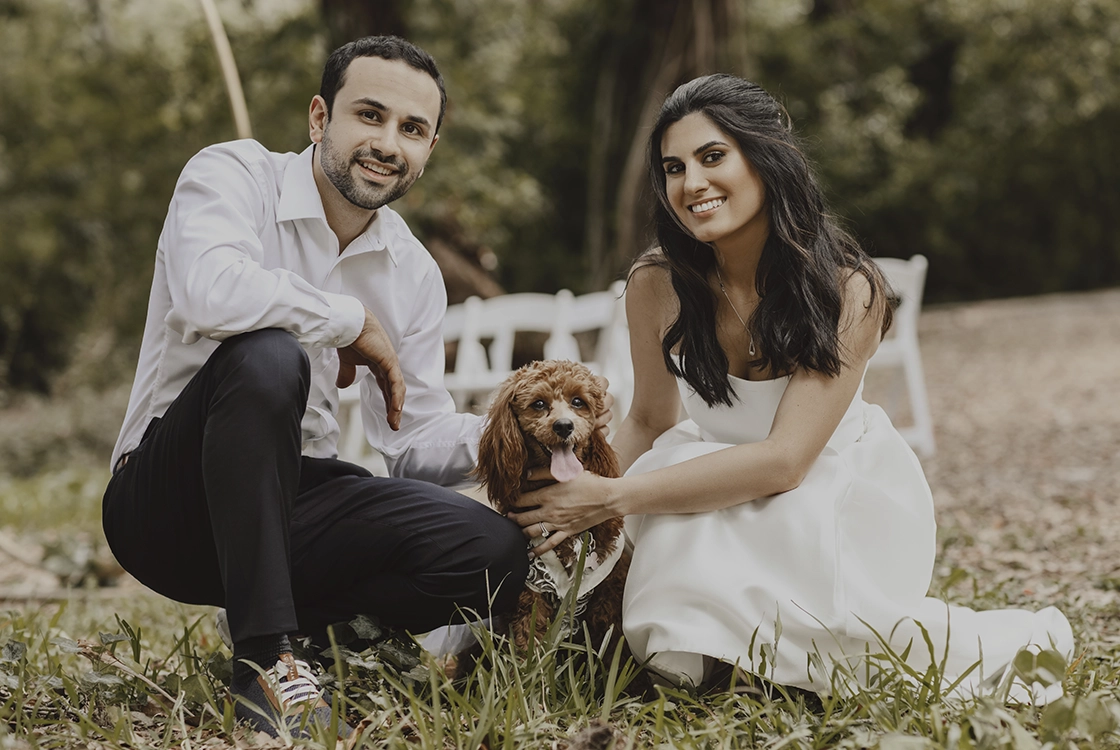
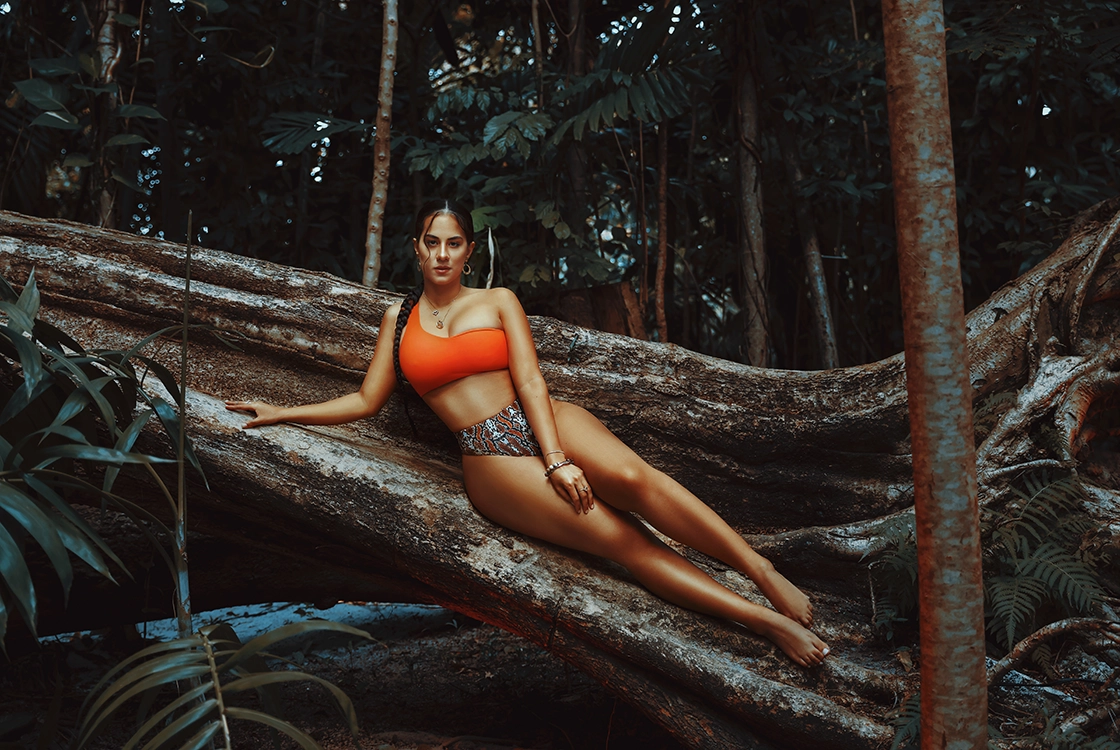
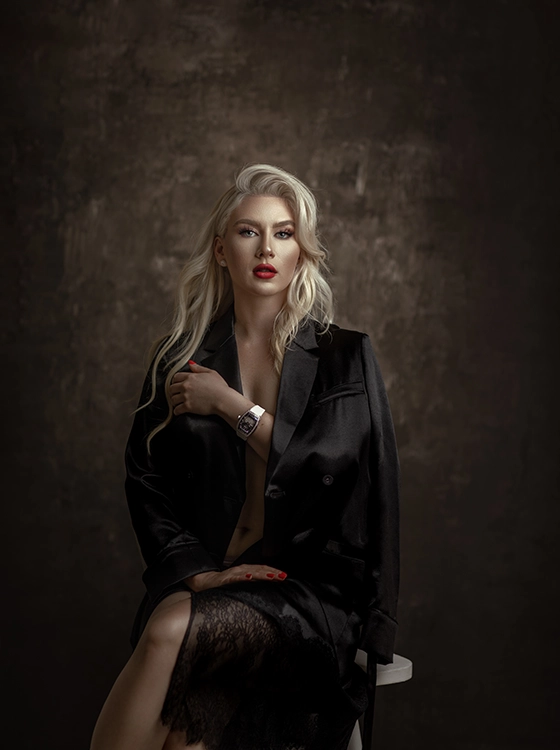
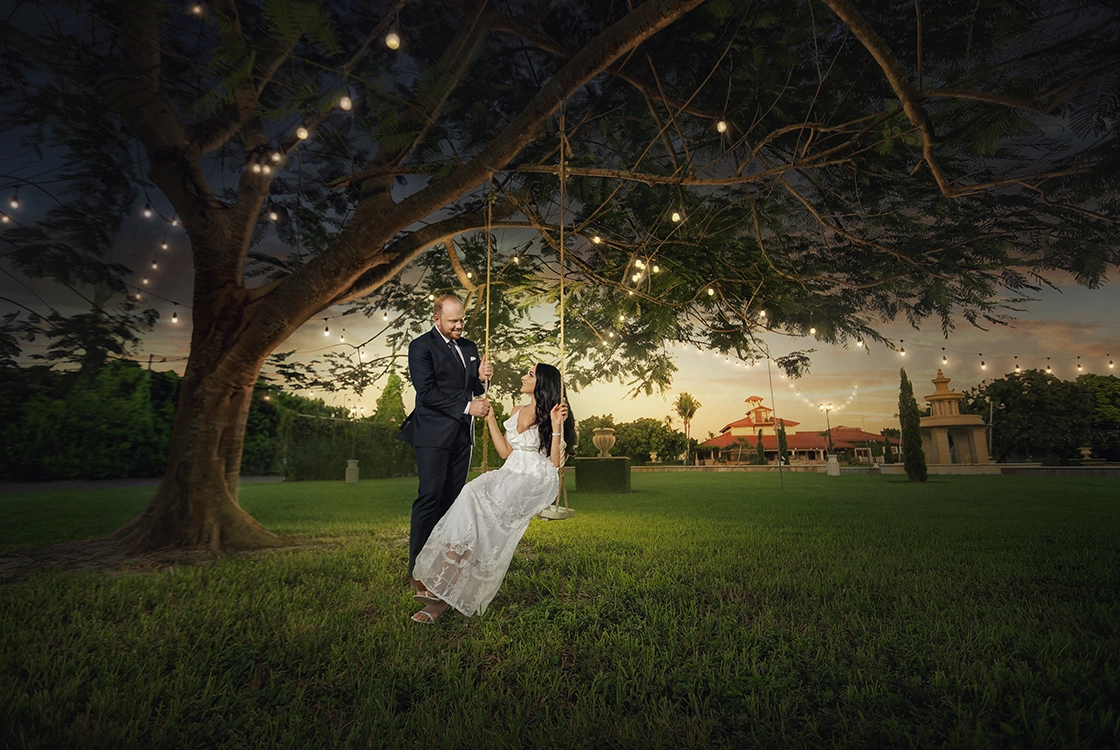
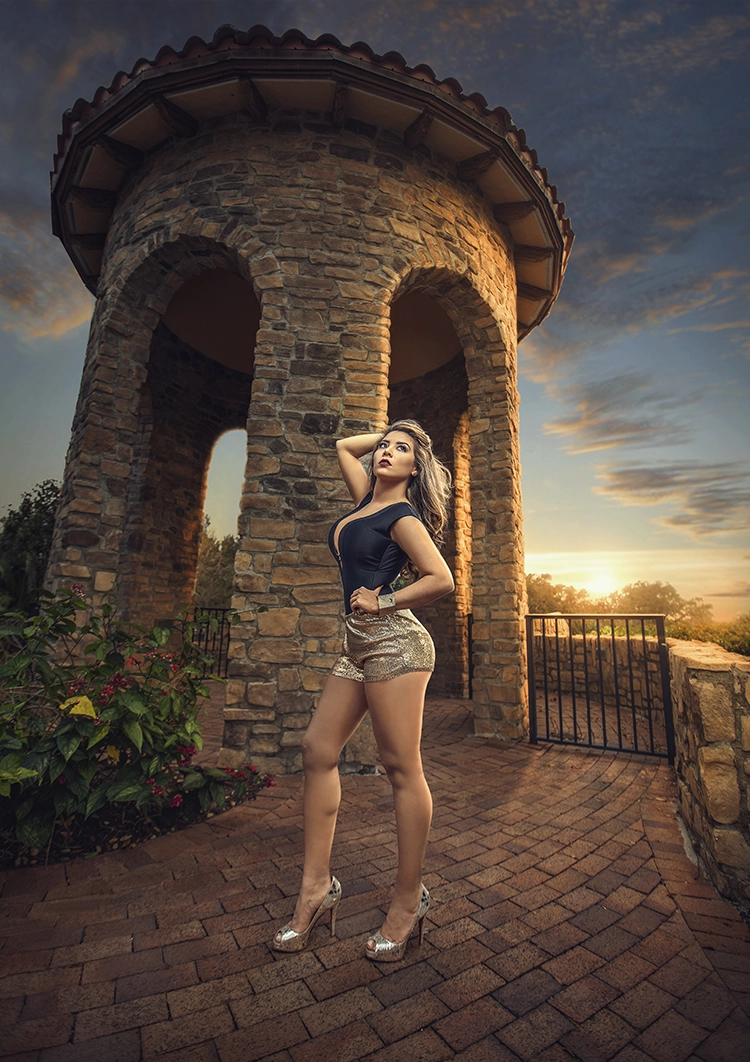
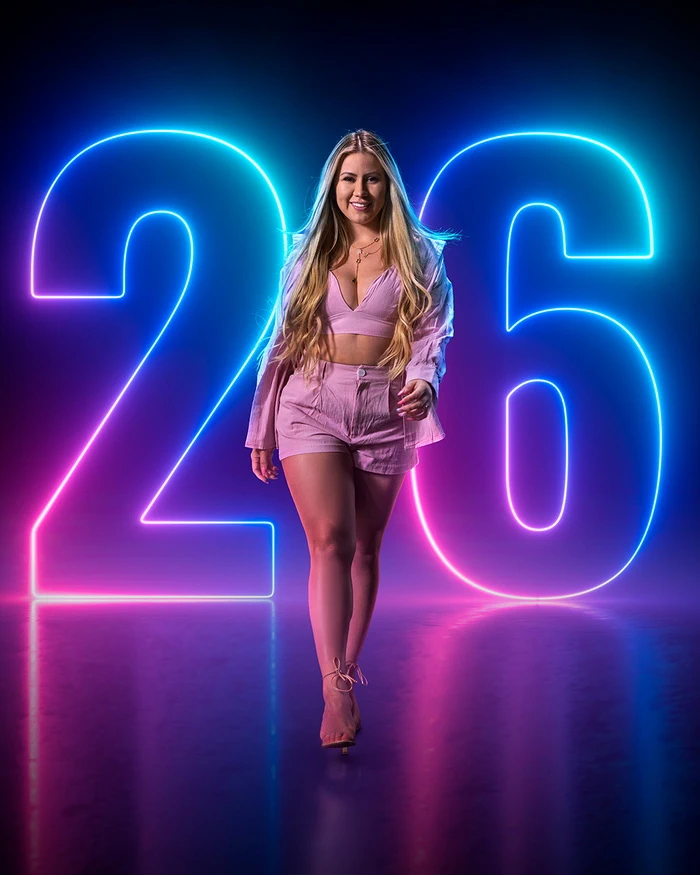
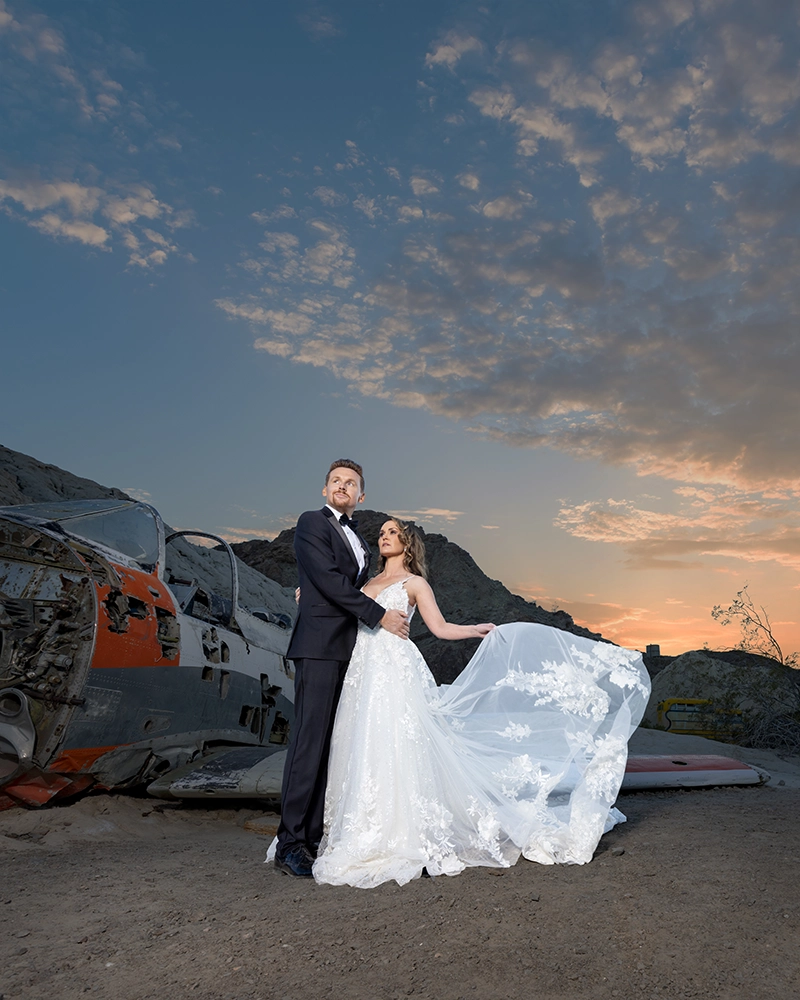
Photographer : Michael
Anthony